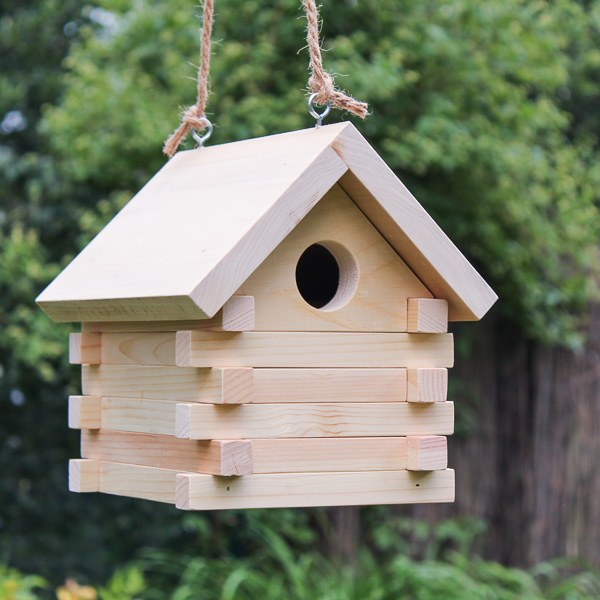
Wood DIY Bird Feeder
Give the birds a tasty snack with this DIY bird feeder! It’s an easy project made with a few basic tools. Great for yourself, a gift, or to make with kids.
What Should I Build Next?
That's the question I help answer.
Every week, I send woodworking ideas to 17,000 DIYers who love building things.
You'd fit right in.
DIY Bird Feeder
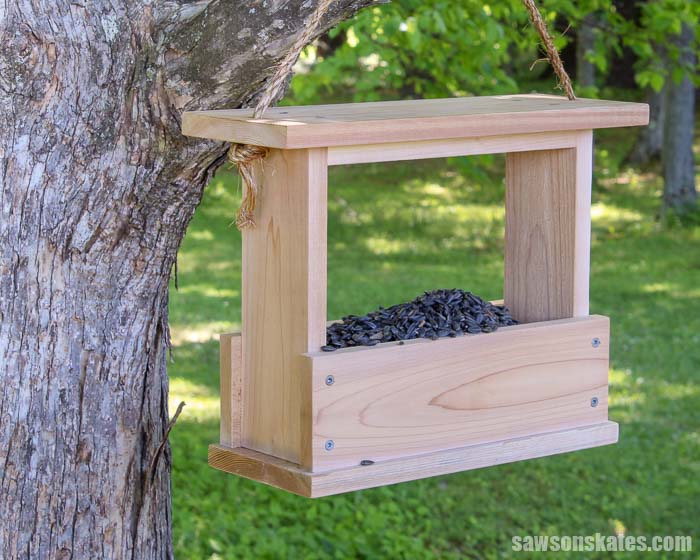
This wood DIY bird feeder is an easy afternoon project. It goes together quickly, so the birds will be enjoying a delicious treat in no time.
It’s made with a few straight cuts and just a few basic tools. The simple lines and rustic rope hanger make this an attractive addition to any backyard.
Make one for yourself, get the kids involved for a school project, or make a few as gifts. This handmade bird feeder is perfect for birthdays, Mother’s Day, Father’s Day, and more.
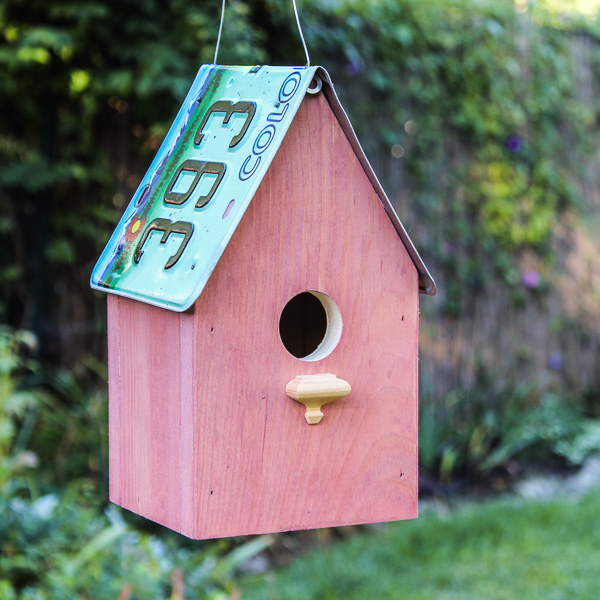
You may also enjoy this DIY butterfly house.
Table of Contents
- What Tools Do You Need?
- What Wood Should You Use?
- How Do You Finish the Bird Feeder?
- How to Make a DIY Bird Feeder
- Get the PDF Plan
This article contains affiliate links. If you purchase from these links, I may earn a small commission at no additional cost to you. Visit my site policies for more information.
What Skills Do You Need to Make This Project?
This DIY bird feeder is an easy-to-make project for DIYers of any skill level.
The feeder can be made in an afternoon using simple woodworking skills and just a few basic tools. That makes this a great project for beginners.
Related: 10 Must-Have Woodworking Tools for Beginners
What Tools Do You Need?
You only need three basic tools to build this project. Tools like a saw, pocket hole jig, and a drill.
All of the parts can be cut with a miter saw or an inexpensive miter box.
Related: 7 Miter Saw Tricks Every DIYer Should Know
You can use any pocket hole jig to drill the pocket holes. I used the inexpensive, user-friendly Kreg Jig 320 to drill the pocket holes for my feeder.
Related: How to Use a Kreg Jig 320
Can Kids Help to Make This Project?
Yes, this wood bird feeder is a great project to build with kids or for a school project.
The parts can be cut with a miter saw or a miter box. The miter saw should be used by an adult, but age-appropriate kids could use a miter box to cut the parts.
I used screws to join the parts of my feeder, but age-appropriate kids could use a hammer and nails to join the parts instead.

What Kind of Wood Do You Need?
This simple bird feeder can be made with just about any type of wood, but I used cedar to build my feeder.
TIP: Be careful when working with cedar. Some people (like me) are allergic to cedar. Always wear a dust mask or respirator when cutting any wood.
According to Real Cedar, cedarwood is “naturally resistant to rot, decay and insect attacks, which means anything you build with it will last longer and require less maintenance.”
I purchased the 1×4 and 1×6 cedar boards at my local home improvement store.
Related: Beginner’s Guide to Wood Sizes

This project doesn’t require much wood so it also makes a great scrap wood project.
Related: 71 Scrap Wood Projects (Clever Ways to Reuse Old Wood)
How Do You Finish the DIY Bird Feeder?
I didn’t apply a finish to my bird feeder.
As I mentioned earlier, I used cedar to build this project. Cedar is naturally rot-resistant, so it can be used outside without a finish.
I was also concerned about using a chemical finish around the birds. I didn’t want the finish to contaminate the birdseed or harm the birds.
What Kind of Birdseed Should You Use?
According to Audubon, “A diverse mix of seeds will attract the greatest variety of birds. Black oil sunflower seed appeals to the greatest number of birds.”
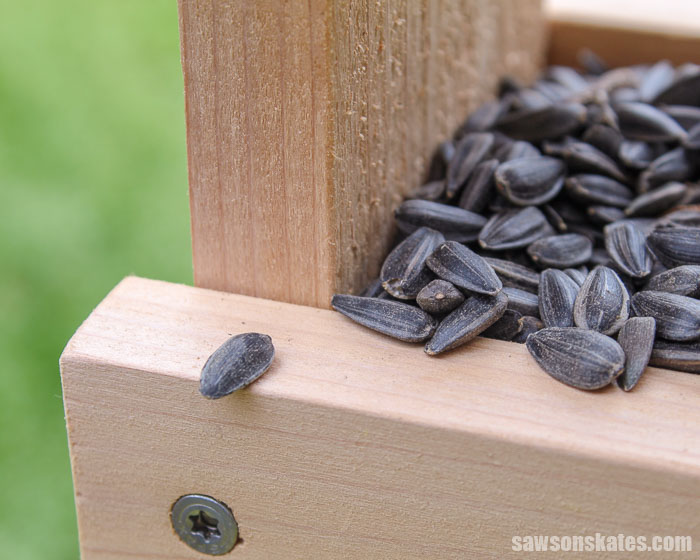
I chose these black oil sunflower seeds for my bird feeder. The bonus with feeding sunflower seeds is any that drop onto the ground may grow into sunflowers.
How to Make a DIY Bird Feeder
Printed Plan
Get the PDF plan here (includes detailed instructions, measurements, and bonus tips)
Materials
- Wood (per the printed plan)
- 1-¼” Blue-Kote Pocket Screws
- 1-¼” Exterior Wood Screws or 1-¼” Finish Nails
- Exterior Wood Glue
- Rope
- Birdseed (I bought this one)
Tools
- Tape Measure
- Drill
- Hammer (optional)
- Kreg Jig
- Kreg Multi-Mark
- Miter Saw or Miter Box
- Drill Bit
- Countersink Drill Bit
Step 1. Make the Frame
Cut two pieces of wood to length for the sides. Cut two pieces of wood to length for the top and bottom, and drill pocket holes in each end.
Related: How to Use a Pocket Hole Jig (& Beginner Pitfalls to Avoid)
Apply glue to the ends of the top and bottom, position on the sides, and clamp. Attach using pocket screws.
Step 2. Attach the Container Sides
Cut two pieces of wood to length for the sides of the container. Position the sides on the frame, drill several countersink holes, and attach using wood screws.
Related: How to Use a Countersink Bit
I used screws to attach the sides to my feeder, but age-appropriate kids could use a hammer and nails to join the parts instead.
Step 3. Attach the Bottom
Cut one piece of wood to length for the bottom. Center the bottom on the frame, drill several countersink holes, and attach using wood screws.
OPTIONAL: Attach the bottom with a hammer and 1-¼” exterior finish nails.
Step 4. Attach the Top
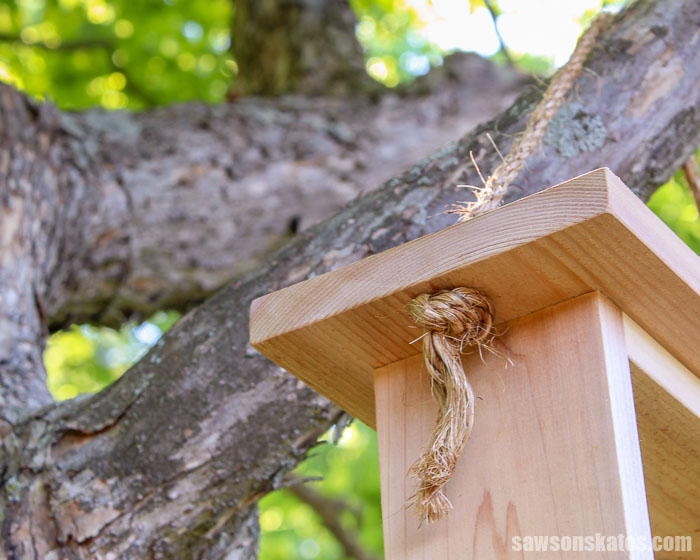
Cut one piece of wood to length for the top and drill a hole in each end.
Center the top on the frame, drill several countersink holes, and attach using 1-¼” exterior screws.
Cut a piece of rope, insert one end of the rope in each hole, and tie a knot in each end.
Includes:
- List of tools and materials
- Complete measurements (in inches)
- Easy-to-follow instructions
- Step-by-step photos
- Detailed diagrams
Final Thoughts
This wood DIY bird feeder is an easy afternoon project. It’s made with a few simple cuts and just a few basic tools. Make one for yourself, get the kids involved for a school project, or make a few as gifts.
Get the PDF plan (including the detailed instructions and measurements) now!
Thank you for stopping by. If you enjoyed this tutorial, would you please take a moment and pin it to Pinterest? I’d really appreciate it!
Recommended For You

Pin This For Later

Hi there – I’m Scott, a woodworking enthusiast and creator of Saws on Skates, a site I started in 2015 to share easy-to-follow tutorials, space-saving shop tips, and project inspiration for DIYers at any skill level. Learn more about my woodworking journey here.