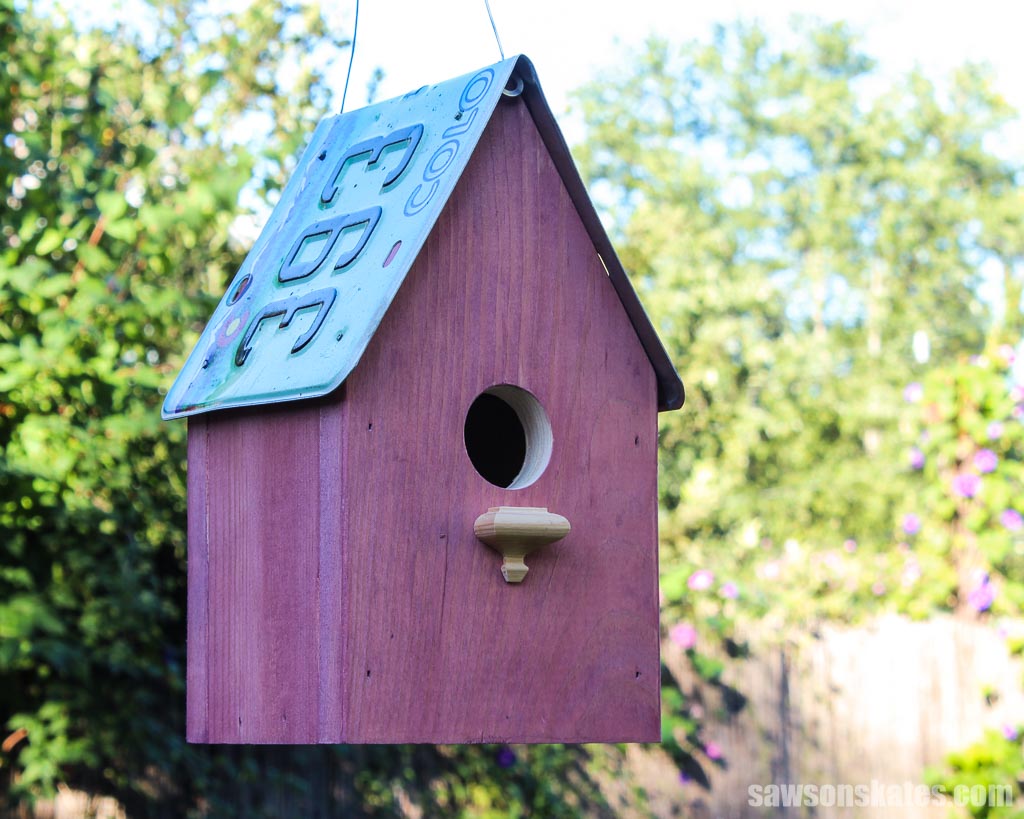
DIY License Plate Birdhouse (19 Step-by-Step Photos)
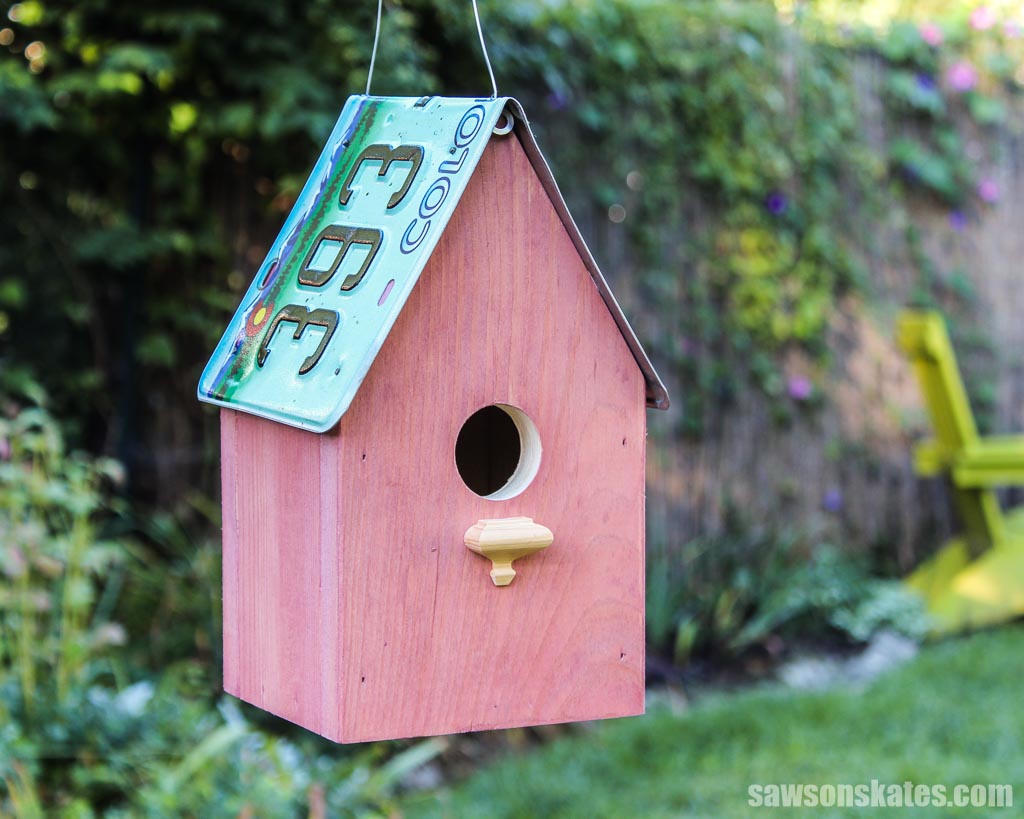
Add personality to your yard with this DIY license plate birdhouse! This twist on a classic birdhouse is easy to make and a great way to recycle old plates.
What Should I Build Next?
That's the question I help answer.
Every week, I send woodworking ideas to 17,000 DIYers who love building things.
You'd fit right in.
Looking for an easy and creative DIY project? Need a gift for a friend or family member who is a car enthusiast or enjoys gardening? Why not make a birdhouse using an old license plate as the roof?!
This is perfect for anyone who loves upcycling and a great weekend project you can do yourself or with your kids. In this tutorial, I’m sharing the easy-to-follow instructions and 19 step-by-step photos that will help guide you along the way. Let’s get started!
This tutorial contains affiliate links to supplies and tools. Purchases made using these links help support the Saws on Skates website and allows me to share more projects and tips with you. There is no cost to you for using these links. Visit my site policies for more information.
Table of Contents
- Inspiration for This DIY License Plate Birdhouse
- What Tools Do You Need?
- What Wood Should You Use?
- Where Do You Get License Plates?
- What Can You Use as a Perch?
- How Do You Finish the DIY License Plate Birdhouse?
- How to Make a DIY License Plate Birdhouse Tutorial
- Get the PDF Printed Plan
Inspiration for This DIY License Plate Birdhouse
Years ago, before I started Saws on Skates®, a former coworker asked me if I could build a birdhouse as a birthday gift using a sports team license plate as the roof. I’m always up for a challenge, so I gave it a shot. She was thrilled with it, and so was the gift recipient.
It was a fun and easy project, so when I found a box of used license plates at a garage sale, I snatched them up and made more. Another former colleague and good friend loved them and has a handful of them on display in his home office.
I hadn’t thought about making these in years, but recently he sent a message saying that his wife’s sister has been very sick. On a recent trip to care for her, his wife returned with five license plates from states where her sister lived.
He went on to say his wife “has always admired the birdhouses,” and as a way to remember her sister, she would like to “have the plates made into birdhouses so she can give one to each of her other siblings.” It was a touching story, and of course, I said yes.
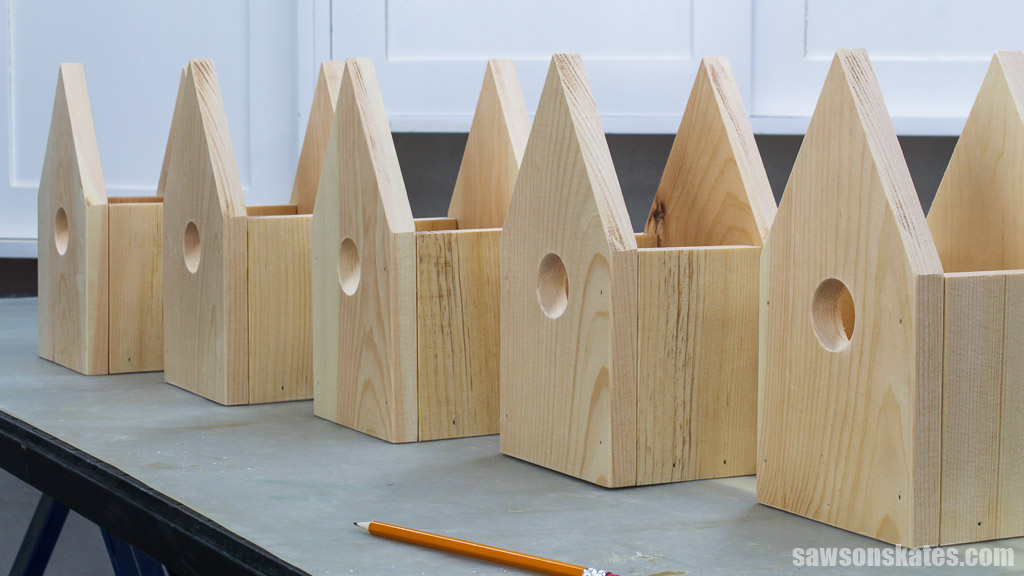
While building them, I decided to take some step-by-step photos and share the tutorial so you can make your own DIY license plate birdhouse.
📝 NOTE: Out of respect, I’m demonstrating this project using a random license plate from my stash of garage sale plates rather than those belonging to my friend’s family.
What Tools Do You Need?
As I mentioned, this is an easy project and doesn’t require fancy tools or special skills. I used a few workshop basics such as a miter saw, a jigsaw, and a drill.
Miter Saw
I used my miter saw to cut all of the parts to length for this project. You can use a handsaw and a miter box if you don’t have a miter saw.
Related: Miter Saw vs Table Saw (Differences + Which to Use)
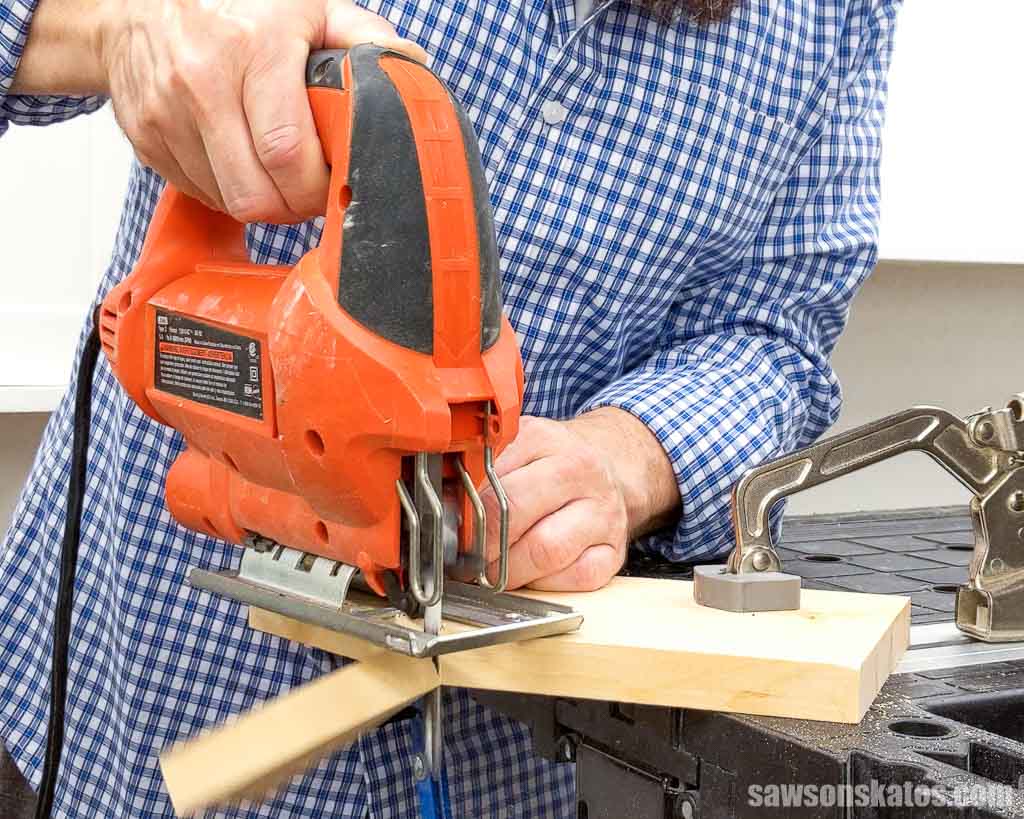
Jigsaw
The angle for the roof is too steep to cut with a miter saw, so I used a jigsaw instead.
Drill
This is the tool I used to make the entrance hole. You may also need it to predrill holes in the license plate to attach it to the birdhouse and to make holes to attach the hanger.
Brad Nailer
I used my brad nailer to attach the birdhouse’s front, back, bottom, and sides. You could also use a hammer and nails if you don’t have a brad nailer.
Related: Brad Nailer vs Finish Nailer (Which to Choose & Why)
What Wood Should You Use?
This project doesn’t require much wood, so if I only needed to make one, I would have used scrap wood that I had left over from other projects. But because my friend needed several birdhouses, I bought a few pine boards from my local home improvement store.
Related: 71 Scrap Wood Projects (Clever Ways to Reuse Old Wood)
Pine is a relatively inexpensive wood, and it’s easy to work with but quickly rots, so it’s not the best choice for outdoor projects. If you want your birdhouse to last longer, you may want to use cedar or redwood instead. Both are resistant to rot and decay and weather well outdoors.
I don’t recommend using pressure-treated wood because the chemicals in the wood could be harmful to birds.
Where Do You Get License Plates?
My friend gave me the license plates for this project, but if you don’t have any old plates, you can usually find them at garage sales, thrift stores, and flea markets. If you don’t find any there, you can always buy one online at places like eBay.
You may have to do a bit of hunting, but it’s worth it when you see how cool these birdhouses look!
What Can You Use as a Perch?
You can use a small piece of dowel for the perch or even some wood molding. I used everything from a metal bolt to a spark plug for the batch of license plate birdhouses I made years ago!
How Do You Finish the DIY License Plate Birdhouse?
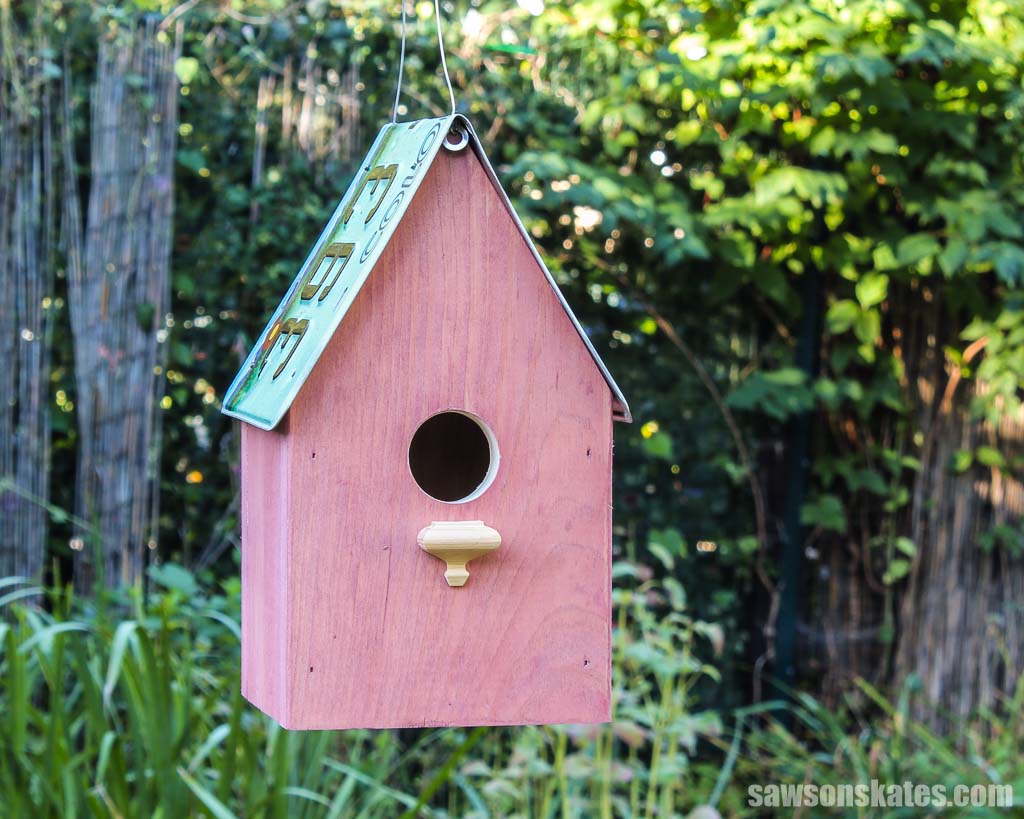
I wanted a rustic look for the birdhouse, so I made a paint wash using a mixture of 50% craft paint to 50% water. Then I used a brush to apply the paint wash.
You could also paint or stain your birdhouse any color you like, but be sure only to paint the exterior. You’ll want the house’s interior as natural as possible for any birds that decide to make a home there.
I would also recommend using water-based products rather than oil-based ones because they won’t give off stinky fumes that could harm the birds.
How to Make a DIY License Plate Birdhouse
Printed Plan
- Get the PDF plan here (includes detailed instructions, measurements, and bonus tips).
Supplies
- Wood (per the printed plan)
- Exterior Wood Glue
- 1-¼” Exterior Finish Nails
- (2) Small Washers
- 19 Gauge Wire
Tools
- Tape Measure
- Drill
- Kreg Multi-Mark
- Miter Saw
- Jigsaw
- Awl
- 1-½” Forstner Bit
- Brad Nailer (optional)
- Hammer
- Needle Nose Pliers
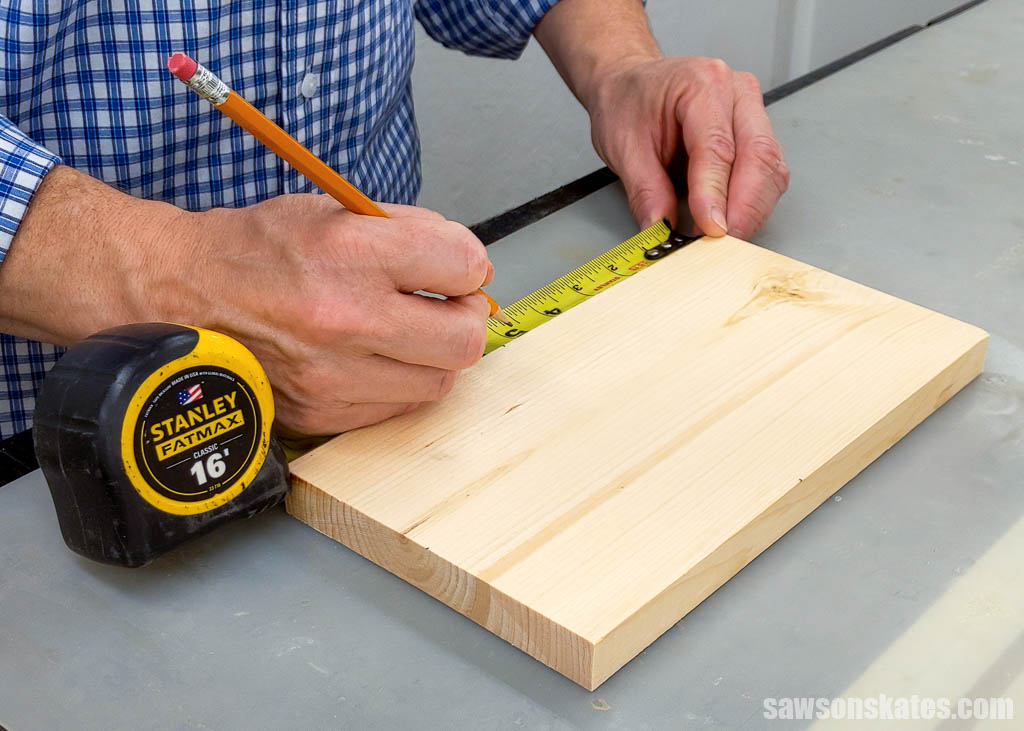
Step 1. Make the Front and Back
Cut two pieces of wood to length for the front and back.
Related: How to Use a Tape Measure Correctly (Tips for Success)
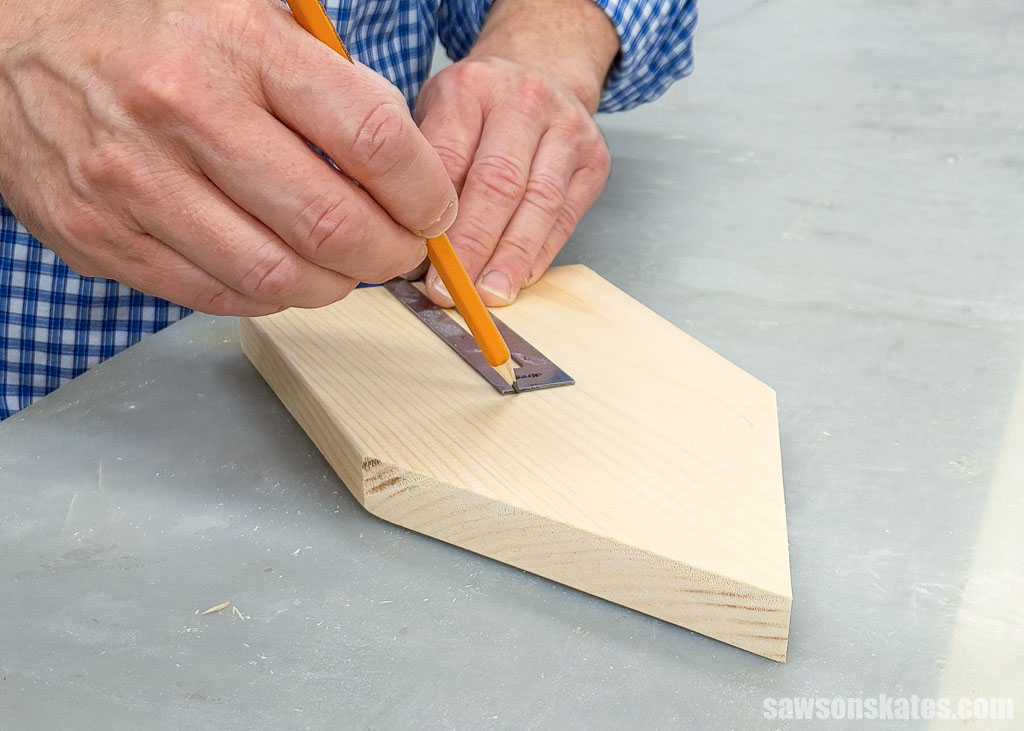
Use the diagram in the printed plan to mark the location for the roof.
I used a jigsaw to cut the area for the roof.
On the front, use the diagram in the printed plan to mark the location for the entrance hole.
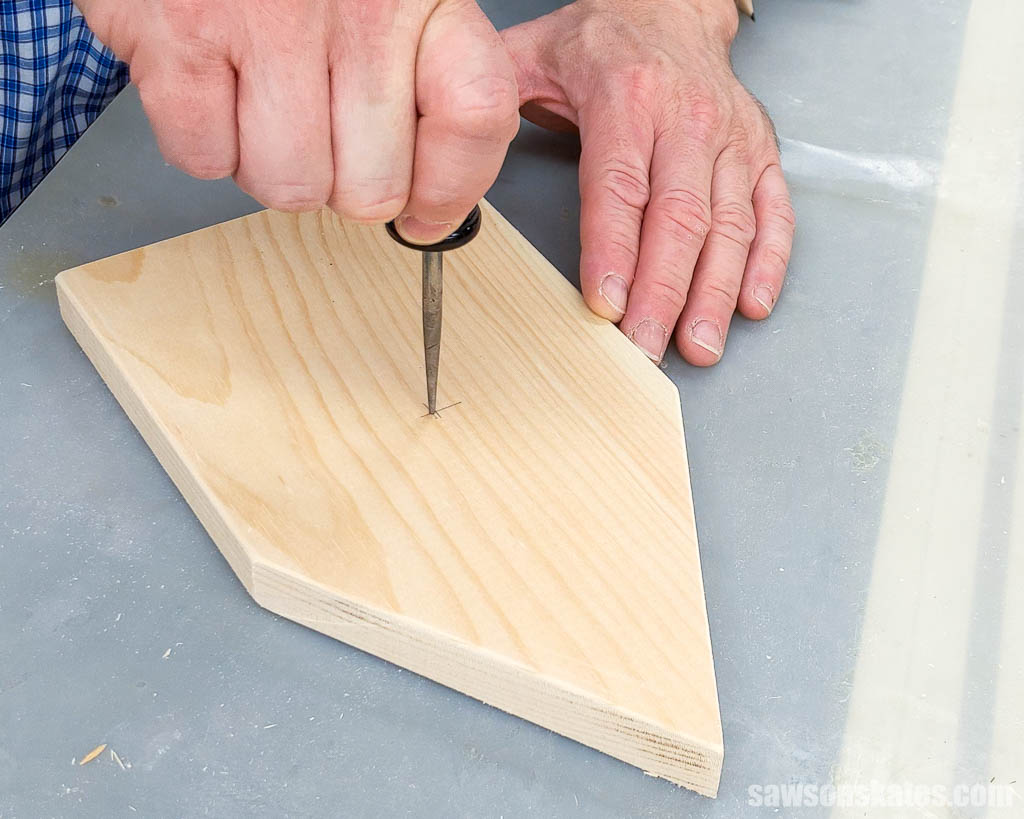
Use an awl to make a starting point for the drill bit.
Related: What is an Awl? (+ How to Use It)
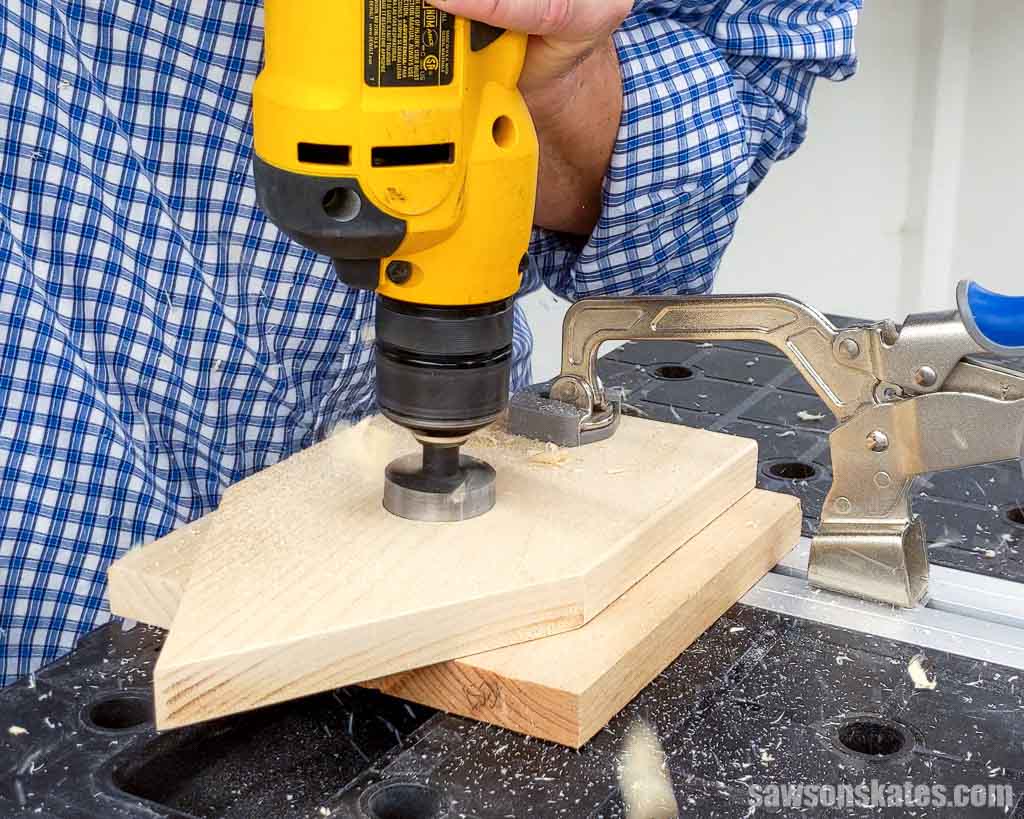
I used a Forstner bit to drill the entrance hole.
Related: What is a Forstner Bit? (& How to Use It)
When drilling a hole like this, you have three options, a spade bit, a hole saw, or a Forstner bit. I reach for a Forstner bit because it creates holes with clean edges, saving me time and effort in sanding the hole smooth.
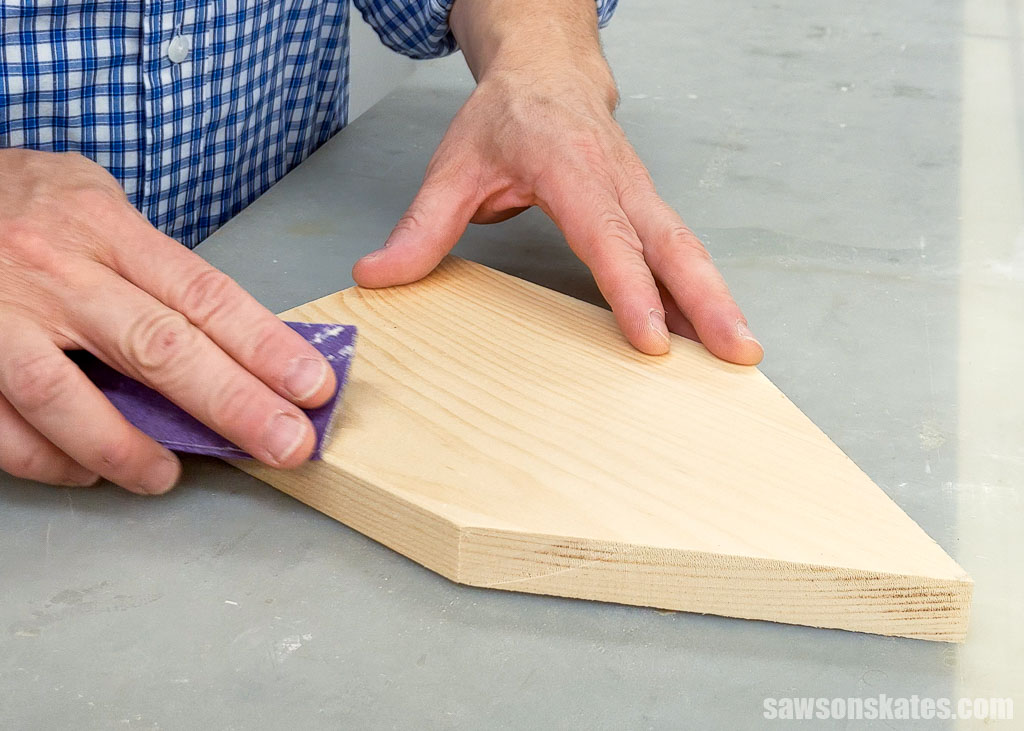
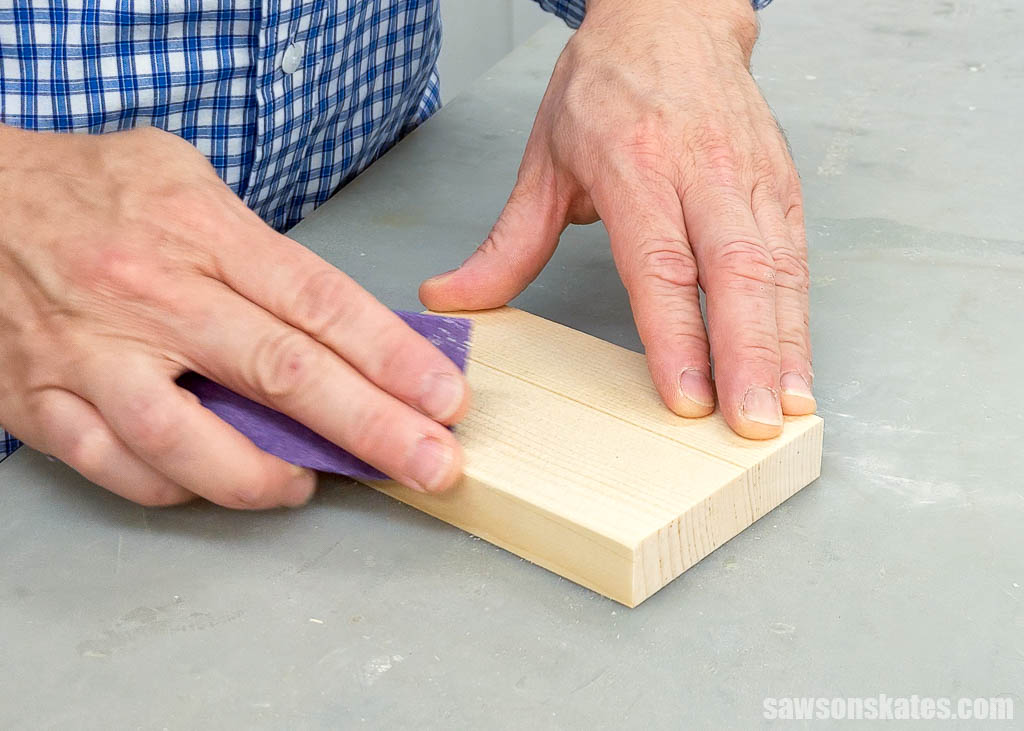
I used sandpaper to slightly roundover or “ease the edges” of the front and back. Later on, I’ll also roundover the edges of the sides. If I didn’t roundover the edges, and there was any slight variance in the fit, it could create a gap, or the sides of the front and back might not be flush with the side panels.
By rounding over the edges, any slight variances will be hidden, and the panels will appear to be flush, even if they’re not. This handy trick gives your project a polished, professional look and is a great technique to use whenever you join panels.
Related: 11 Secrets for Sanding Wood Projects Like a Pro
Step 2. Assemble the Birdhouse
Cut two pieces of wood to length for the sides. Again, I used sandpaper to ease the edges of these pieces.
Cut one piece of wood to length for the bottom. Apply glue to one edge of the bottom, position the side and attach using brad nails. Repeat for the other side.
💡 TIP: Use waterproof wood glue when building outdoor projects. These glues are specially formulated to withstand moisture, unlike regular wood glue, which could break down when exposed to the elements.
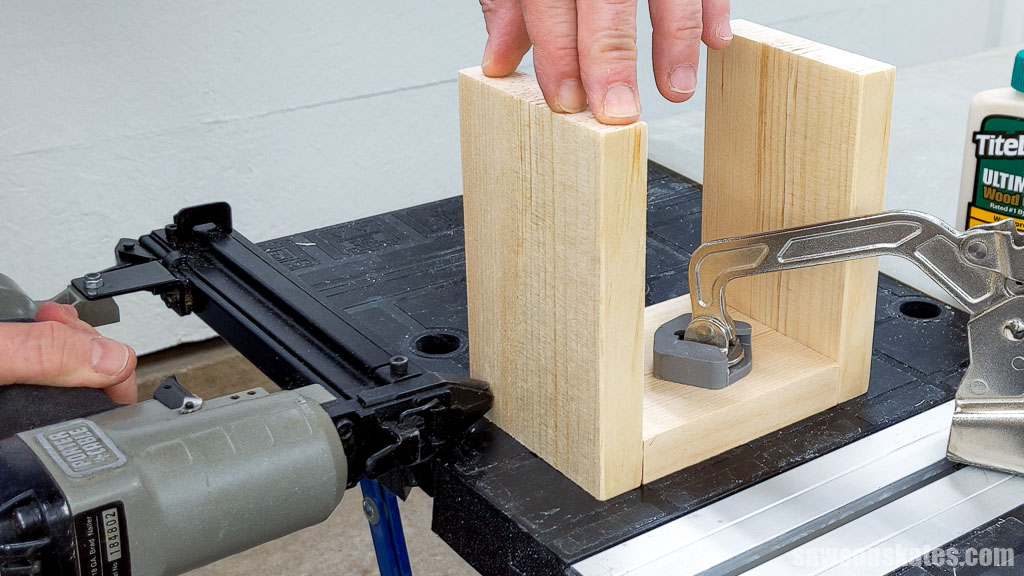
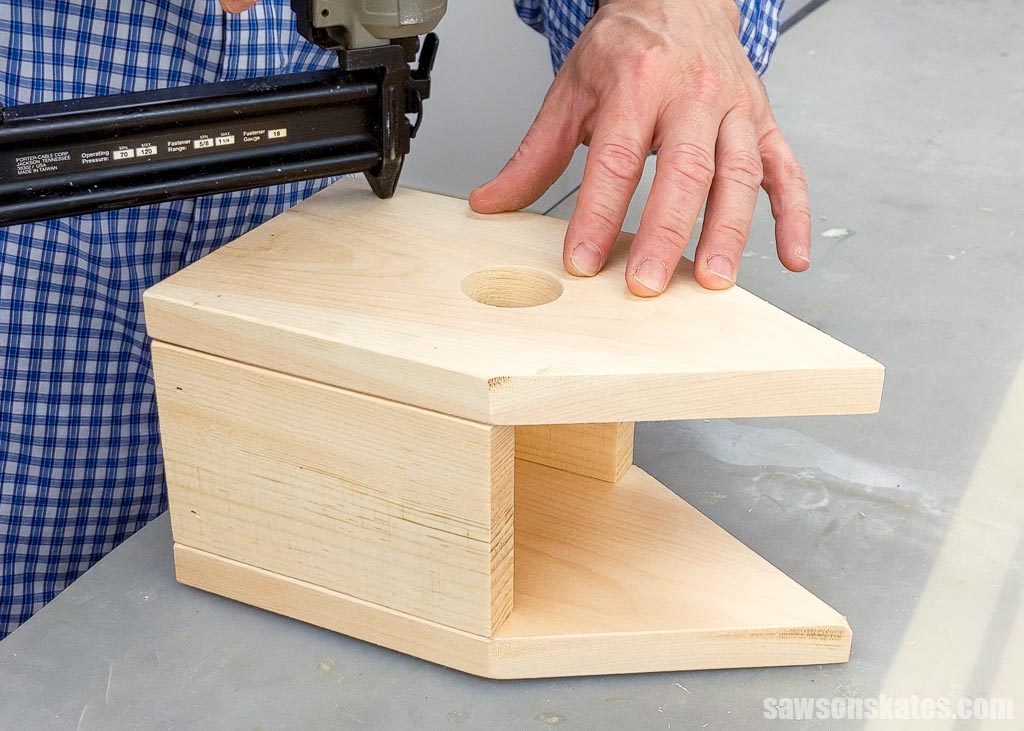
Apply glue to the edges of the sides and place the back in position.
Attach the back using brad nails.
💡 TIP: I started nailing at the bottom of the box so that I could adjust the top of the sides to make them square with the back.
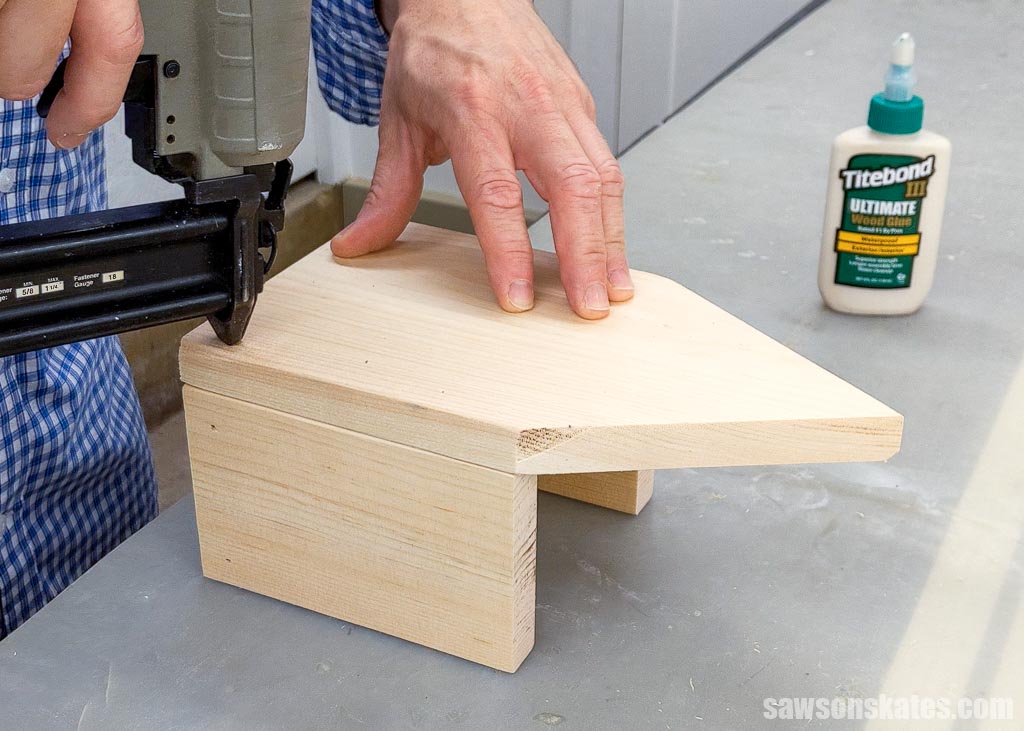
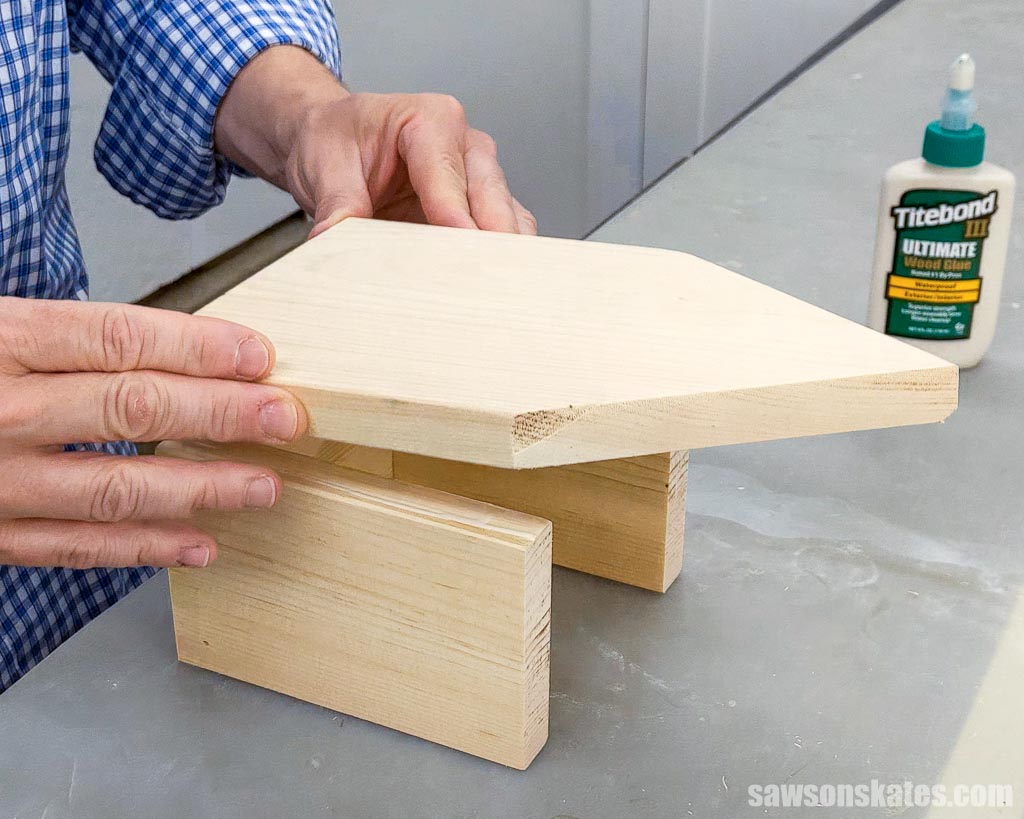
Apply glue to the edges of the sides, position the front and attach using brad nails.
💡 TIP: Now is a good time to clean up any glue that has squeezed out in the rounded edges between the sides and the front and back.
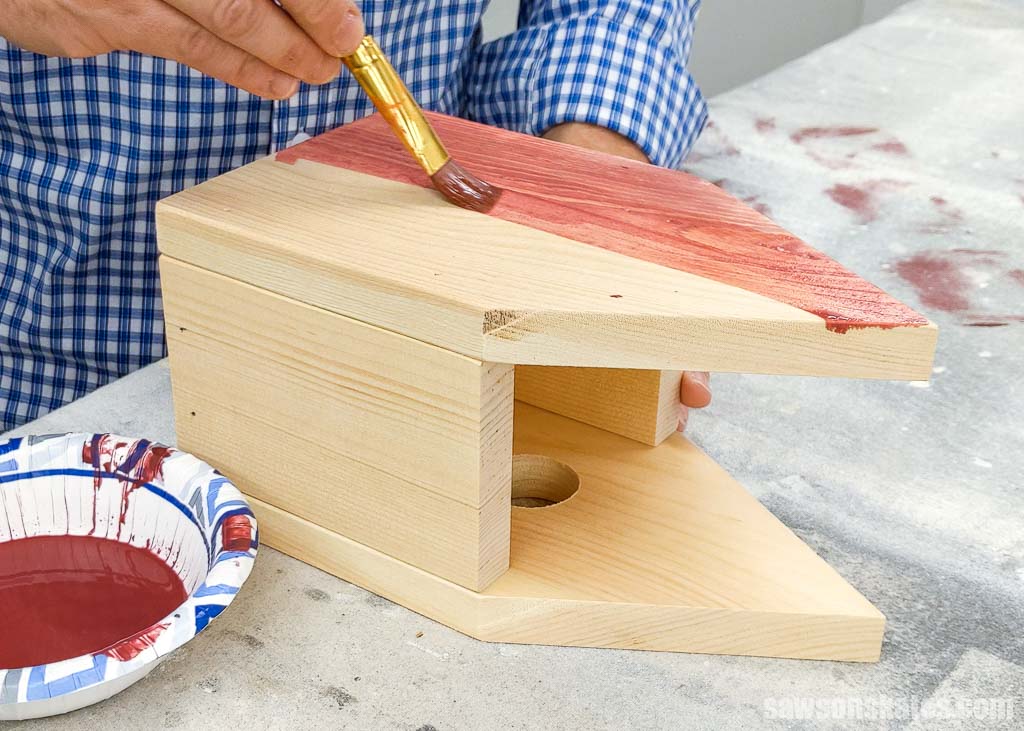
Step 3. Paint the Birdhouse
I wanted a rustic look for this project and to see some of the wood grain, so I made a paint wash by mixing about a tablespoon of craft paint with about a tablespoon of water.
A paint wash is a thinned-out paint mixture that lets you see some of the wood grain through the color.
Related: DIY Craft Paint Storage Caddy
I applied the paint wash with a brush and let it dry for about an hour.
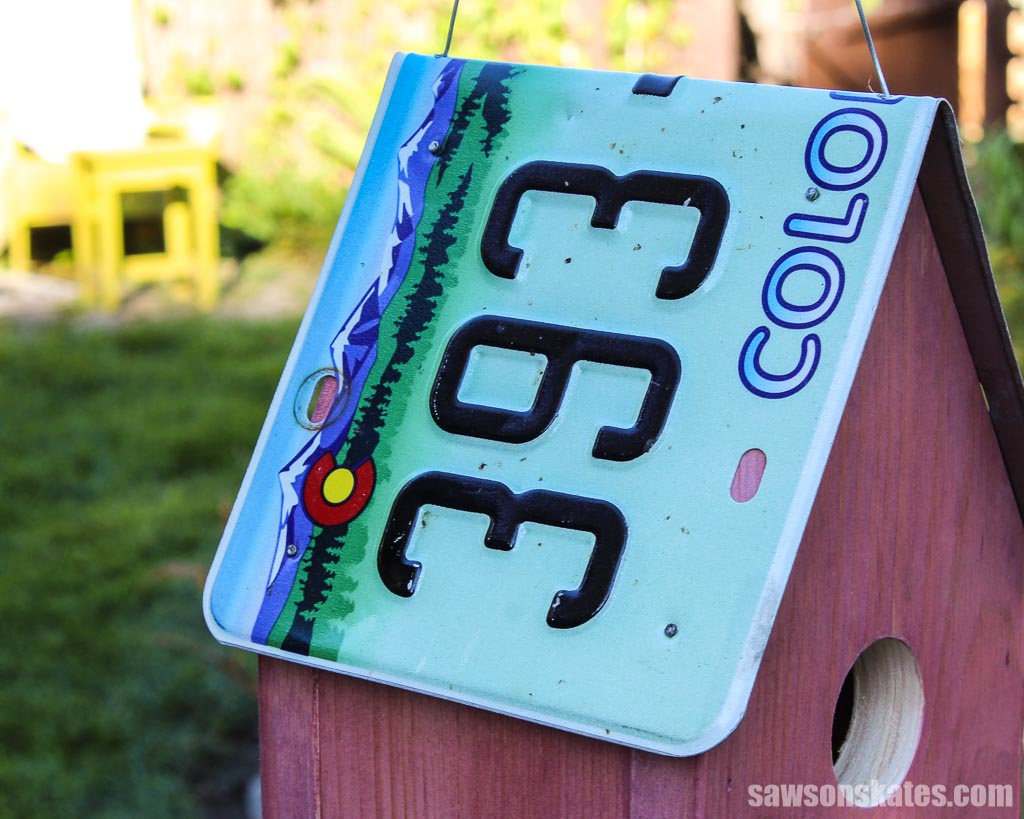
Step 4. Attach the License Plate
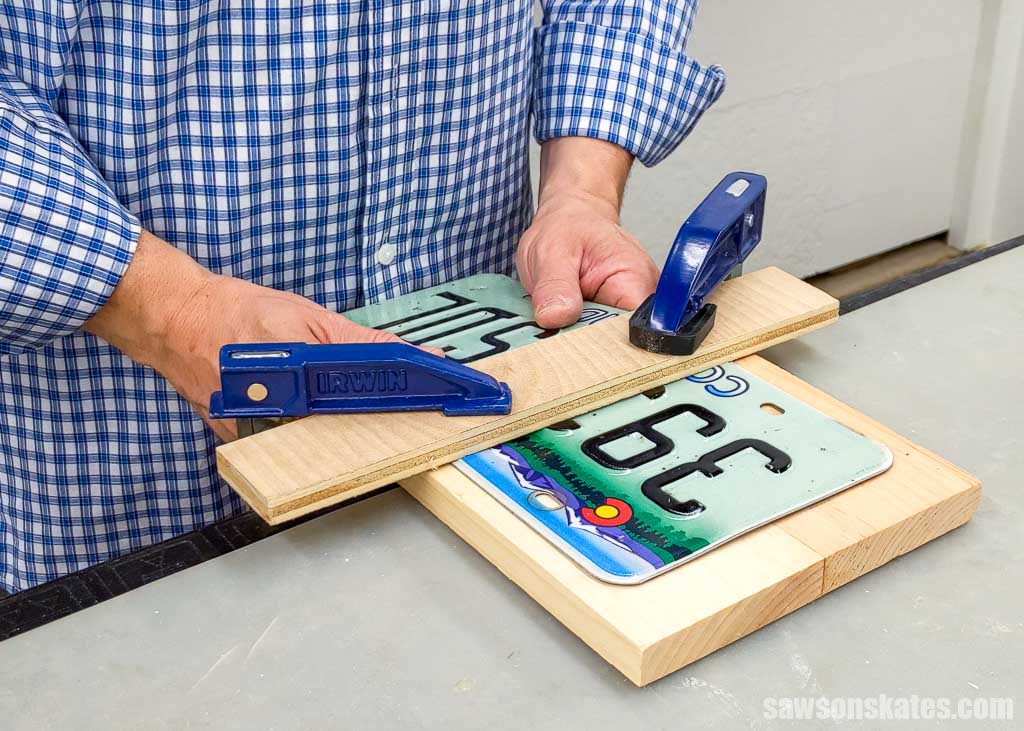
Use the diagram in the printed plan to mark the location for holes that will attach the plate to the birdhouse and to attach the hanger.
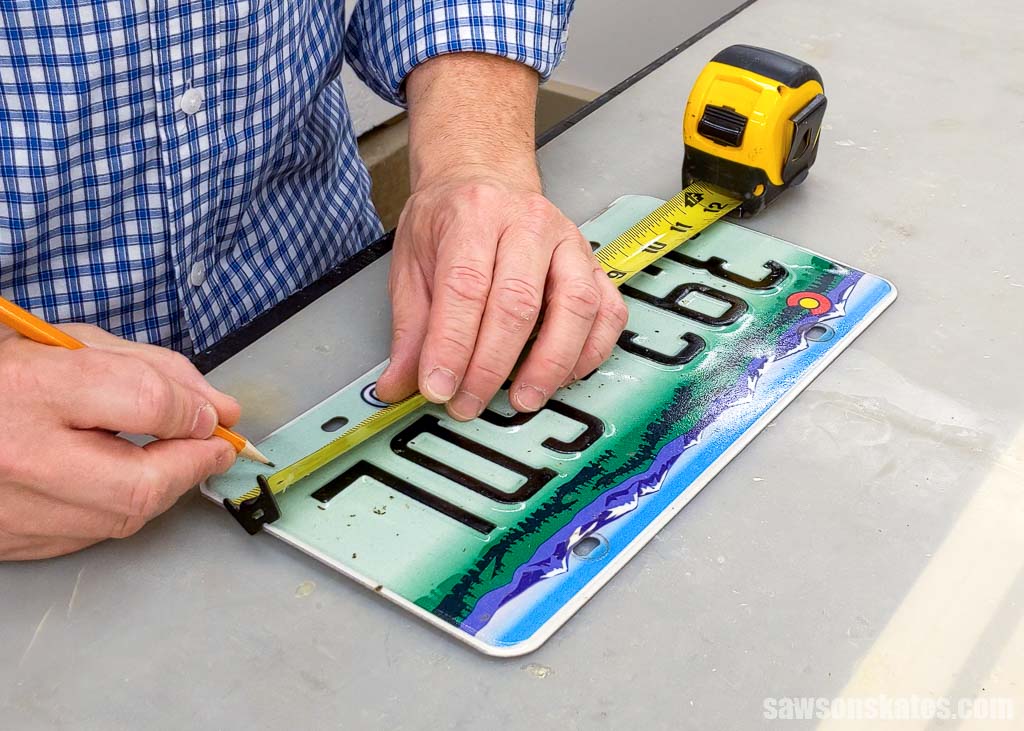
Next, use an awl and hammer to punch a small hole at each mark.
💡 TIP: Some license plates are thicker than others, and it may be difficult to punch a hole through the entire thickness. If this is the case, you can use a small drill bit to make a pilot hole.
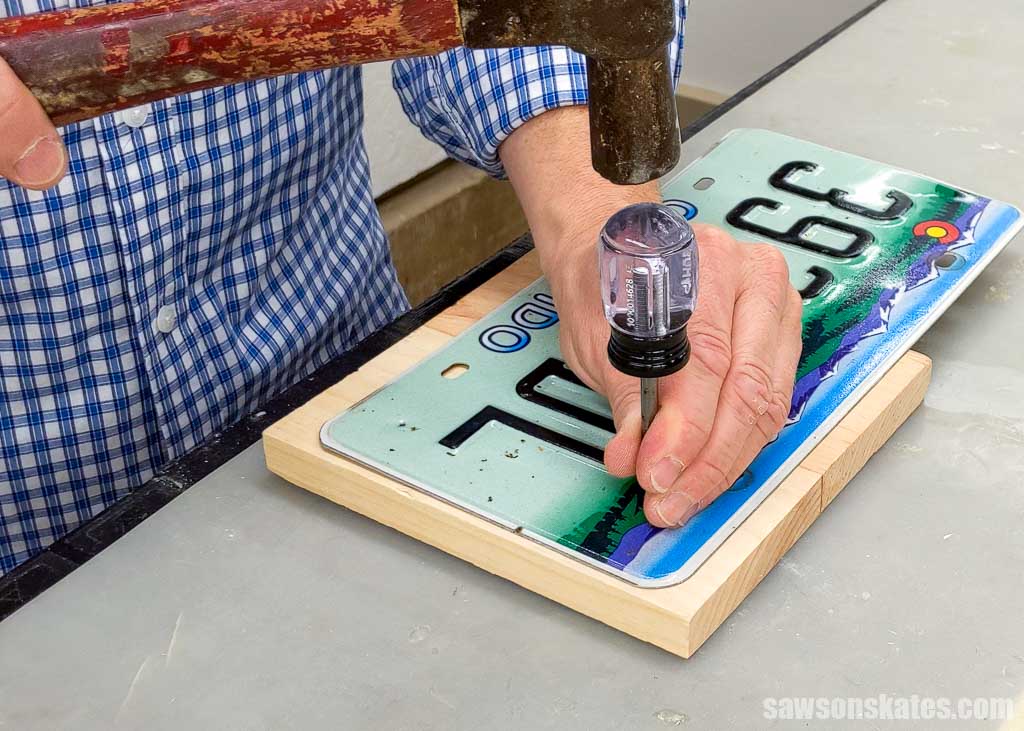
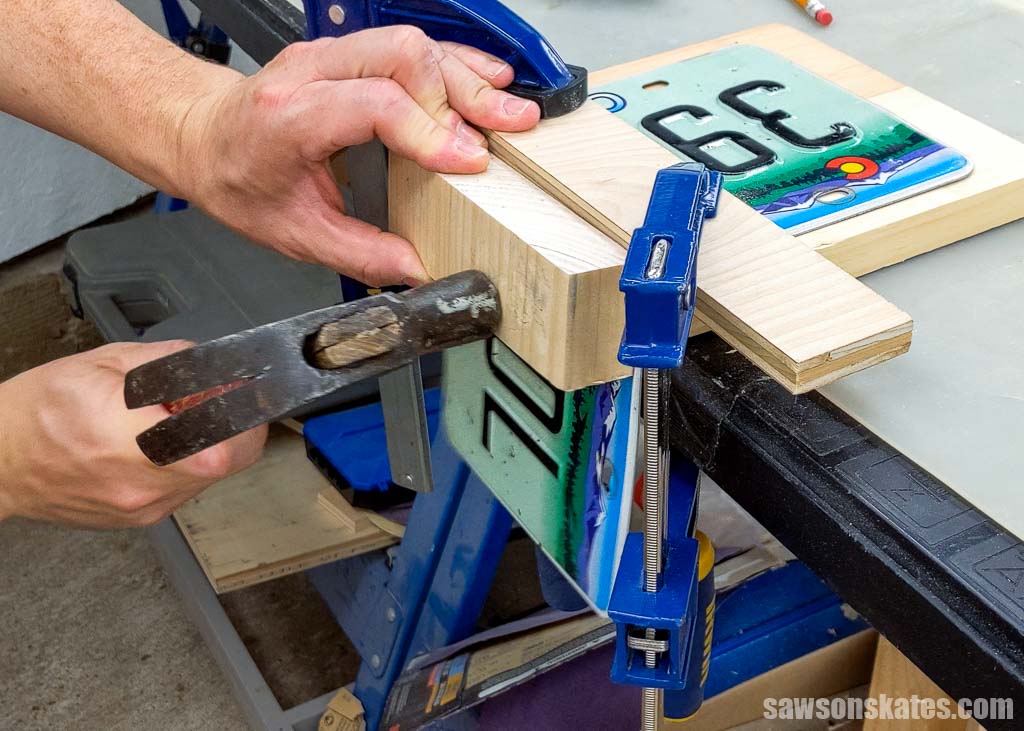
At the halfway point, I sandwiched the plate between two pieces of wood and clamped it to my bench. Then, I bent the plate downward.
I used a hammer and block of wood to get a nice, crisp corner.
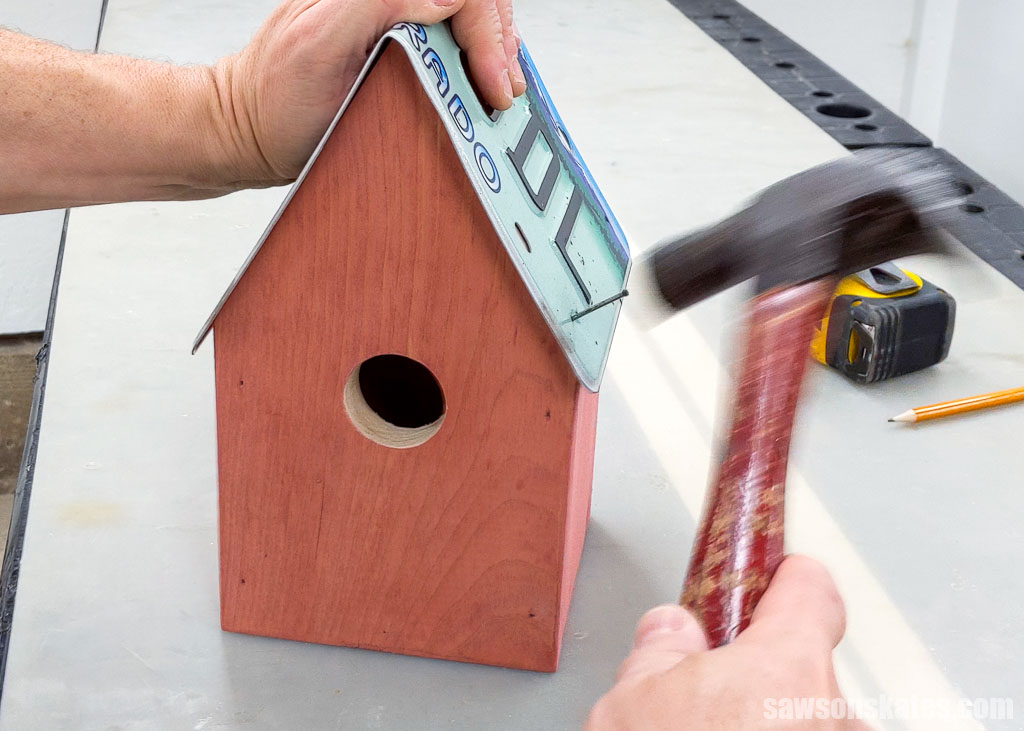
I placed the plate on the birdhouse, centered it from front to back, and attached using exterior finish nails.
Step 5. Attach the Hanger
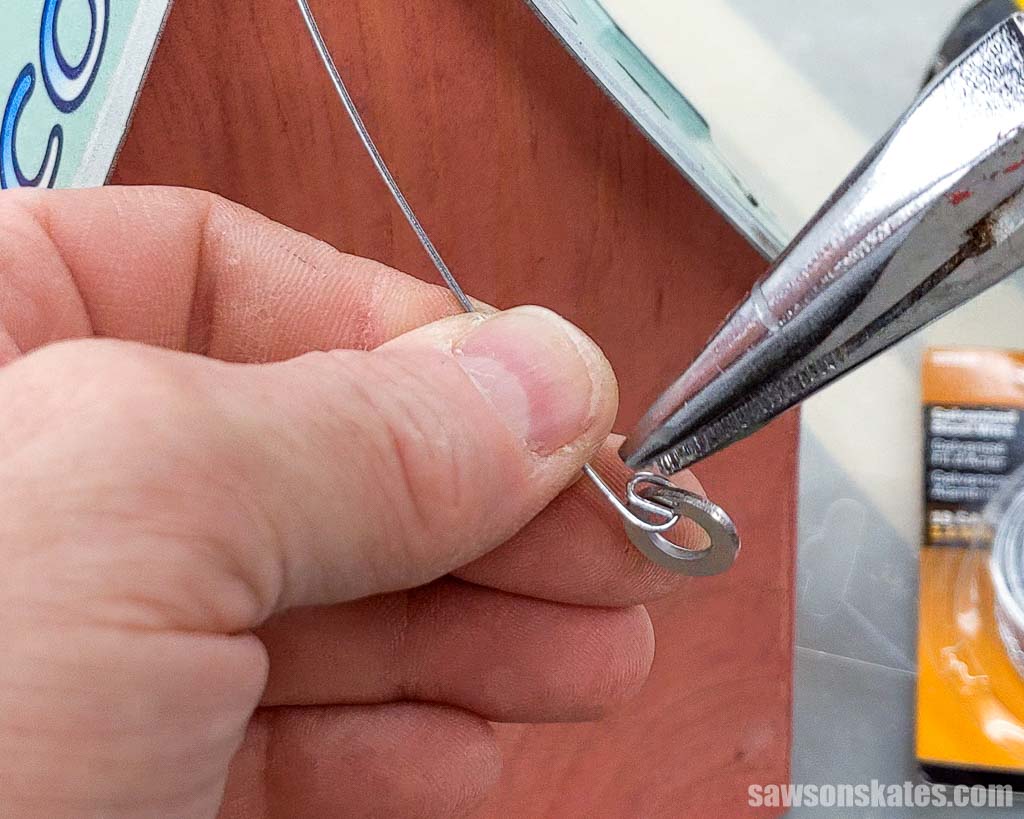
I cut a piece of wire to length for the hanger.
I threaded one end through the hole in the plate, added a small washer, and used needle nose pliers to loop the end of the wire around the washer.
The washer will keep the wire from pulling through the hole. Repeat for the other end.
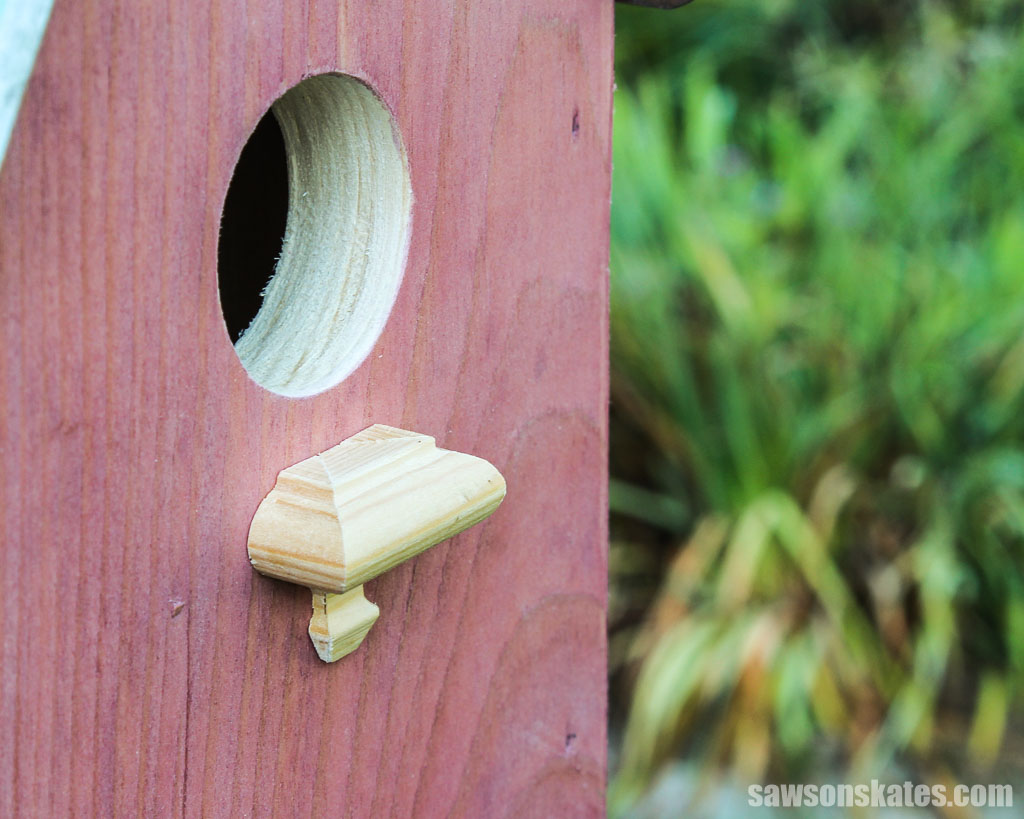
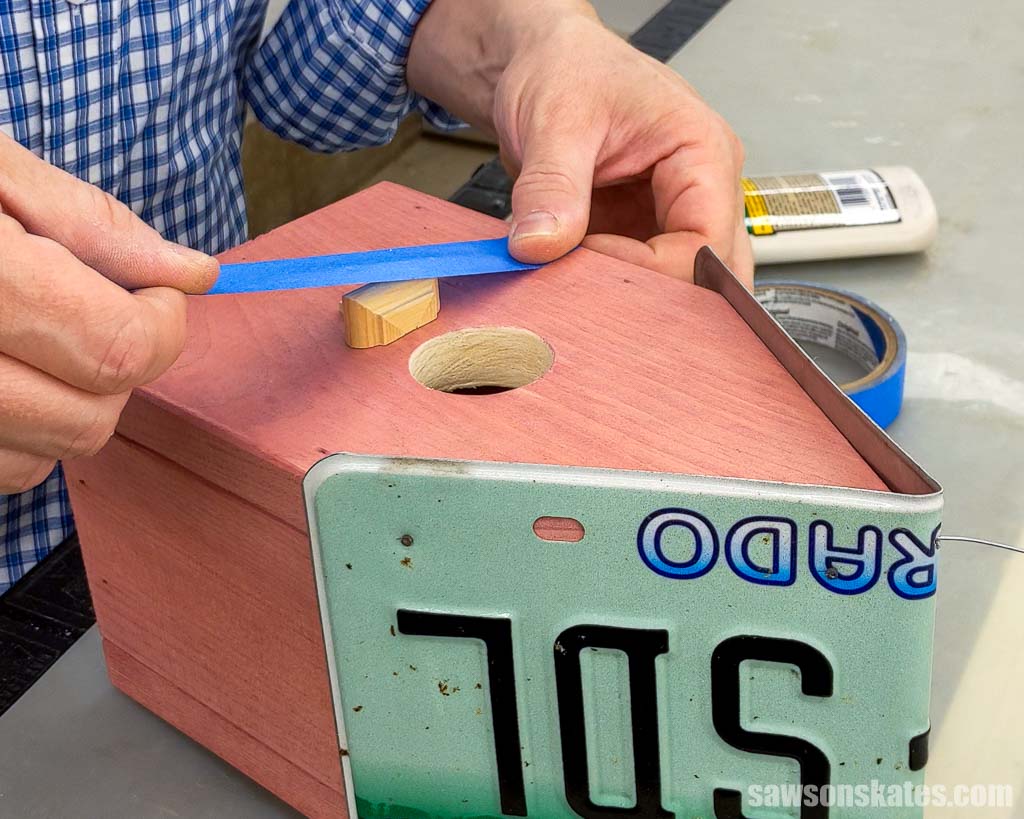
Step 6. Attach the Perch
I cut the perch from a piece of molding I had left over from another project. There is no rhyme or reason for the perch’s shape. I just went with something pleasing to the eye.
⚠️ IMPORTANT: Please use caution when cutting small parts. I cut the perch from a long piece of molding, so my hand was far away from the blade.
As I mentioned earlier, you can use almost anything for the perch from a dowel to a metal bolt or even a spark plug!
I attached the perch with wood glue and held it in place with painter’s tape. You could also tack it with a pin nailer if you have one.
Related: Pin Nailer vs Brad Nailer (Differences + Which to Use)
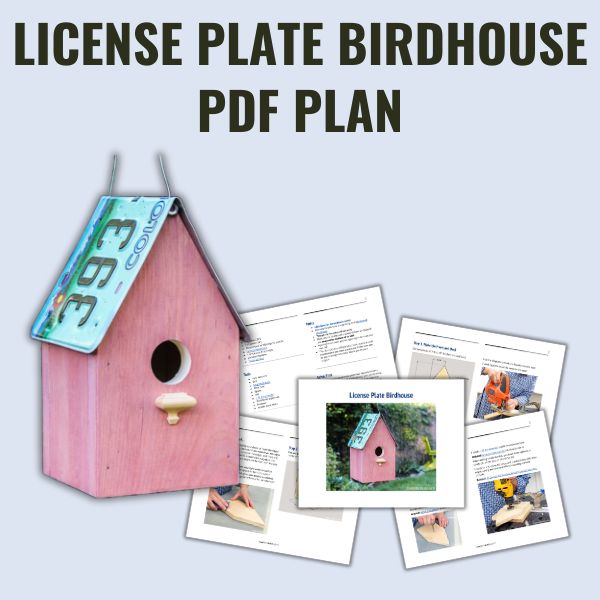
Includes:
- List of tools and materials
- Complete measurements (in inches)
- Easy-to-follow instructions
- Step-by-step photos
- Detailed diagrams
Final Thoughts
This DIY birdhouse is the perfect way to recycle old license plates and give new life to a forgotten item. Not only is it a fun and easy project, but it also makes an excellent gift for friends and family members who are car buffs or enjoy spending time outdoors.
Get your PDF plan (including the detailed instructions and measurements) now!
Thank you for stopping by. If you enjoyed this tutorial, would you please take a moment and pin it to Pinterest? I’d really appreciate it!
Recommended For You

Pin This For Later

Hi there – I’m Scott, a woodworking enthusiast and creator of Saws on Skates, a site I started in 2015 to share easy-to-follow tutorials, space-saving shop tips, and project inspiration for DIYers at any skill level. Learn more about my woodworking journey here.
as usual very nice 1 suggestion use screws for plate or bottom so u can remove it to clean it out when they leave