DIY Farmhouse Bench
Just like grandma’s! That’s what people will say when they see your DIY farmhouse bench. I won’t tell anyone that you made it in an afternoon with only 3 tools.

What Should I Build Next?
That's the question I help answer.
Every week, I send woodworking ideas to 17,000 DIYers who love building things.
You'd fit right in.
DIY Bench
This simple wooden DIY bench is an easy afternoon project.
It’s made with a few straight cuts and just a few basic tools.
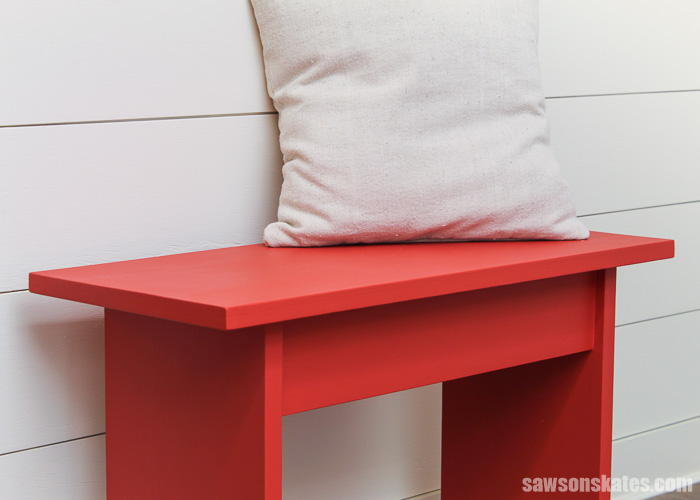
The rustic style and small size are perfect for nearly any space.
Use it indoors in an entryway, in a bedroom, or even as a small coffee table. Or use it outdoors on a deck, patio, or porch.
Get the goof-proof plans and build one today.
This tutorial contains affiliate links to supplies and tools. Purchases made using these links help support the Saws on Skates website and allows me to share more projects and tips with you. There is no cost to you for using these links. Visit my site policies for more information.
Table of Contents
How Do You Build a Farmhouse Bench?
This DIY bench is a simple project for DIYers of any skill level.
The bench can be made in an afternoon using simple woodworking skills, and just a few basic tools. That makes this a great project for beginners.
Related: 10 Must-Have Woodworking Tools for Beginners
We only need three basic tools to build this project. Tools like a miter saw, pocket hole jig, and a drill.
Related: 7 Miter Saw Tricks Every DIYer Should Know
We can use any pocket hole jig to drill the pocket holes. The inexpensive, user-friendly Kreg Jig 320 is a great choice to drill the pocket holes for this project.
Related: How to Use a Kreg Jig 320
What Kind of Wood Do You Need?
This easy-to-make bench can be made with just about any type of wood. I used common pine to build mine. Pine is inexpensive and easy to work with. I purchased the pine 1×3s and 1×4s at my local home improvement store.
Related: Beginner’s Guide to Wood Sizes

You could change the look of this farmhouse bench by building it entirely out of hardwood like oak or maple.
Or you could paint the legs and use hardwood for the top.
Related: 7 Tips for Using a Pocket Hole Jig with Hardwoods
How to Attach the Top
Many times we’ll want to attach a table top to a base with table top fasteners.
The table top fasteners allow for wood movement during seasonal changes. If we don’t allow for wood movement the table top could crack.
In many cases, I recommend not to use pocket screws to attach a table top. Instead, I recommend attaching a table top with table top fasteners which allow for wood movement.
Related: How to Attach a Table Top to a Base (The Right Way)
This project is an exception.
The reason is, the wood grain of the top and the legs are oriented in the same direction.
Wood expands the most across its width.
The top and legs will expand across their width or from front to back of this piece. There are no fasteners or cross members that will prevent this movement. This should reduce the chances of the wood cracking or splitting.
Related: Mistakes with Wood Can Cause Your DIY Furniture to Crack
How Do You Finish the Farmhouse Bench?
This DIY bench could be finished in a variety of ways. It could be left natural, painted, stained, or a combination of paint and stain.
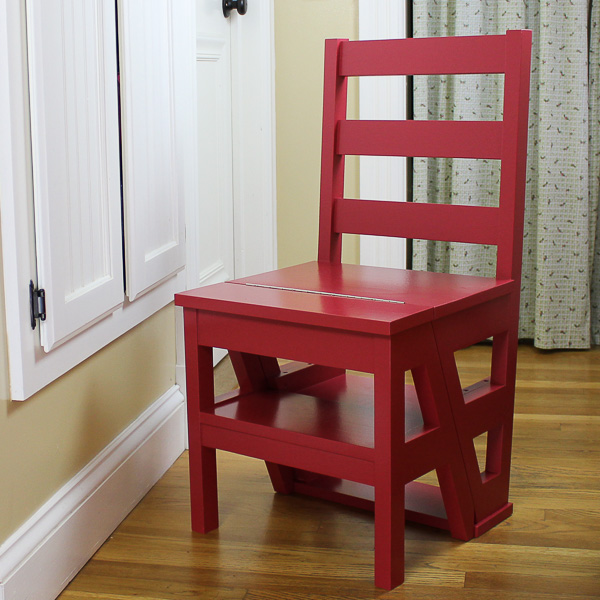
I originally planned to paint the legs an antique green color and stain the top of my bench with this homemade stain.
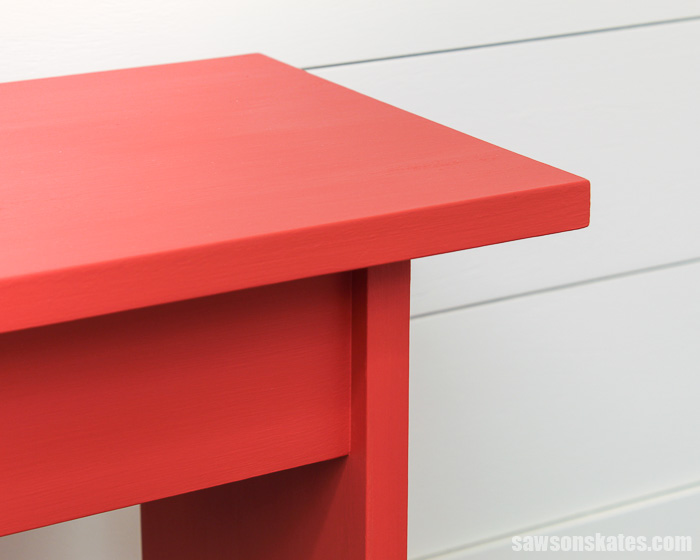
But those plans changed. I fell in love this color by Behr called “Cherry Red” and decided to paint the entire piece!

How to Use This Farmhouse Bench
- Indoors or outdoors
- In an entryway
- In a bedroom at the foot of a bed
- As a small coffee table
- On a porch, patio, or deck
DIY Farmhouse Bench
Printed Plan
- Get the PDF plan here (includes detailed instructions, measurements, and bonus tips).
Supplies
Tools
- Tape Measure
- Drill
- Kreg Jig
- Miter Saw
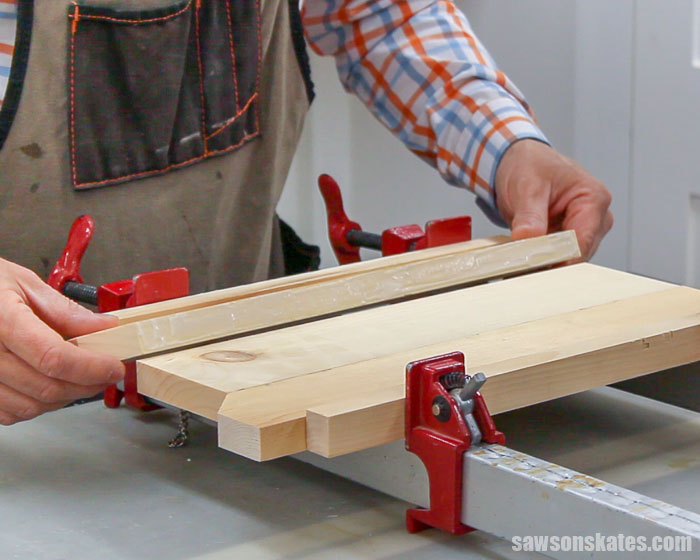
Step 1. Make the Legs
Cut six pieces of wood to length for the legs. Apply glue to the edges, and clamp to form two leg assemblies.
When the glue is dry, drill pocket holes at the top of each side panel. These pocket holes will be used to join the side to the top.
Related: How to Use a Pocket Hole Jig
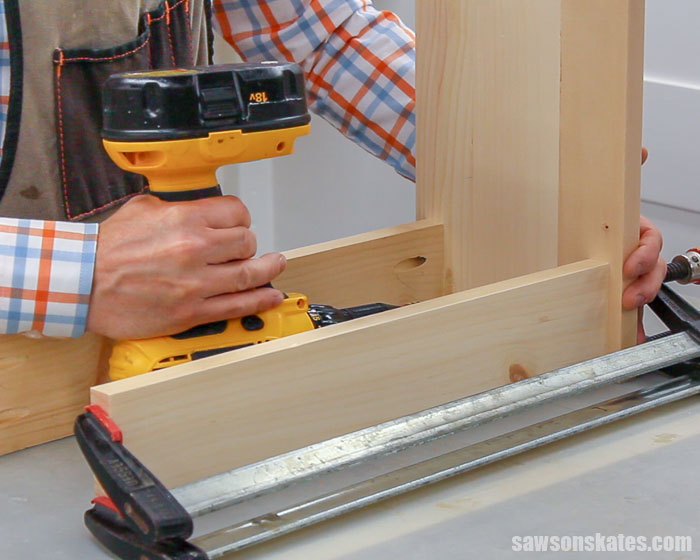
Step 2. Attach the Rails
Cut three pieces of wood to length for the rails and drill pocket holes in each end.
Clamp the rails to the legs and attach using pocket screws.
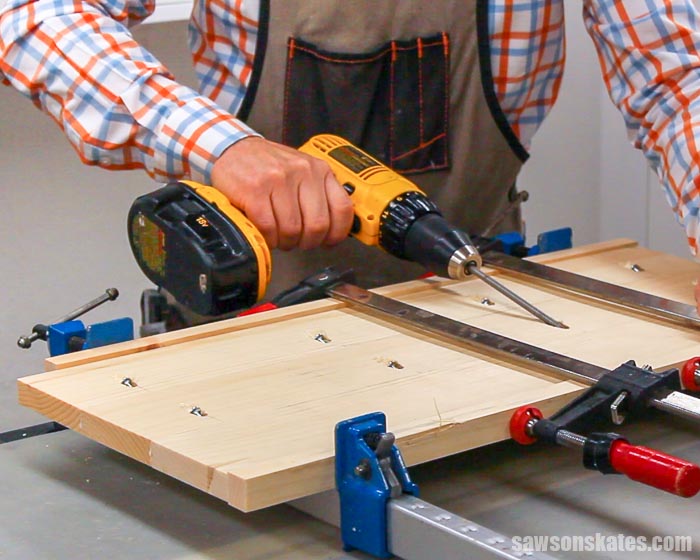
Step 3. Attach the Top
Cut three pieces of wood to length for the top. Drill pocket holes, apply glue, clamp, and attach using pocket screws.
Related: How to Edge Join with Pocket Holes
Position the top on the legs and attach using pocket screws.
Step 4. Finish the DIY Bench
This DIY bench could be finished in a variety of ways. It could be left natural, painted, stained, or a combination of paint and stain.
I painted my bench with two coats of Behr “Cherry Red”.
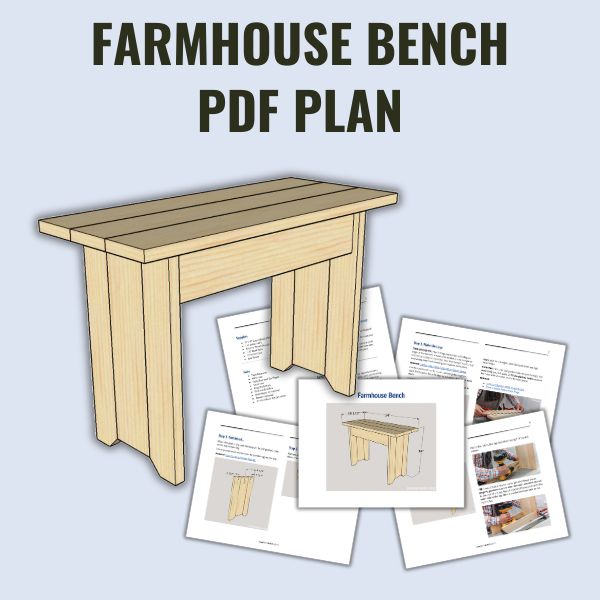
Includes:
- List of tools and materials
- Complete measurements (in inches)
- Easy-to-follow instructions
- Step-by-step photos
- Detailed diagrams
Final Thoughts
This DIY farmhouse bench is an easy afternoon project made with a few straight cuts and few basic woodworking tools.
The rustic style and small size are perfect for nearly any space.
Get the PDF plan (including the detailed instructions and measurements) now!
Thank you for stopping by. If you enjoyed this tutorial, would you please take a moment and pin it to Pinterest? I’d really appreciate it!
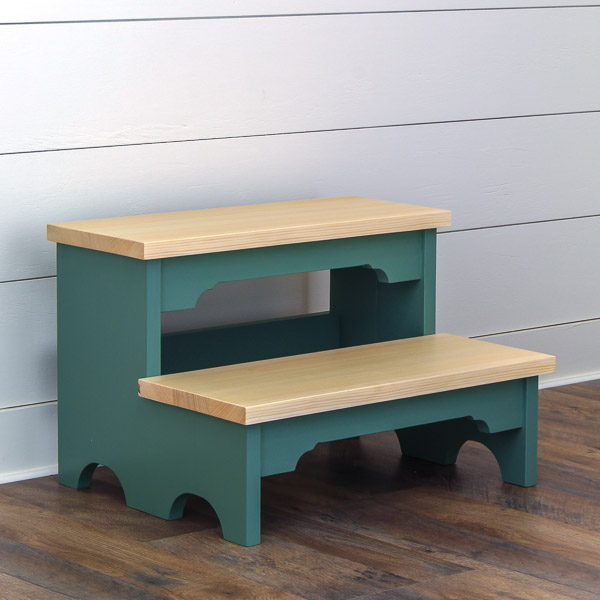
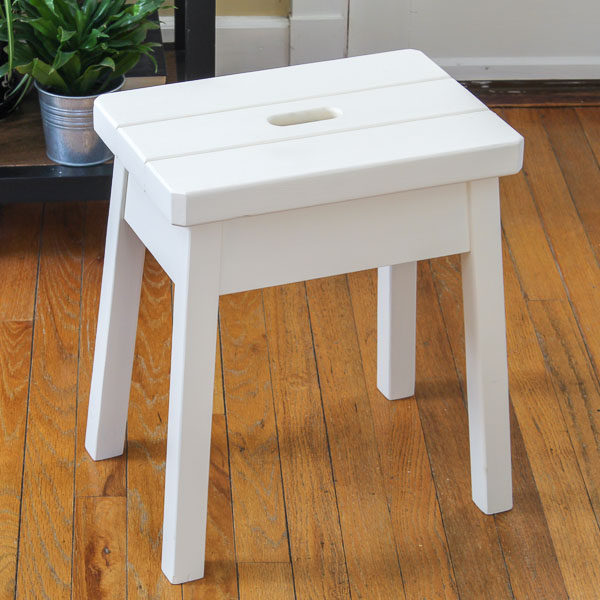
Recommended For You
Pin This For Later

Hi there – I’m Scott, a woodworking enthusiast and creator of Saws on Skates, a site I started in 2015 to share easy-to-follow tutorials, space-saving shop tips, and project inspiration for DIYers at any skill level. Learn more about my woodworking journey here.
Hi Scott,
I just wanted to thank you for putting out your plans for free. So many people are selling their plans and that makes it hard for us beginner woodworkers. You do a good service for us amateurs.
You’re welcome, David. I’m glad you’re enjoying the plans!