Farmhouse DIY Step Stool
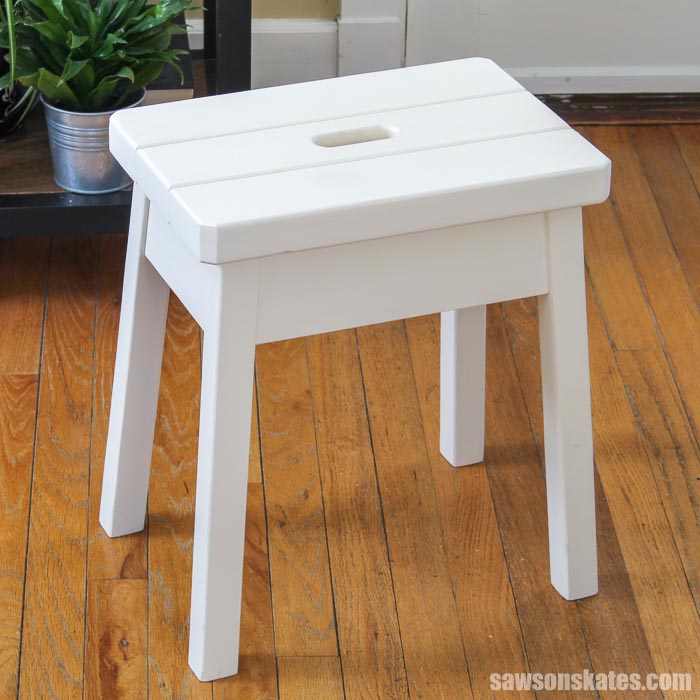
This wood DIY step stool has a simple, rustic design. The angled legs and chunky top give it a farmhouse feel. It’s an easy project made with basic tools.
DIY Step Stool
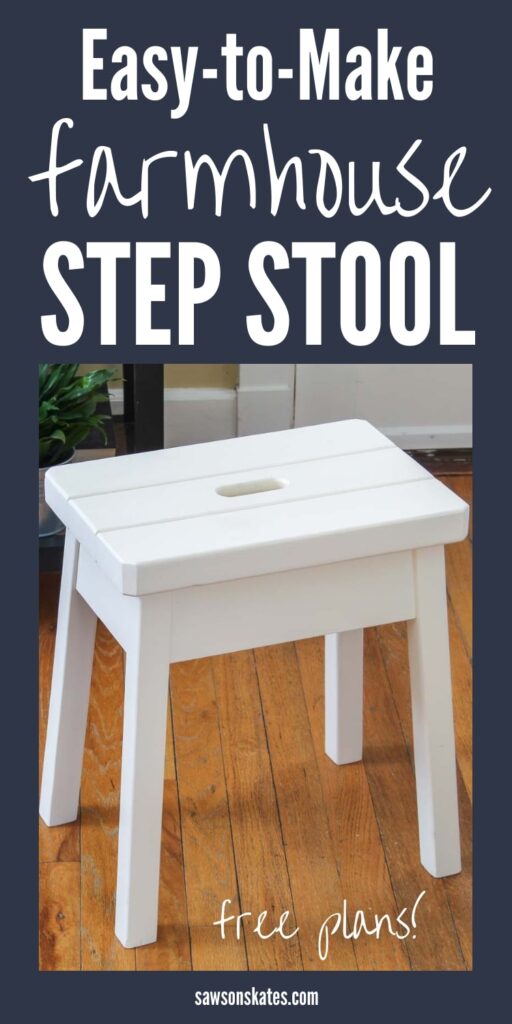
Make your own DIY step stool with these free plans! This stool has a simple, rustic design that is perfect for nearly any room of your home. The angled legs, chunky top, and chalky paint finish give this piece a farmhouse feel. This project also makes a great side table or plant stand.
You may also enjoy this antique-inspired DIY step stool.
Originally published November 24, 2015 updated April 13, 2020
This tutorial contains affiliate links to supplies and tools. Purchases made using these links help support the Saws on Skates website and allows me to share more projects and tips with you. There is no cost to you for using these links. Visit my site policies for more information.
Before we get into how to make a DIY step stool, be sure to click the subscribe button at the bottom of this page to sign up for my FREE weekly newsletter loaded with helpful pocket hole tricks, space-saving workshop ideas, clever DIY tips and more!
Table of Contents
- What Skills Do You Need to Build This DIY Step Stool?
- What Tools Do You Need to Build This DIY Step Stool?
- What Kind of Wood Do You Need to Make This DIY Step Stool?
- How Do You FinishThis DIY Step Stool?
- Customize This DIY Step Stool
- Where to Buy a Step Stool
- How to Make This Step Stool
- Get the Free Printed Plan
What Skills Do You Need to Build This DIY Step Stool?
This is an easy do it yourself project for DIYers of any skill level. It’s made with just a few basic tools which makes this a great project for beginners.
Related: Beginner’s Guide to Woodworking Terms
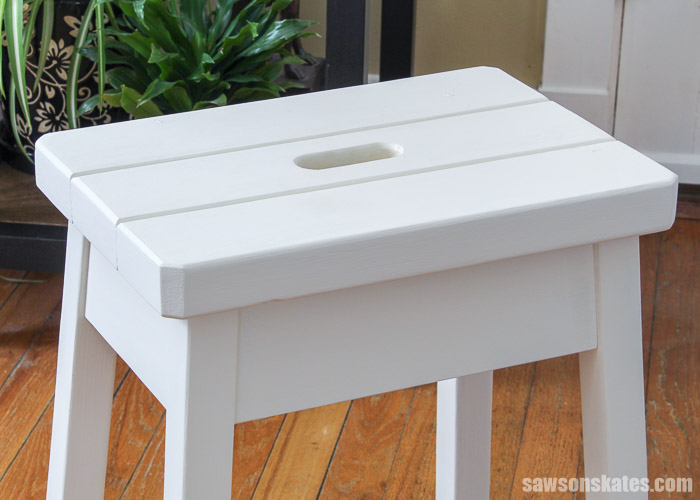
The only tricky part are the legs. The legs are splayed which means they flare out from the top. Splayed legs like this require compound miter cuts.
I’ll walk you through how to set up your miter saw and show you how easy it is to make these cuts.
Related: When to Use a Miter Saw vs Table Saw
Back to Table of ContentsWhat Tools Do You Need to Build This DIY Step Stool?
We only need a few basic tools to build this simple do it yourself step stool. Tools like a miter saw, Kreg Jig, and a drill.
We’ll need a ⅝” Forstner bit and a 1″ Forstner bit. The ⅝” Forstner bit will be used to make a recessed area for the table top fasteners.
Wood moves with seasonal changes and the table top fasteners will allow the top of the stool to move with those changes.
Related:
- Mistakes with Wood Can Cause Your DIY Furniture to Crack
- Wood Table Top Can Crack Without Proper Table Top Fasteners
The 1” Forstner bit will be used to make the handle in the top of the stool. One hole will be drilled at each end of the handle. Then we’ll use a jig saw to remove the wood between the holes.
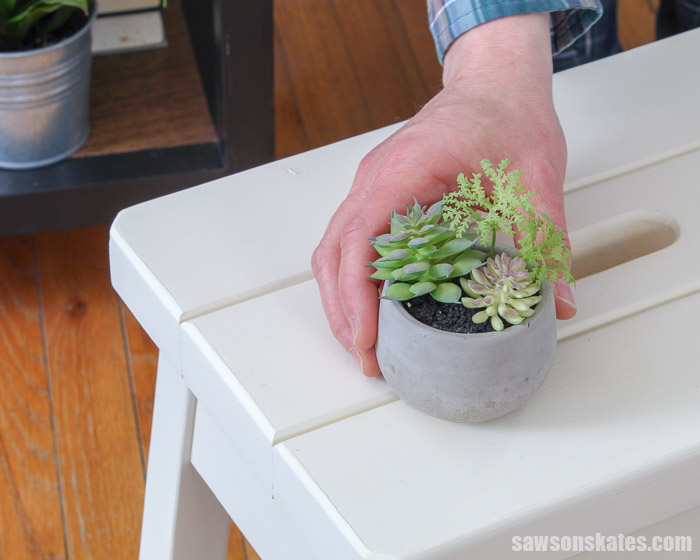
It’s handy to have an orbital sander, but you could use a sanding block to smooth the parts instead. It’s also helpful to have an assortment of bar clamps.
You may enjoy these helpful tool tutorials:
- How to Use a Kreg Jig
- Beginner’s Guide to Using a Power Drill
- 7 Miter Saw Tricks Every DIYer Should Know
What Kind of Wood Do You Need to Make This DIY Step Stool?
This easy-to-build step stool doesn’t require much wood. You might be able to make it with scrap wood that you already have in your workshop.
Related: How to Decide What Scrap Wood to Keep
The top is made with 2×4s. The aprons or sides of the stool are made with 1×4s. The legs are made with 2×2s.
Related: Beginner’s Guide to Wood Sizes
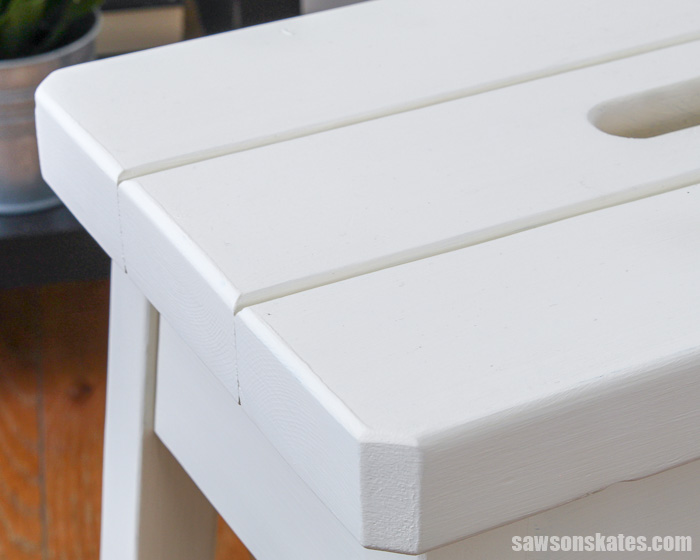
Sometimes it’s difficult to find narrow width boards like 2×2s that are straight. Many times they’re wavy, twisted or bent like a banana!
If you have a table saw, and you’re comfortable using it, you could rip 2×4 boards down to the width of 2×2 boards to make the legs. This is a good way to get straighter boards for your project.
Related: Beginner’s Guide to Table Saw Safety
You can still make this step stool if you are not comfortable using a table saw or don’t have one. Just look through the pile of 2×2s and search for the straightest boards with the least amount of knots.
It may take some digging, but you will find some. I have been known to go through an entire pile of lumber just to find the right boards for a project.
Back to Table of ContentsHow Do You Finish the DIY Step Stool?
This step stool can be painted, stained or left natural. I chose to paint mine.
First, I sanded the wood smooth. Then, I applied two coats of this chalk-type paint with this paintbrush. Chalk-type paint dries quickly so I was able to apply two coats in just a few hours.
Back to Table of ContentsCustomize This DIY Step Stool
The height of this step stool is about 17-½ inches. One way to customize it is to make it shorter. Simply make the legs shorter for a shorter stool.
Back to Table of ContentsWhere to Buy a Step Stool
Store-bought step stools are available if you don’t have the tools or time to make one. Here are a few options you can buy online and have sent to your home.
Back to Table of ContentsHow to Make a DIY Step Stool
Printed Plan
- Get the FREE plan here (includes detailed instructions, measurements, and bonus tips).
Supplies
- Wood (per printed plan)
- 1-¼” Pocket Screws
- 2-½” Pocket Screws
- #6 ¾” Wood Screws
- Figure 8 Table Top Fasteners (I used these)
- Wood Glue
- Chalk-Type Paint (I used this one)
Tools
- Tape Measure
- Drill
- Kreg Jig
- Kreg Multi-Mark
- Miter Saw
- Jig Saw
- ⅝” Forstner Bit
- 1″ Forstner Bit
- Chisel
DISCLAIMER: This DIY step stool has not been weight tested or stress tested. Excess weight or excess stress may make the step stool unsafe to use. Discontinue use if at any time the stool feels unsafe. Joints and connections may become loose over time and could make the stool unsafe to use. By using these plans you are agreeing to do so at your own risk.
Step 1. Make the Legs
Cut 4 pieces of wood to length for the legs.
Related: How to Cut Wood for Beginners
Step 2. Attach the Side Aprons
Cut 2 pieces of wood to length for the side aprons and drill pocket holes in each end.
Related: How to Use a Kreg Jig
Apply glue to the ends of the apron, clamp to the legs, and attach using pocket screws. Repeat for the remaining apron.
Step 3. Attach the Front and Back Aprons
Cut 2 pieces of wood to length for the front and back aprons and drill pocket holes in each end.
Next, I placed a leg assembly on either side of the apron. Apply glue to the ends of the apron, clamp to the legs, and attach using pocket screws. Repeat for the remaining apron.
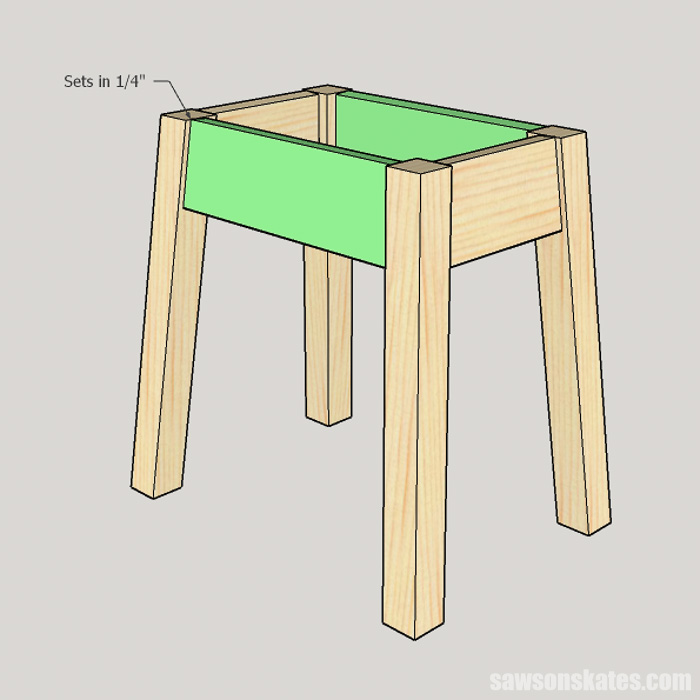
Step 4. Attach the Table Top Fasteners
On the side aprons, drill holes for the table top fasteners. Attach a table top fastener in each hole using a wood screw.
Step 5. Make the Top
Cut 3 pieces of wood to length for the top. In one piece, make the handle. On the remaining two boards, cut a 45-degree angle on each corner.
Apply glue to the edges of the pieces, clamp, and attach using pocket screws.
Step 6. Attach the Top
Center the top on the stool, and attach the top to the table top fasteners with wood screws.
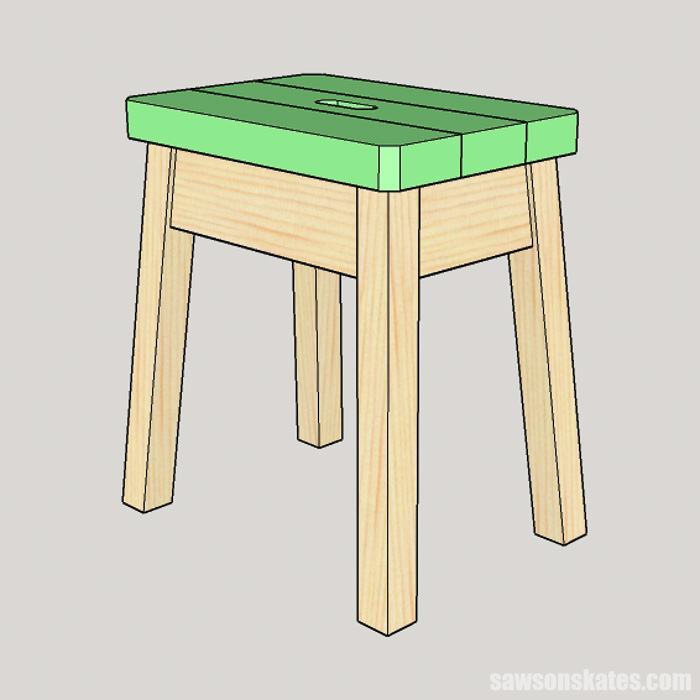
Step 7. Finish the Step Stool
I sanded the entire piece with 100 grit, 120 grit and finished sanding with 150 grit sandpaper. Then, I applied two coats of this chalk-type paint.
Final Thoughts
Make your own DIY step stool with these free plans! This stool has a simple, rustic design that is perfect for nearly any room of your home. The angled legs, chunky top, and chalky paint finish give this piece a farmhouse feel. This project also makes a great side table or plant stand.
Get the free plan (including the detailed instructions and measurements) now!
Thank you for stopping by. If you enjoyed this tutorial, would you please take a moment and pin it to Pinterest? I’d really appreciate it!

Nice. Thanks for sharing.
Thank you!
Very well explained and done in a manner that anyone with a little background in DIY can complete in a way that will look very professional in appearance. Looking forward to all of your projects. Happy Holidays!!
Lou
Hi Lou – Thank you for stopping by and for the compliments!