DIY French Cleat Kreg Rip-Cut Holder
Tired of tripping over your Kreg Rip-Cut? This clever DIY holder keeps it organized and ready for action. Make one with these step-by-step plans.
What Should I Build Next?
That's the question I help answer.
Every week, I send woodworking ideas to 17,000 DIYers who love building things.
You'd fit right in.
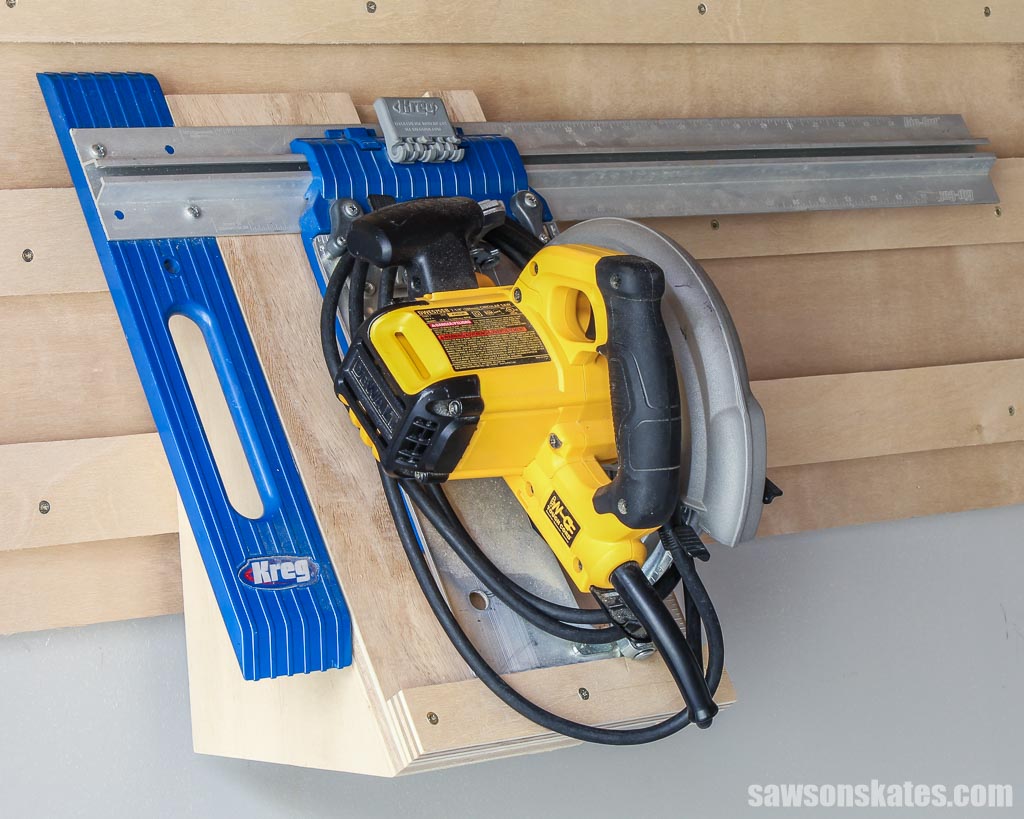
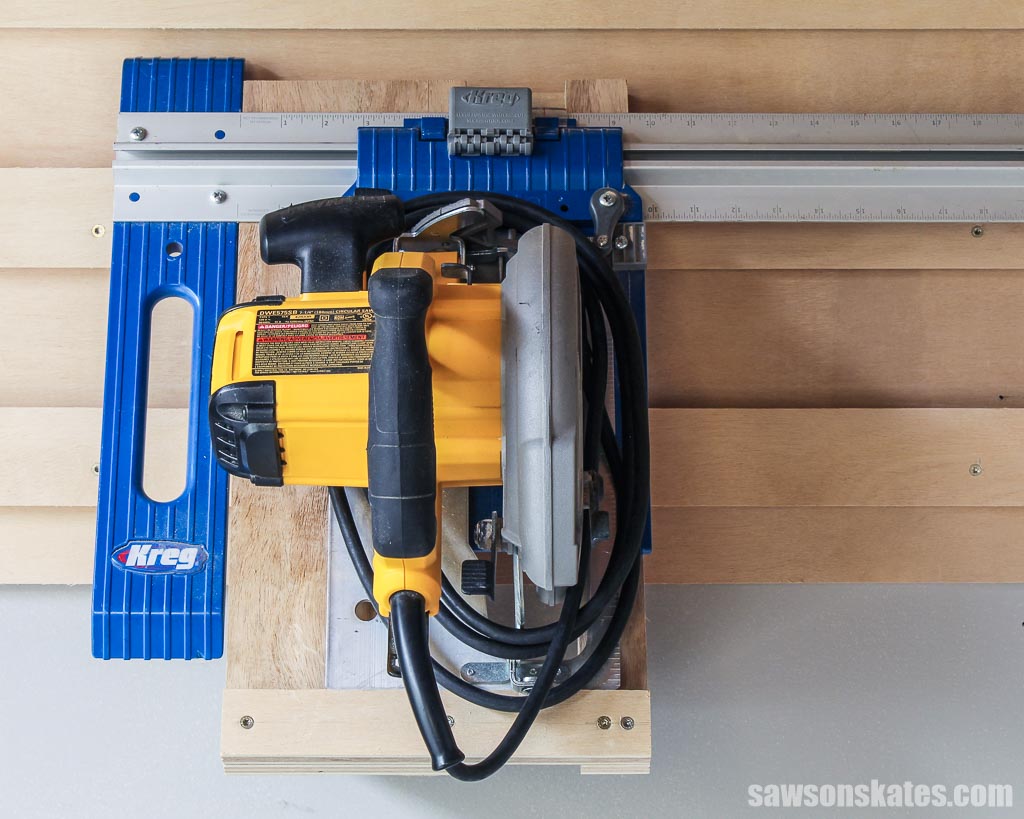
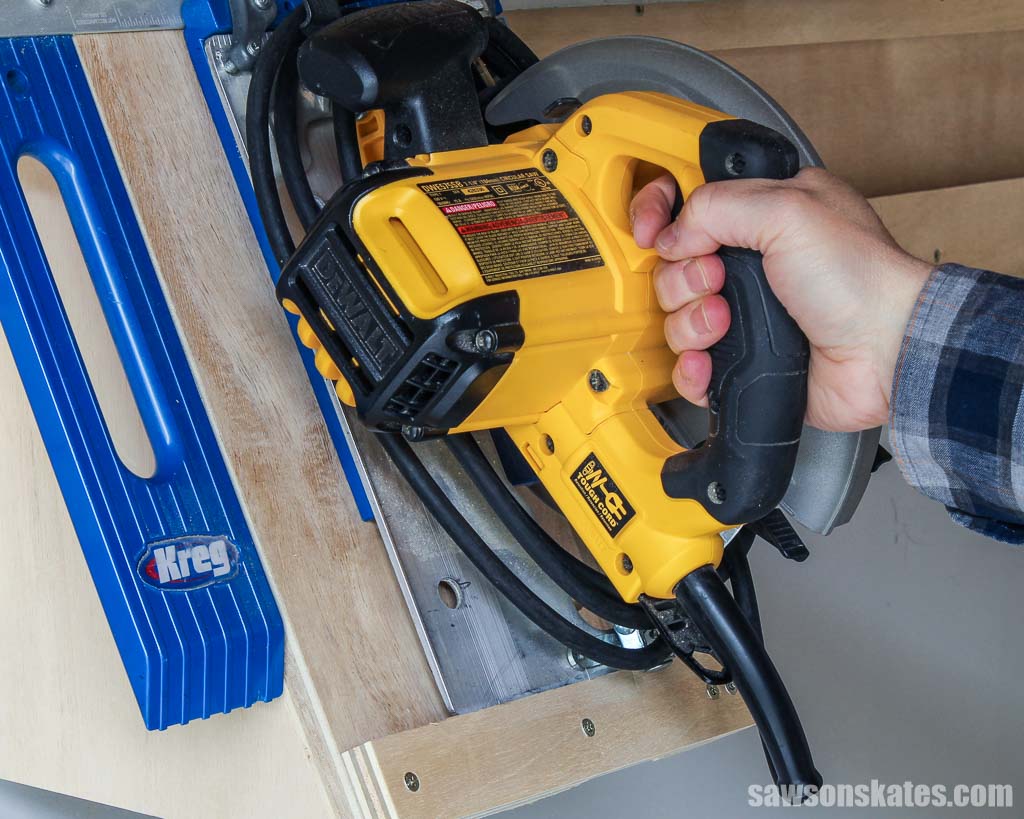
Do you struggle to store your Kreg Rip-Cut when it’s attached to your saw? This easy DIY holder is the perfect solution, keeping it organized, accessible, and ready for any woodworking project. It uses the reconfigurable French cleat system, saving valuable space in your workshop. I’ll show you how to build this practical project in a few simple steps.
For transparency: I was not paid to write about the Rip-Cut, but it was sent to me for free several years ago for a separate article on my site.
Table of Contents
This article contains affiliate links. If you purchase from these links, I may earn a small commission at no additional cost to you. Visit my site policies for more information.
Inspiration for This Project
My garage got an upgrade recently with a French cleat wall. It’s fantastic because the tool holders lock onto the angled cleats, allowing me to adjust the layout as my needs change.
Related: How to Make a French Cleat (2 Easy Ways)
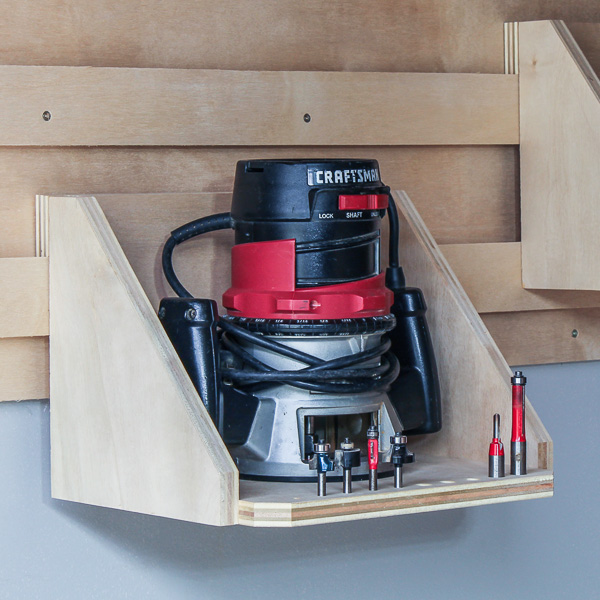
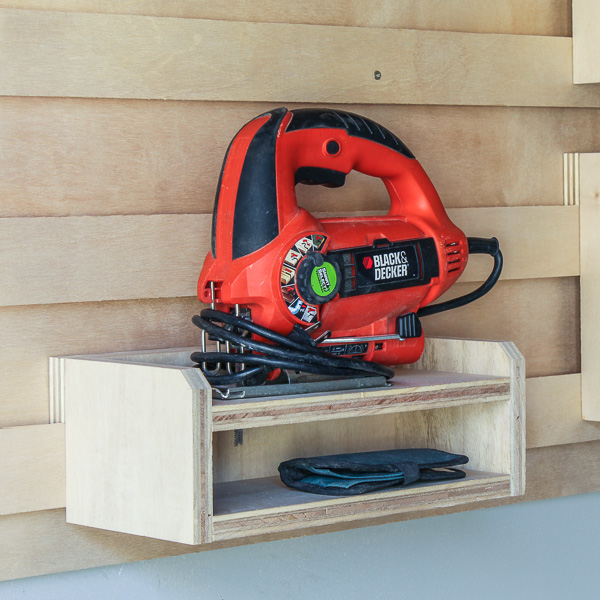
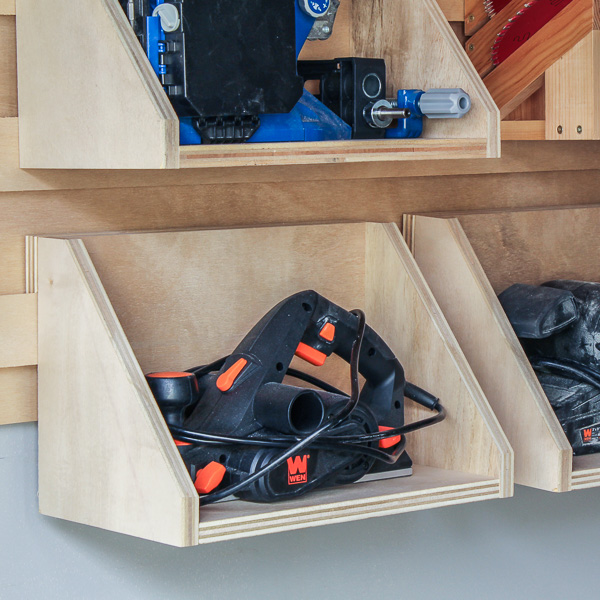
So far, I’ve made a shelf for my router, a jigsaw holder, a tool shelf for my planer and belt sander, and a holder for my pencils and tape measure.
This time, I’m tackling my Kreg Rip-Cut, a guide that attaches to your circular saw and allows you to make straight, accurate, and repeatable cuts in plywood, MDF, and other sheet goods.
Related: 4 Ways to Make Straight Cuts with a Circular Saw
I don’t frequently work with plywood, but when I do, my Rip-Cut is usually my go-to tool. While you can detach your saw from the guide, I typically keep them together, handling quick cuts with my cordless circular saw. However, storing this bulky combo is a challenge. Inspired by my circular saw holder, I designed this dedicated rack for my Rip-Cut setup.
What Wood Should You Use?
As I mentioned, plywood isn’t my usual go-to, but I had some scraps left from building my garage’s French cleat wall and tool holders, which was the perfect material for making this Rip-Cut organizer.
What Tools Do You Need?
I used four tools to make my Rip-Cut holder.
- Table saw: I used my table saw to rip the plywood to width, but you could use a circular saw and Kreg Rip-Cut instead.
- Miter saw: I used my miter saw to cut the Rip-Cut holder’s parts to length.
- Pocket hole jig: I used pocket hole joinery to assemble the holder.
- Drill: I used my drill to make the pocket holes and drive the pocket hole screws.
How to Make a French Cleat Kreg Rip-Cut Holder
Printed Plan
Get the PDF plan here (includes detailed instructions, measurements, and bonus tips)
Materials
- Wood (per the printed plan)
- 1-¼” Pocket Hole Screws
- 1-¼” Wood Screws
- 2” Wood Screws
- Double-Sided Tape
Tools
- Tape Measure
- Kreg Multi-Mark
- Table Saw
- Circular Saw and Kreg Rip-Cut
- DIY Crosscut Guide
- Pocket Hole Jig
- Drill
- Countersink Drill Bit
Step 1. Make the Sides
I need three side sections, one for the left and right and one for the middle. I had some leftover plywood wide enough to cut two sides from a single section.
Using my sliding miter saw, I cut the two pieces to length. I need three sides but remember; I can cut two from one piece.
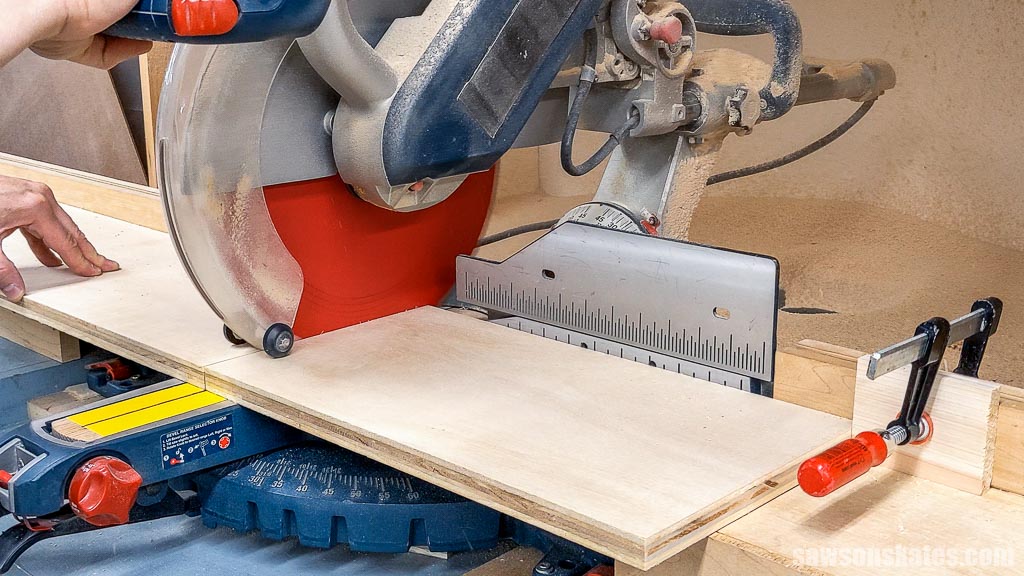
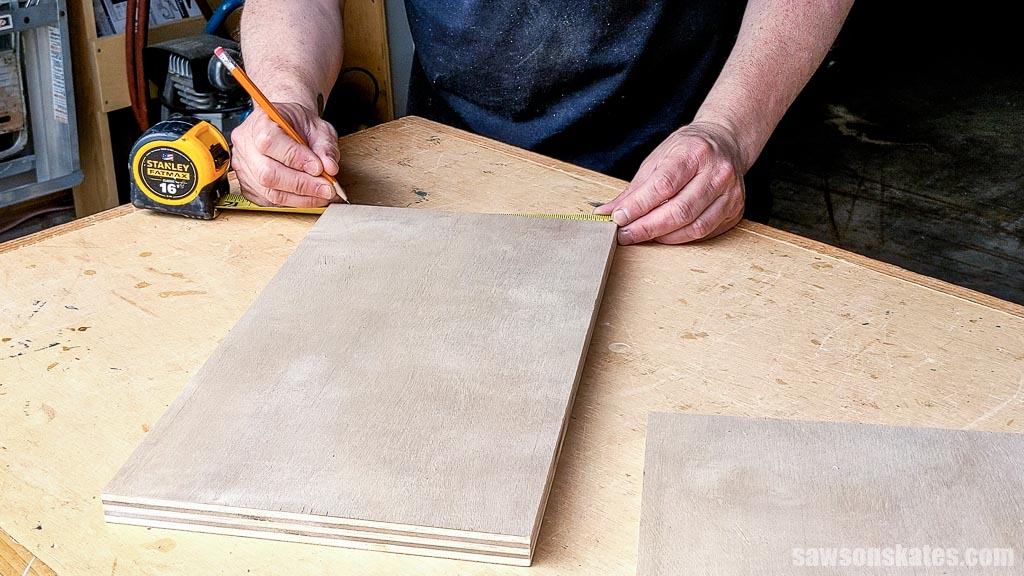
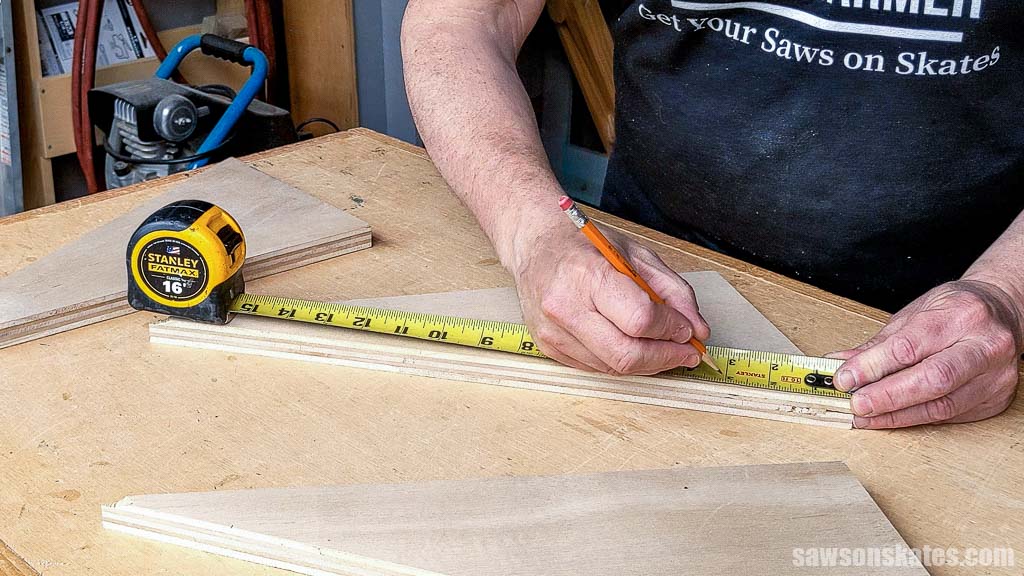
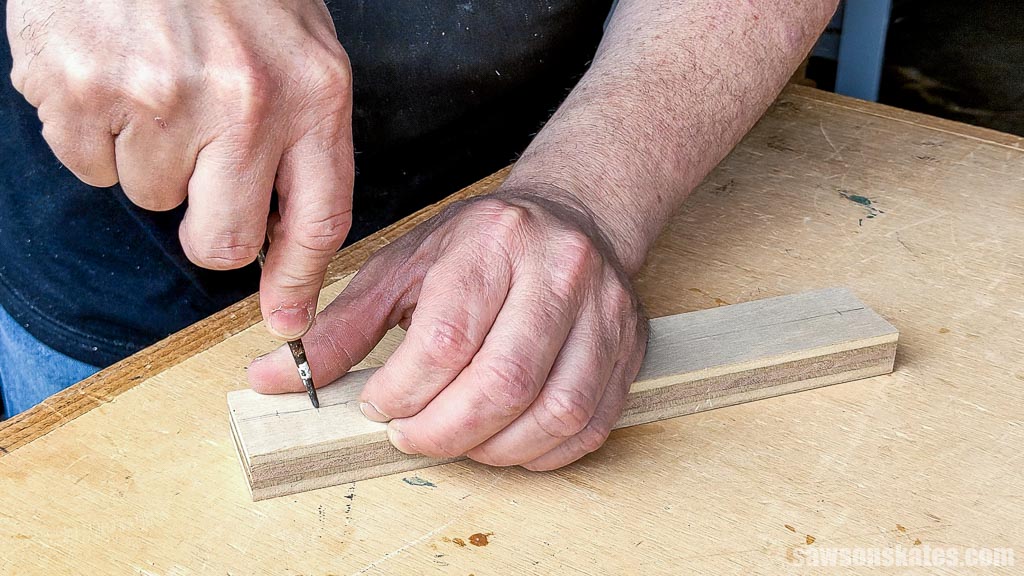
I marked the side’s width on the board.
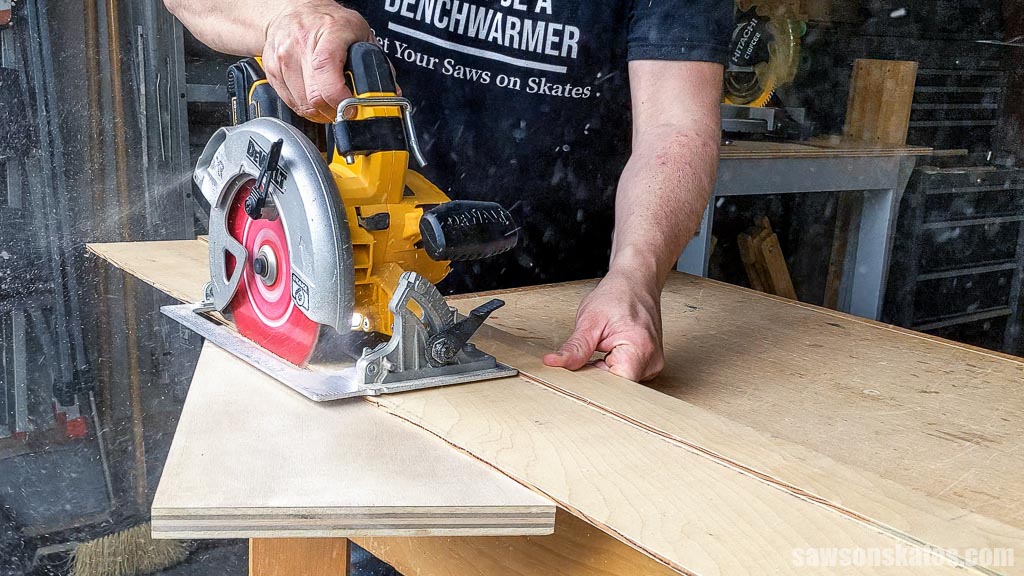
To cut the side’s angle, I’m going to use my circular saw and a DIY crosscut jig, which helps you make precise, straight cuts. It typically consists of a base and a fence which guides the saw.
There isn’t enough space to clamp the jig to the board, so I used a clever trick, applying double-sided tape to the area that will become the side.
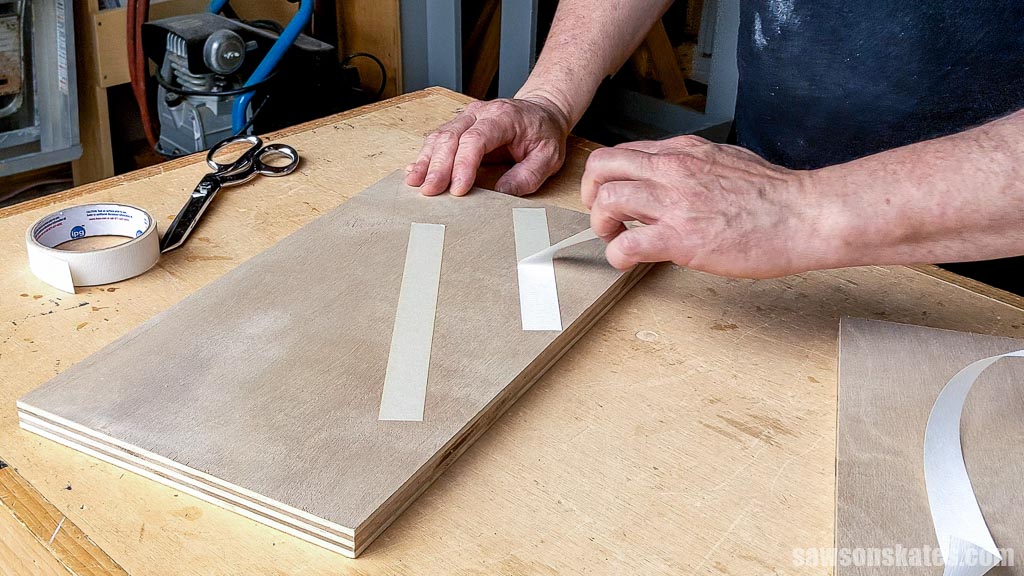
I positioned the jig on my pencil mark and the board’s corner and pressed it in place.
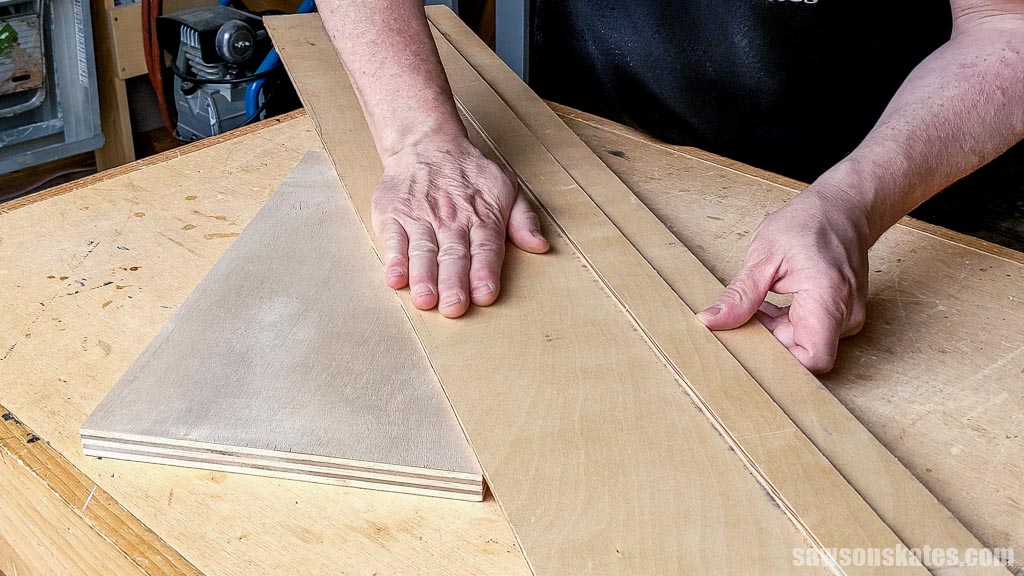
Using my circular saw, I cut the side. I repeated this step for the other two pieces.
Dig the shirt? It’s a Saws on Skates original! Find more on my Merch page.
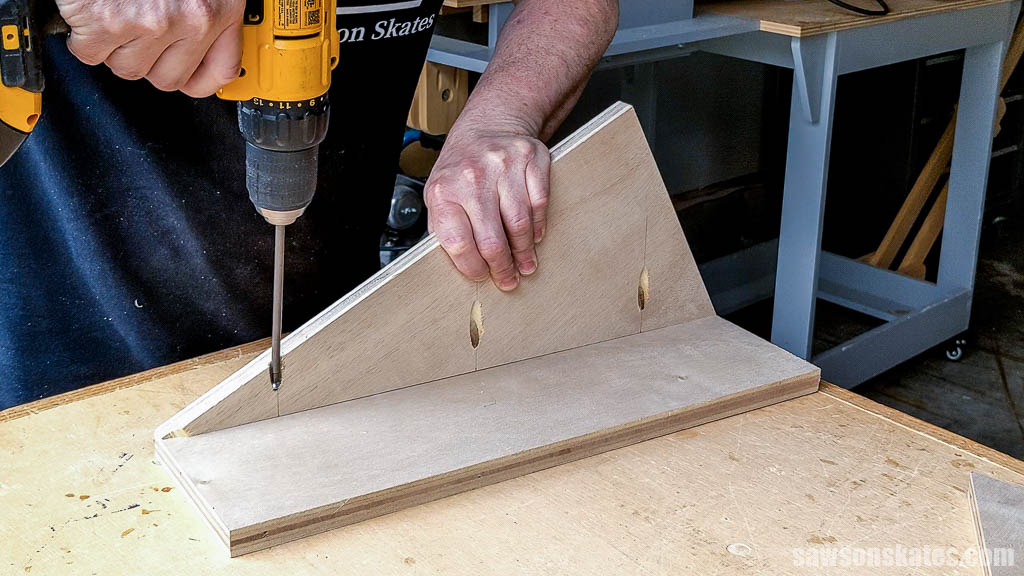
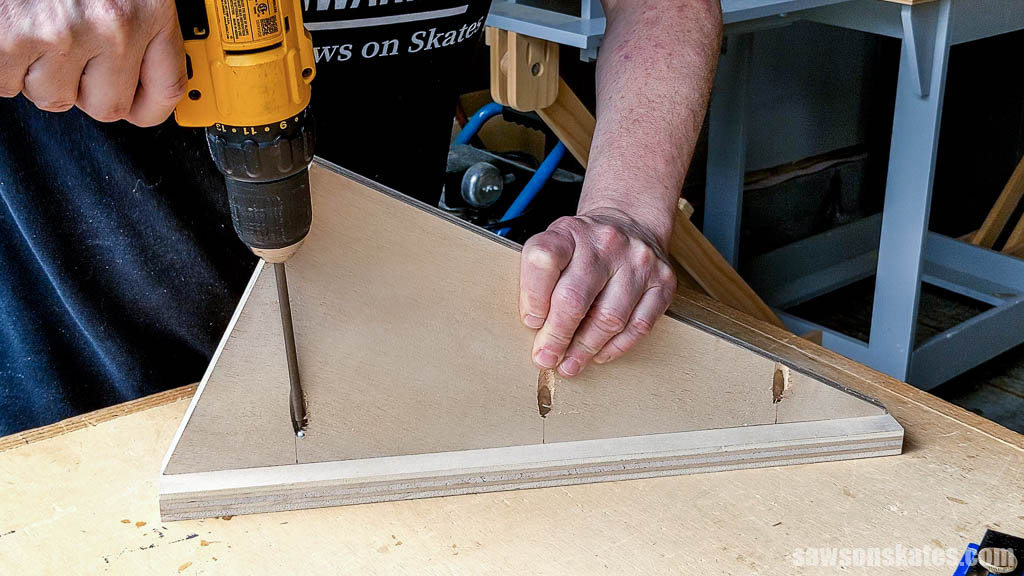
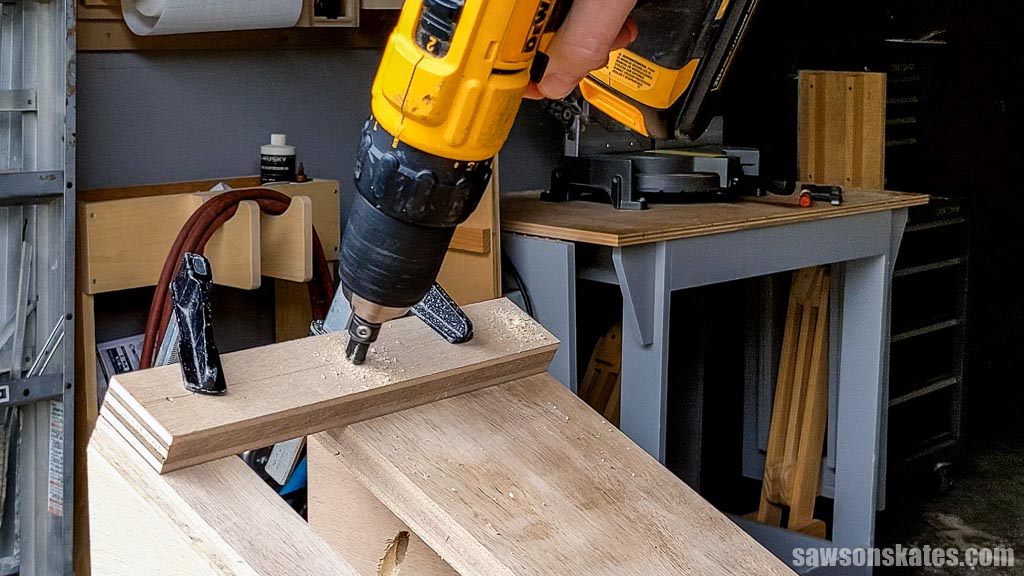
Following the diagram in the printed plan, I marked the location for pocket holes that will attach the sides to the left and right bases.
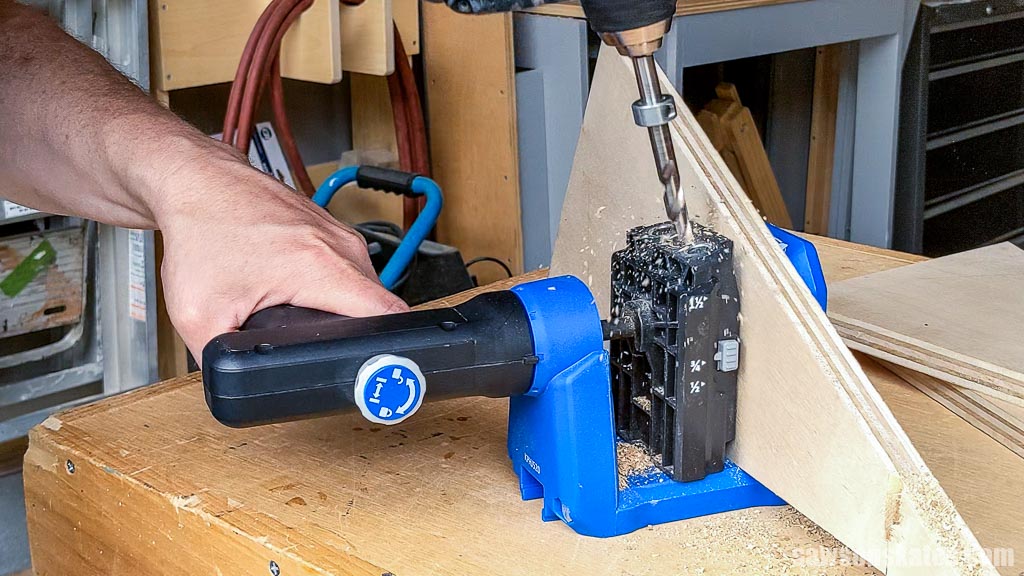
TIP: I like my shop builds to look as good as my furniture projects, so I hide pocket holes whenever possible. For this holder, I made two left sides and one right so the pocket holes will be concealed on the interior.
Using my pocket hole jig, I drilled one at each mark.
Related: How to Use a Pocket Hole Jig (Beginner Pitfalls to Avoid)
Step 2. Assemble the Left Side
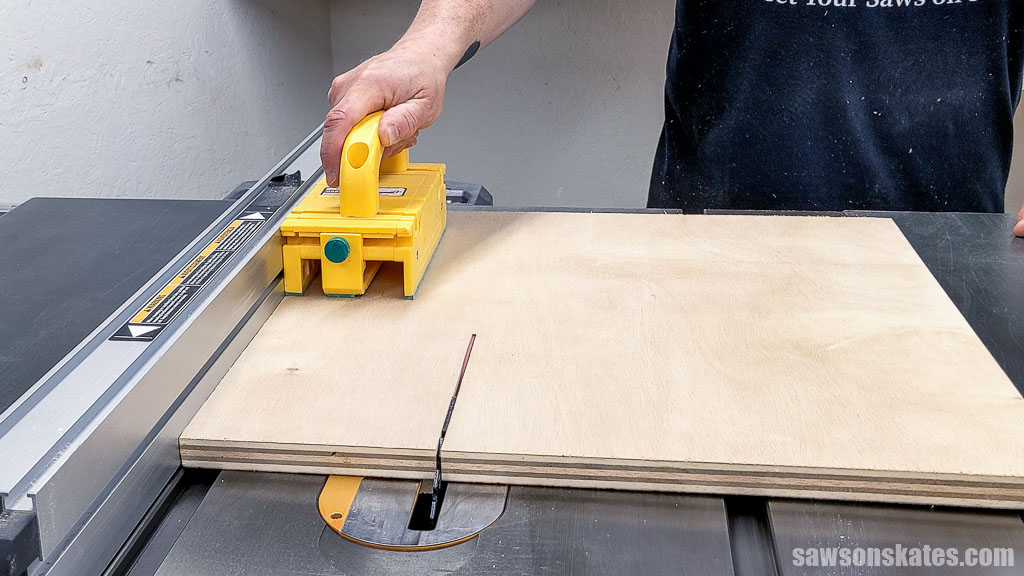
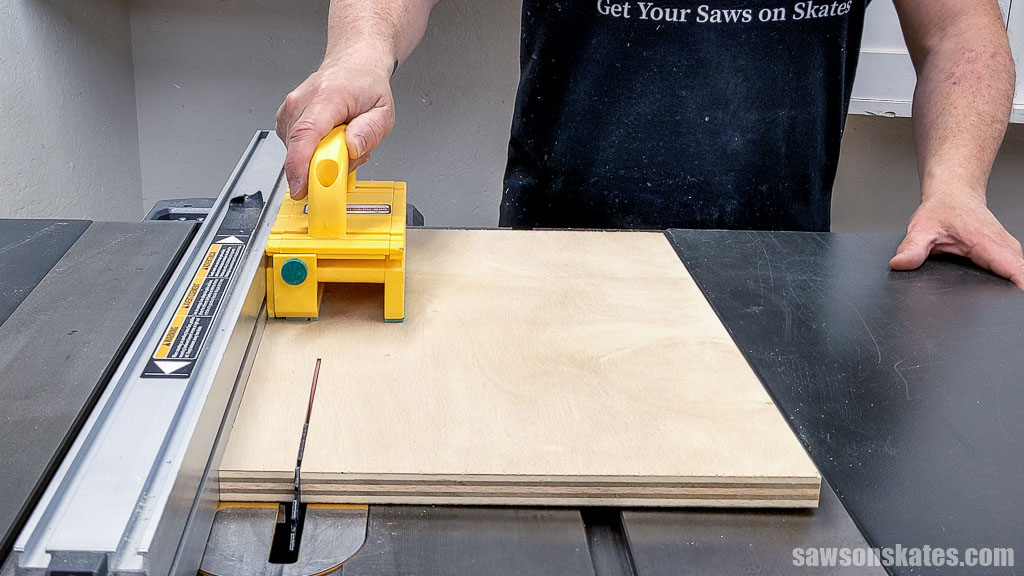
Using my Kreg Rip-Cut, I cut a piece of plywood slightly longer than I needed for the left base. After ripping it to width, I’ll cut it to the correct length.

Using my table saw, I ripped it to width. I could have also used my Rip-Cut to rip it to width.
At the miter saw, I cut it to length. I positioned the side on the base and attached it using pocket hole screws.
TIP: Clamps are essential for keeping pocket joints from shifting. While I skipped it on this angled piece, I wouldn’t recommend this method for furniture projects where precision is key.
Following the diagram in the printed plan, I positioned the second side on the base using my Kreg Multi-Mark.
I attached it using pocket hole screws.
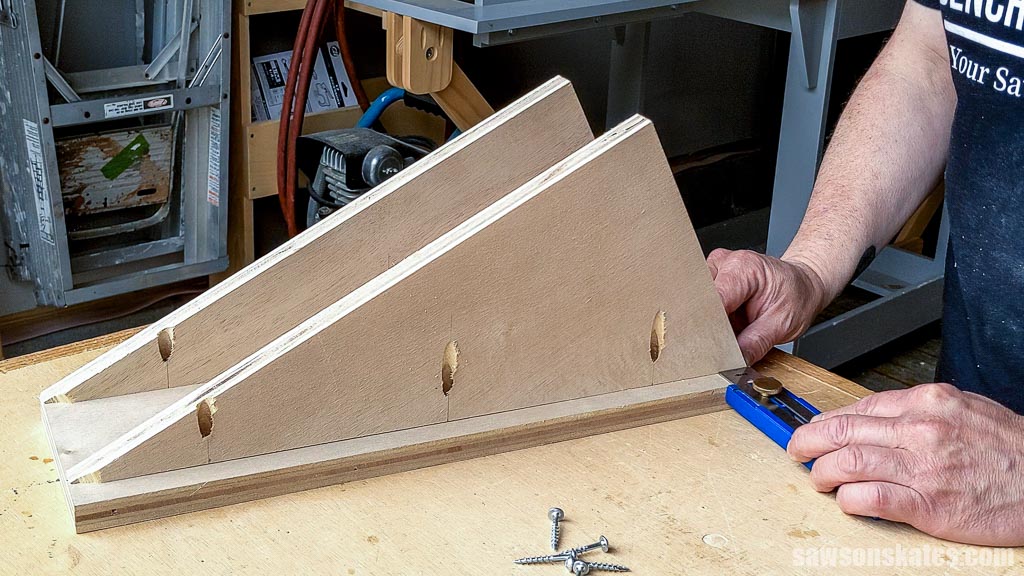
Step 3. Assemble the Right Side
The right side base, stretcher, and saw support are the same width. Using my table saw I ripped enough material to make these parts.
Using my miter saw, I cut one piece to length for the right side base.
I positioned the side on the base and attached using pocket hole screws.
Step 4. Attach the Stretcher
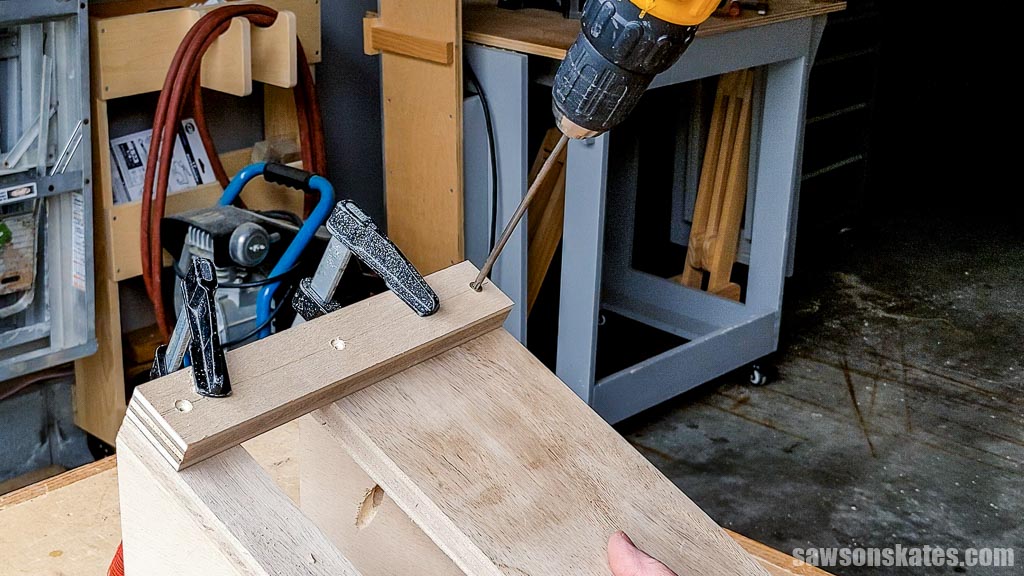
Using my miter saw, I cut a piece of material left over from Step 3 to length for the stretcher.
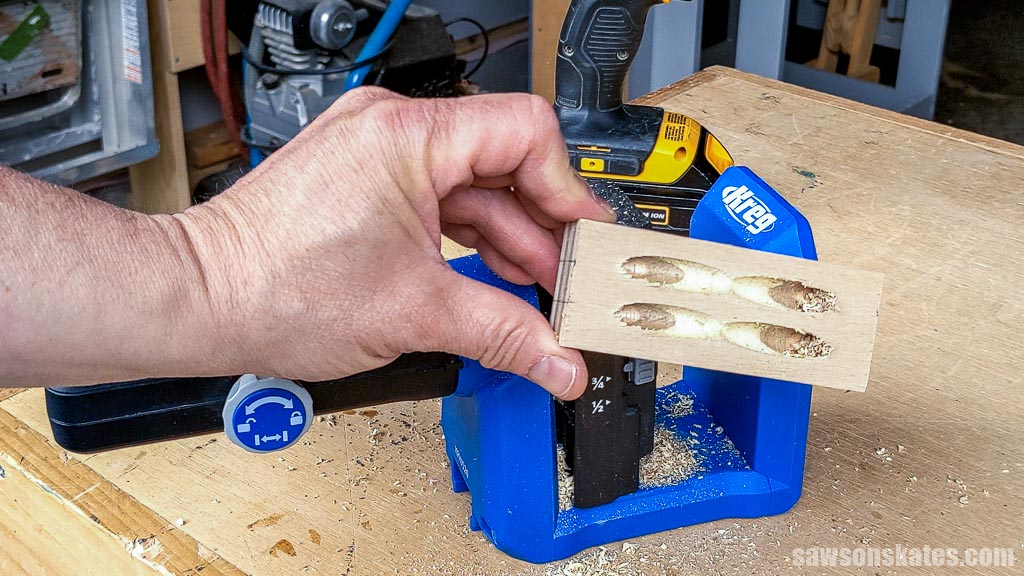
I drilled four pocket holes using my pocket hole jig.
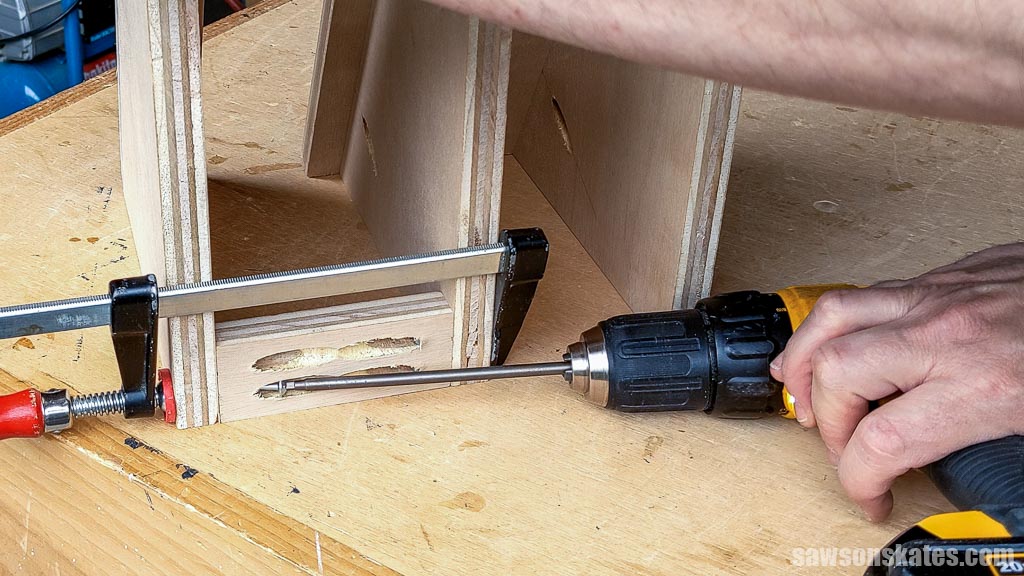
I clamped the stretcher between the right and left sides and attached it using pocket hole screws.
NOTE: The assembly lacks full support at this stage and will be a little wobbly.
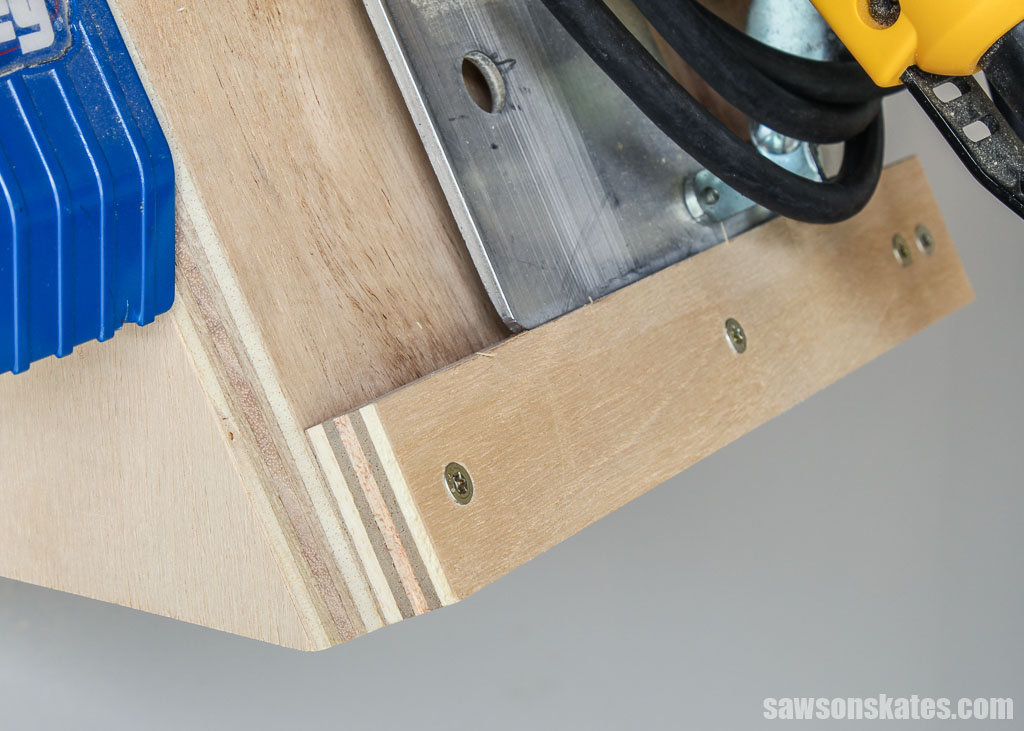
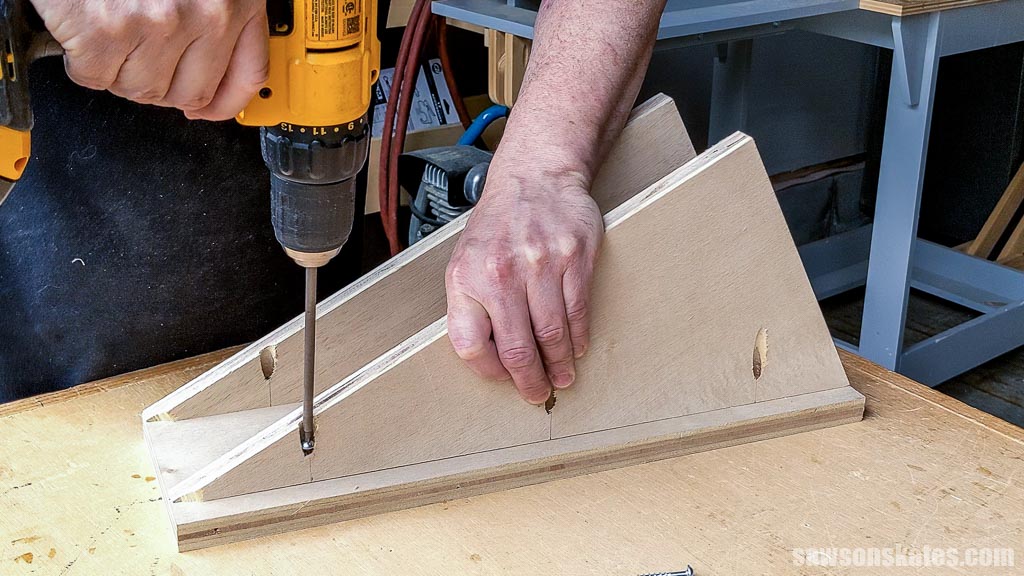
Step 5. Attach the Saw Support
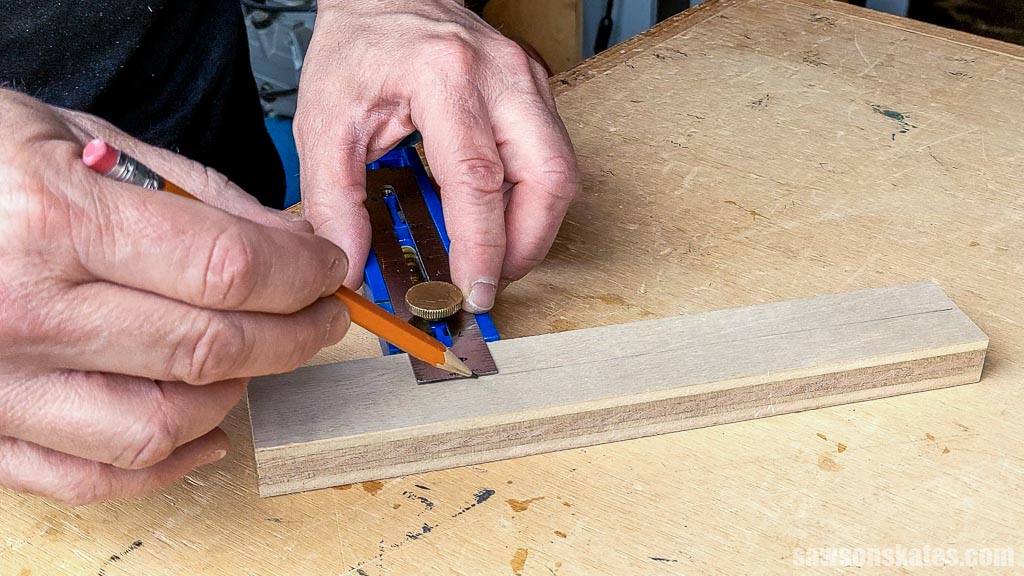
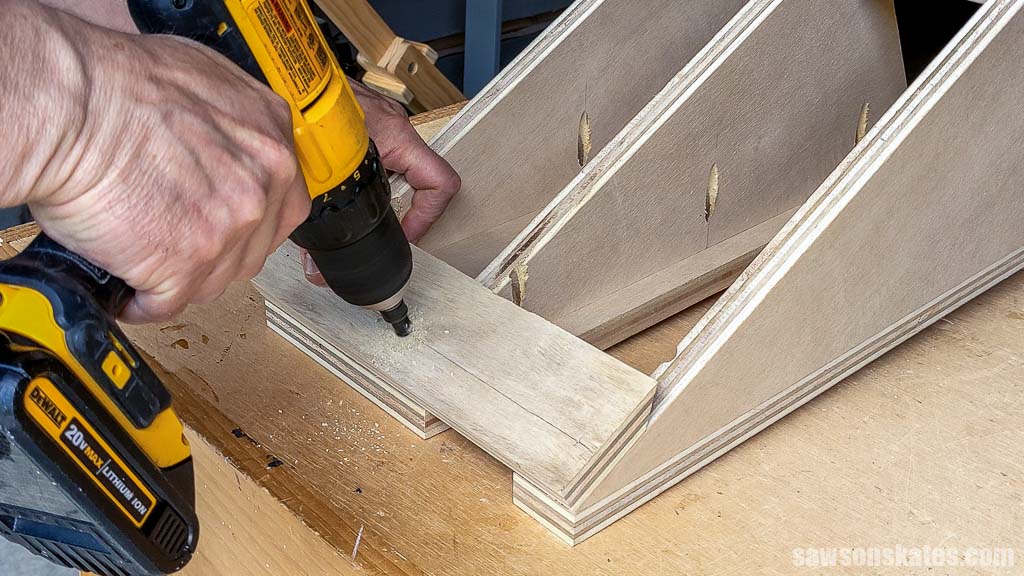
Using my miter saw, I cut a piece of material left over from Step 3 to length for the saw support.
Following the diagram in the printed plan, I marked the location for countersink holes.
TIP: You can attach the saw support with glue and brad nails instead of using screws.
Using an awl, I made a starting point for the drill bit.
Related: What is an Awl? (& How to Use It)
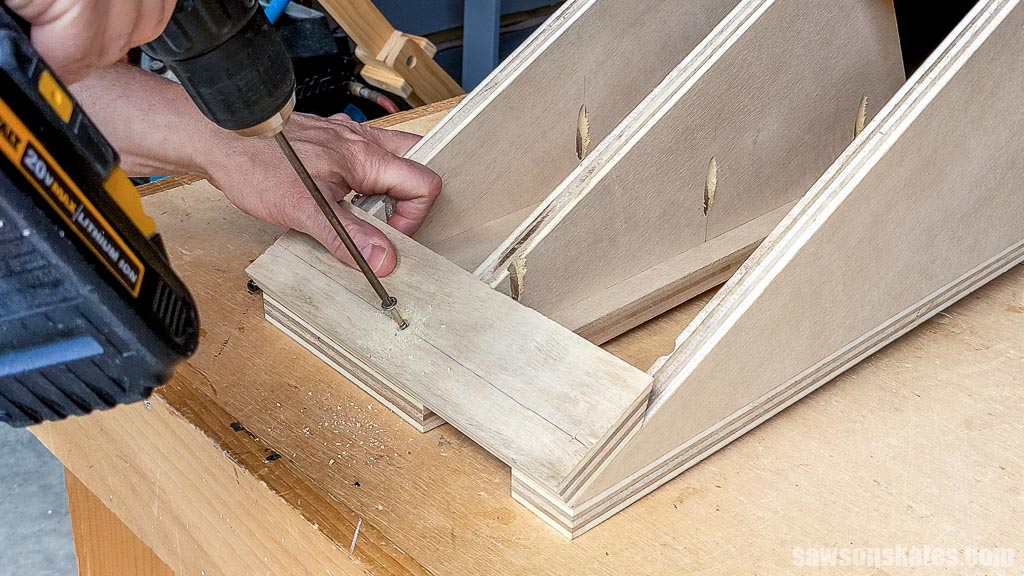
I clamped the support to the assembly and drilled a countersink hole at each mark.
Related: How to Use a Countersink Bit
I attached it using wood screws.
Step 6. Attach the French Cleat
Using my miter saw, I cut a French cleat to length and positioned it on the sides.
Related: How to Make a French Cleat
I marked the locations for countersink holes and used an awl to make a starting point for the drill bit.
Then, I used a countersink bit to drill a hole at each mark.
I attached the cleat using wood screws.
TIP: Plywood can split when driving screws through the edge, so making pilot holes with the countersink bit first helps prevent that.
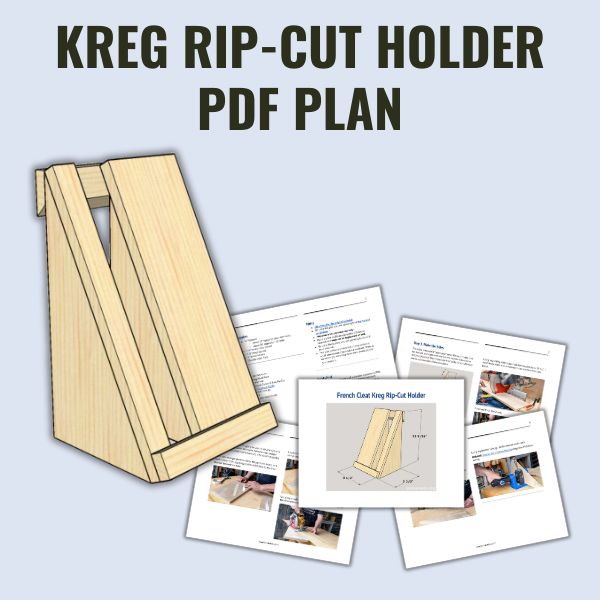
Includes:
- List of tools and materials
- Complete measurements (in inches)
- Easy-to-follow instructions
- Step-by-step photos
- Detailed diagrams
or get the best value:
Video
Watch now, and I’ll show you step-by-step how to make a DIY French cleat Rip-Cut holder.
Final Thoughts
With this DIY French cleat holder, your Rip-Cut will have a dedicated spot, keeping your workspace organized and efficient. No more scrambling – it’ll be ready to tackle any project at a moment’s notice.
Don’t wait. Get your PDF plan (including the detailed instructions and measurements) now!
Thank you for stopping by. If you enjoyed this tutorial, would you please take a moment and pin it to Pinterest? I’d really appreciate it!
Recommended For You
Pin This For Later

Hi there – I’m Scott, a woodworking enthusiast and creator of Saws on Skates, a site I started in 2015 to share easy-to-follow tutorials, space-saving shop tips, and project inspiration for DIYers at any skill level. Learn more about my woodworking journey here.