DIY Workshop Paper Towel Holder (Quick & Easy)
Say hello to clean and organized with this quick and easy DIY workshop paper towel holder! Make your own with scrap wood in a few simple steps.
What Should I Build Next?
That's the question I help answer.
Every week, I send woodworking ideas to 17,000 DIYers who love building things.
You'd fit right in.
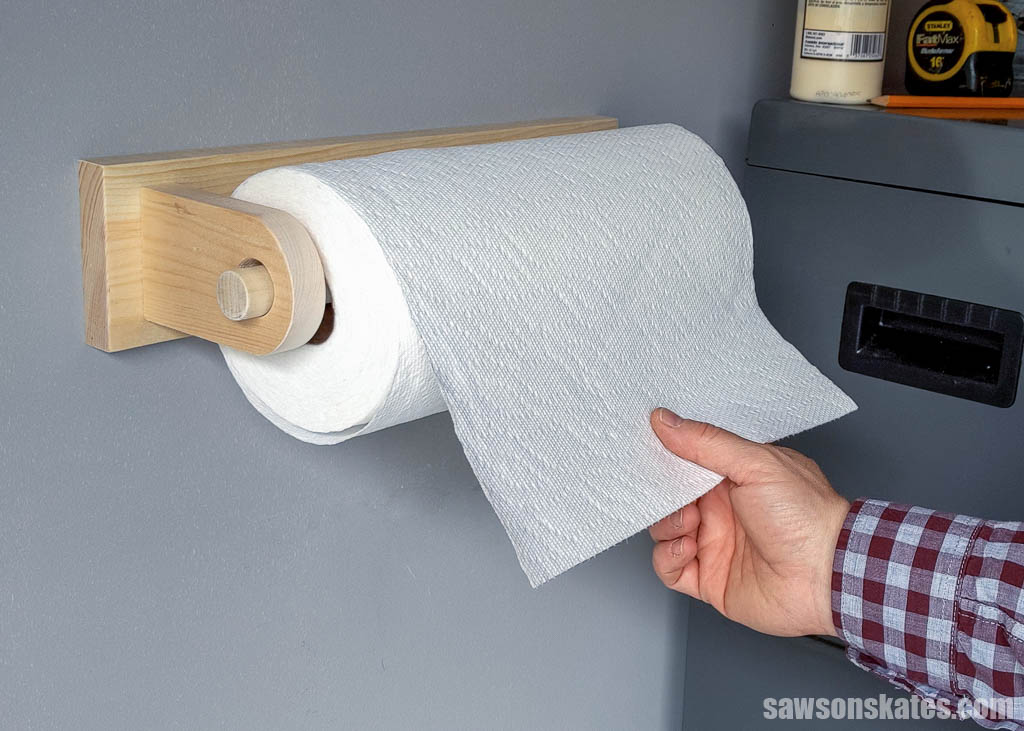
Tired of your paper towels rolling around your workbench? Want a way to keep your workshop or garage organized and tidy? Then this quick and easy DIY paper towel holder is for you!
With just a few pieces of scrap wood and a few simple tools, you can have a new paper towel holder in no time. So what are you waiting for? Read on to learn how to make your own DIY workshop paper towel holder today!
Table of Contents
- Inspiration for This DIY Workshop Paper Towel Holder
- What Tools Do You Need?
- What Wood Should You Use?
- How to Make a DIY Workshop Paper Towel Holder
- Get the Free Plan
This article contains affiliate links. If you purchase from these links, I may earn a small commission at no additional cost to you. Visit my site policies for more information.
Inspiration for This DIY Workshop Paper Towel Holder
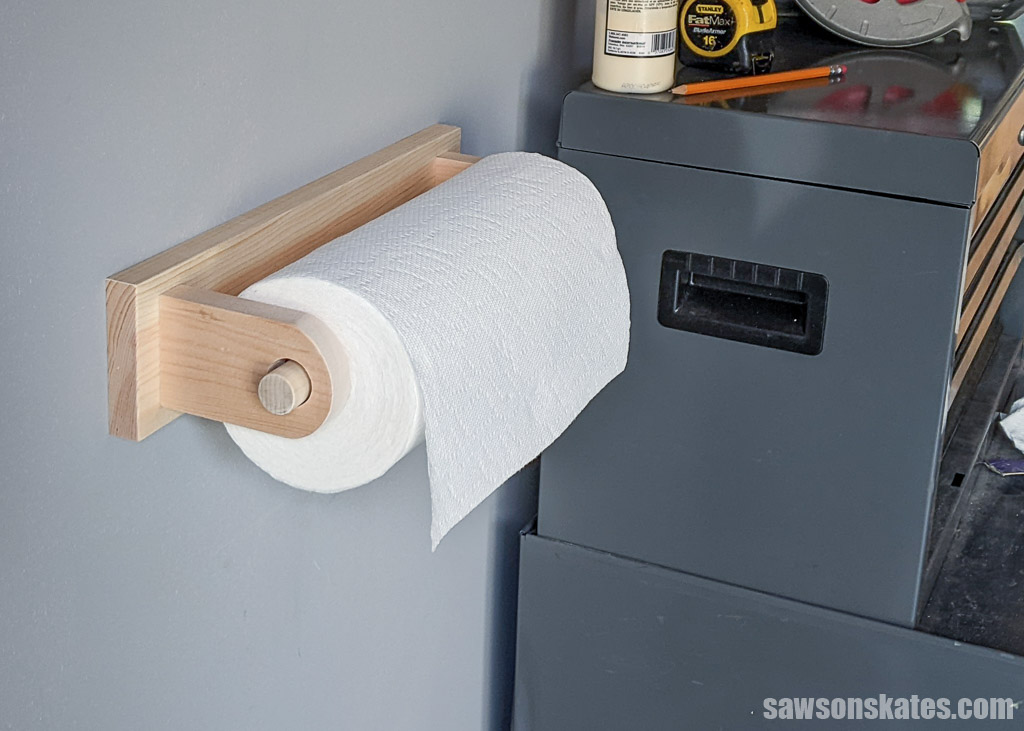
I was constantly searching all over my shop for paper towels, which was incredibly frustrating. I desperately needed a way to keep them neat and organized. Sure, I could buy a store-bought dispenser, but I’m a DIYer, so I decided to make my own. Well, actually, I made two, one for my shop and one for my garage!
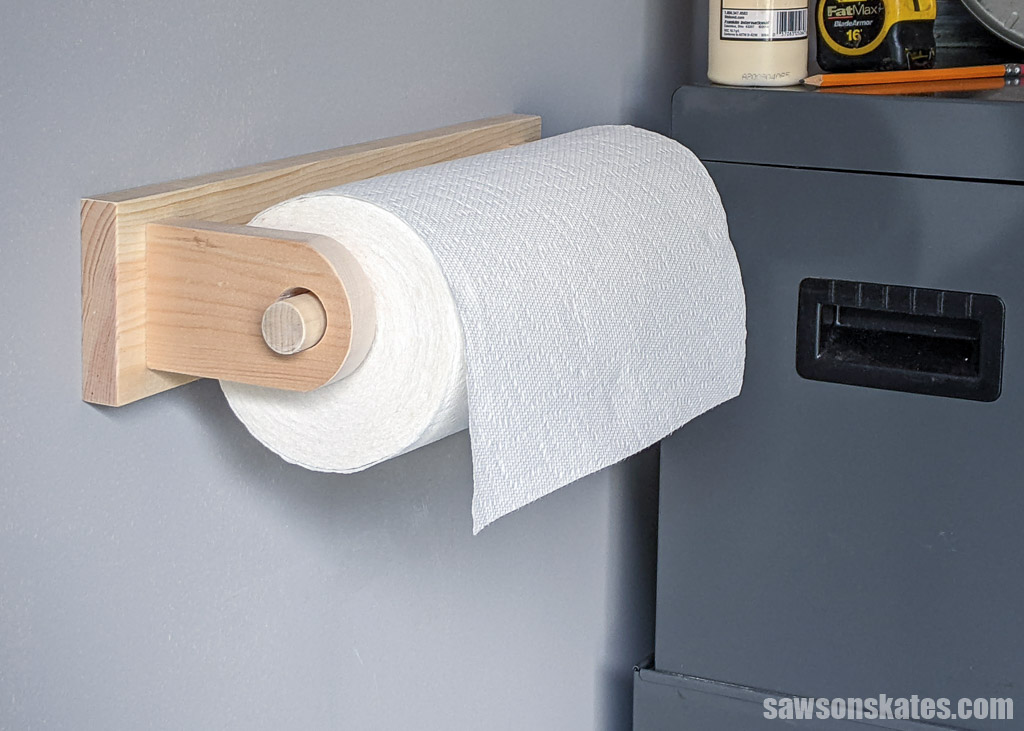
Here’s what I came up with. A super simple holder made with three pieces of scrap wood and four pocket hole screws! I mounted mine on the wall, but you could also mount yours under a cabinet in your shop, garage, or even your kitchen.
What Tools Do You Need?
You can make this workshop paper towel holder with just a few tools. Here’s what you’ll need:
Miter Saw
I cut the paper towel holder’s parts to length using my miter saw. You could also use a hand saw and miter box instead.
Pocket Hole Jig
I used pocket hole joinery to connect the holder’s parts.
Drill
Using my drill, I made the pocket holes and drove the pocket hole screws that join the components. I also used my drill and a Forstner bit to make the holes for the dowel that keep the paper towel roll in the holder.
Related: 14 Types of Wood Drill Bits (Which to Use & Why)
Scroll Saw
I used my scroll saw to cut the holder’s curved corners.
Disc Sander (optional)
I fine-tuned the holder’s curves using my disc sander, but you can also use sandpaper instead.
What Wood Should You Use?
This project doesn’t require much wood, so I made my holder with pieces of pine in my scrap pile.
Related: 14 Ways to Score Free Wood (Build Even if You’re Broke!)

Customize Your Shop Paper Towel Holder
Once you’ve gathered your tools and supplies, it’s time to start building. I kept my holder simple, but feel free to customize yours to fit any space.
Decorative Edges
If you plan to use your holder in a kitchen, you may want to use a router and roundover bit to give it decorative edges.
Related: How to Use a Router Table for Beginners
Mount on a Wall or Under a Cabinet
I plan to mount my holder on the wall in my shop and garage, but you could also mount it under a cabinet. Eventually, I plan to install french cleats in my garage. When I do, I’ll remove the holder from the wall, attach a cleat to the back, and add it to my french cleat wall.
Related: How to Make a French Cleat (2 Easy Ways)
DIY Workshop Paper Towel Holder
Printed Plan
Get the FREE plan here (includes detailed instructions, measurements, and bonus tips)
Supplies
- Wood (per the printed plan)
- 1-¼” Pocket Hole Screws
Tools
- Tape Measure
- Miter Saw
- Scroll Saw
- Kreg Multi-Mark
- Pocket Hole Jig
- Drill
- 1″ Forstner Bit
- Awl
- Disc Sander (optional)
Step 1. Make the Arms
Cut two pieces of wood to length for the arms.
Related: Beginner’s Guide to Wood Sizes
Use the diagram in the printed plan to mark the location for the dowel holes.
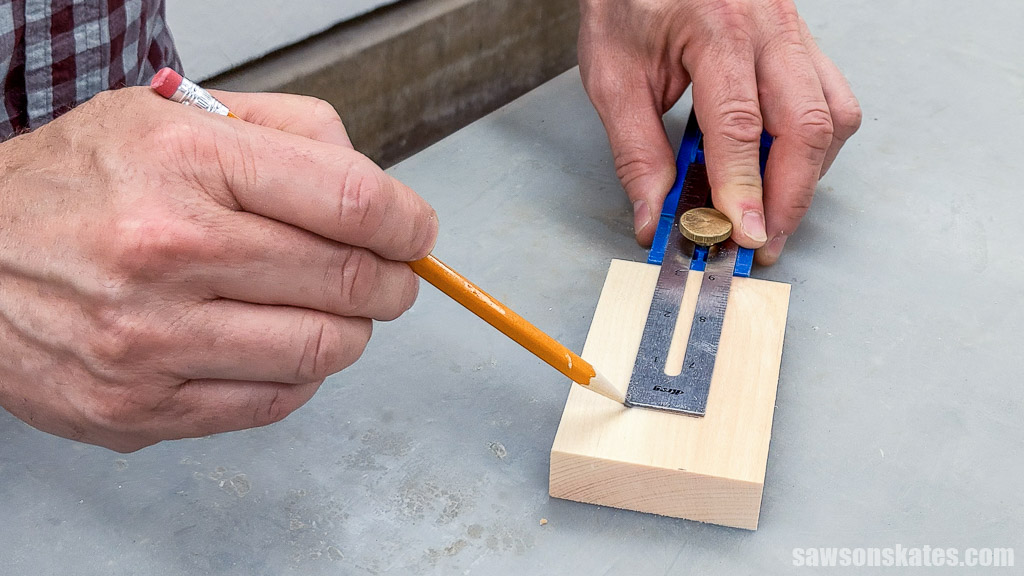
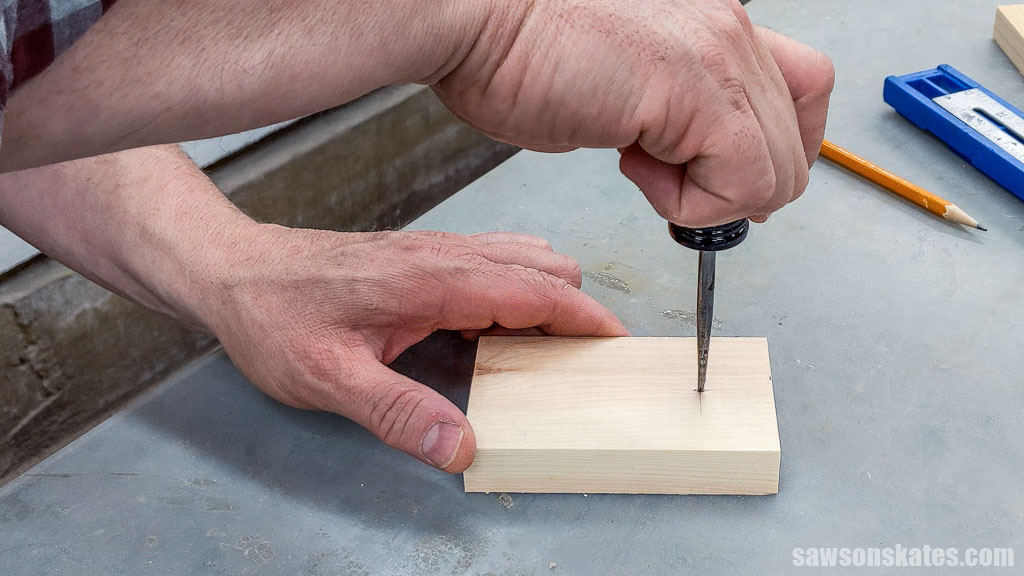
I used an awl to make a starting point for the bit.
Related: What is an Awl? (+ How to Use It)
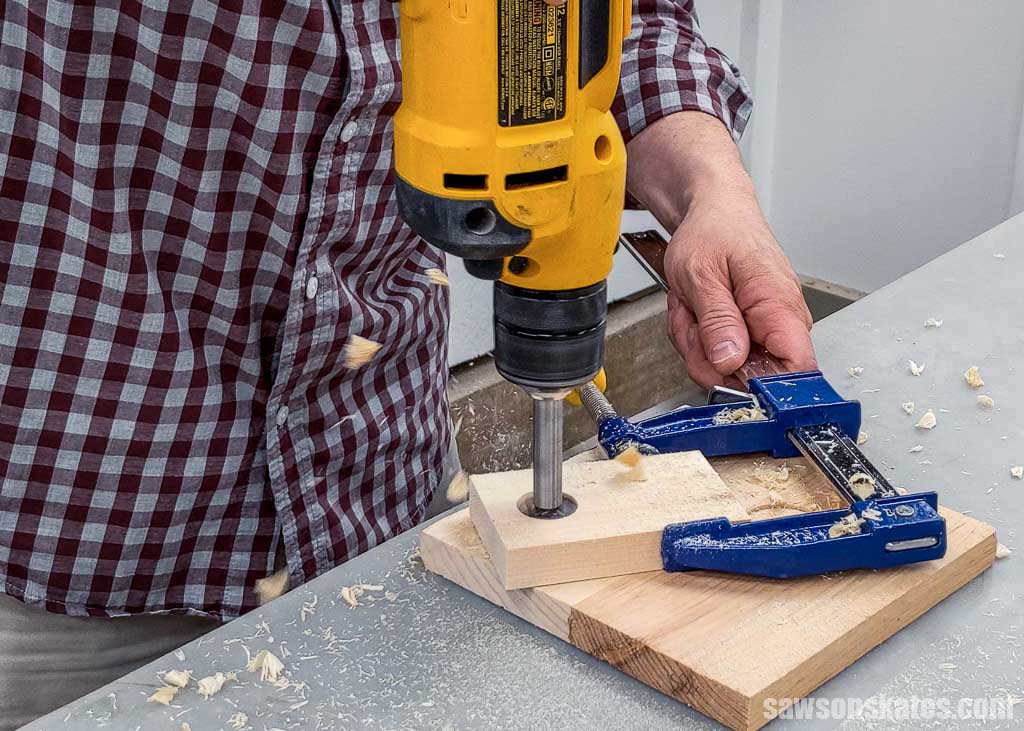
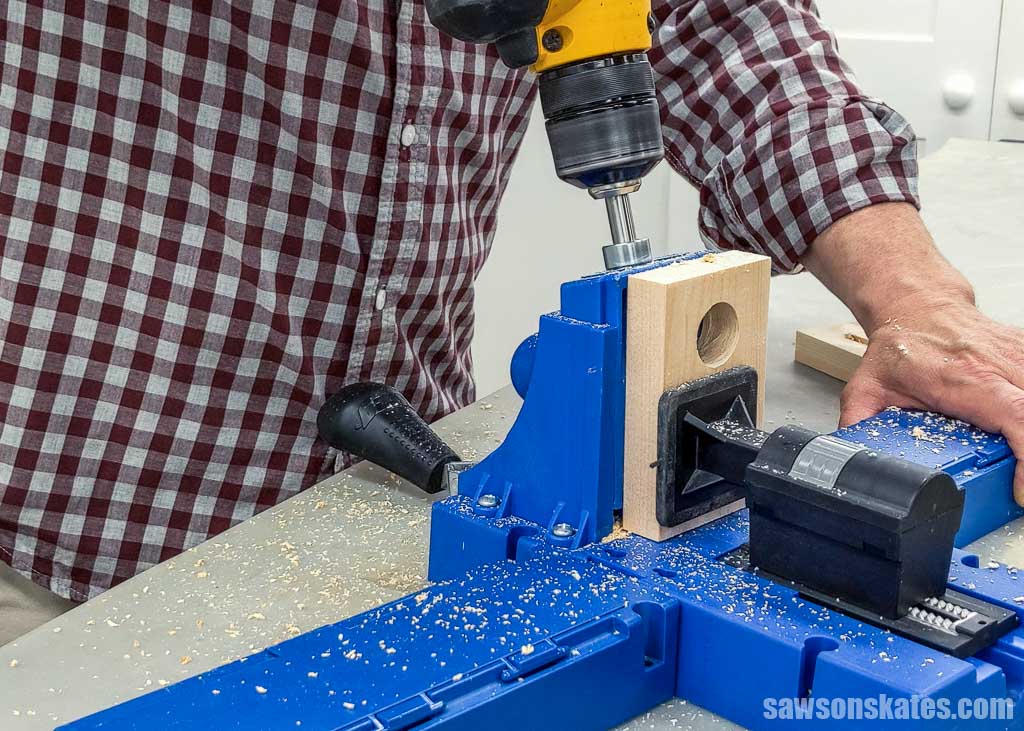
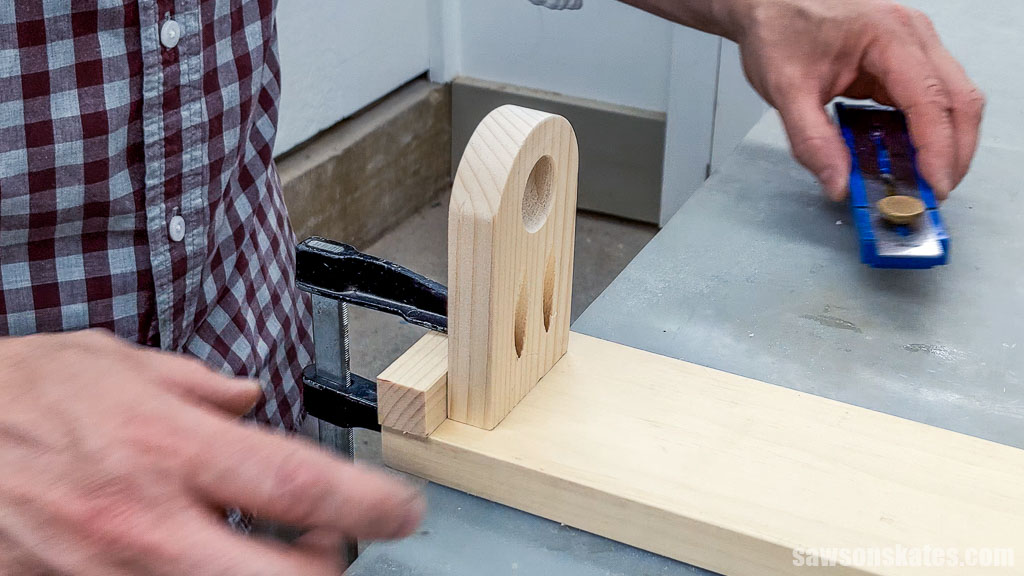
These parts are small, so to be safe, I placed them in a clamp to keep my hands away from the bit.
For the best results, I recommend using a drill press. I couldn’t access mine when I made this project, so I used my handheld drill instead.
I used a Forstner bit to drill a hole.
Related: What is a Forstner Bit? (& How to Use It)
I kept checking the underside and stopped when the bit’s spur poked through the other side.
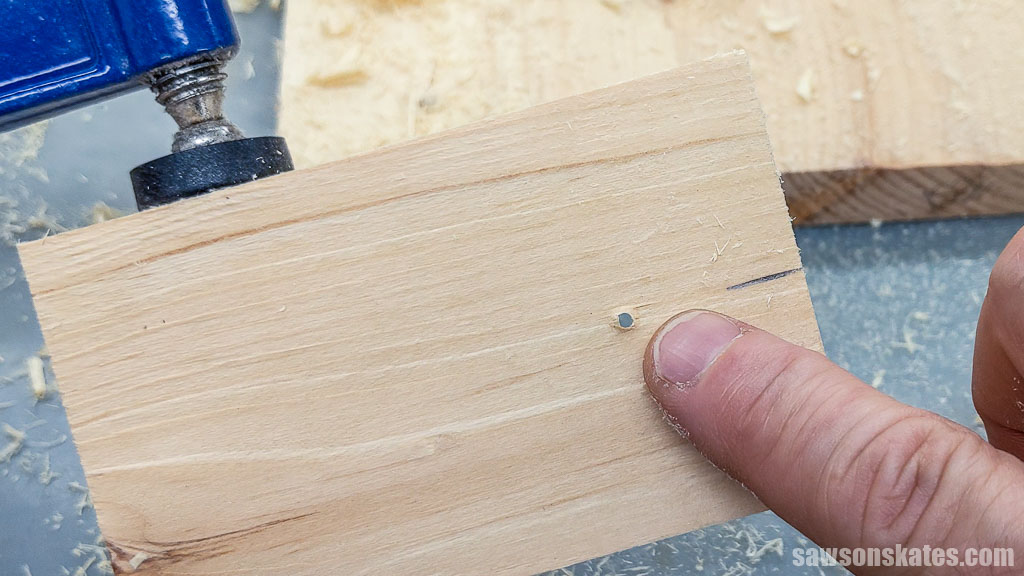
Then I positioned the bit’s spur in the hole and continued drilling from the other side, creating a smooth hole without any tear-out. Tear-out occurs when the wood fibers are ripped as the drill bit exits the wood, resulting in a ragged edge.
Next, I drilled two pocket holes on the opposite end of the dowel hole.
Related: How to Use a Pocket Hole Jig (& Beginner Pitfalls to Avoid)
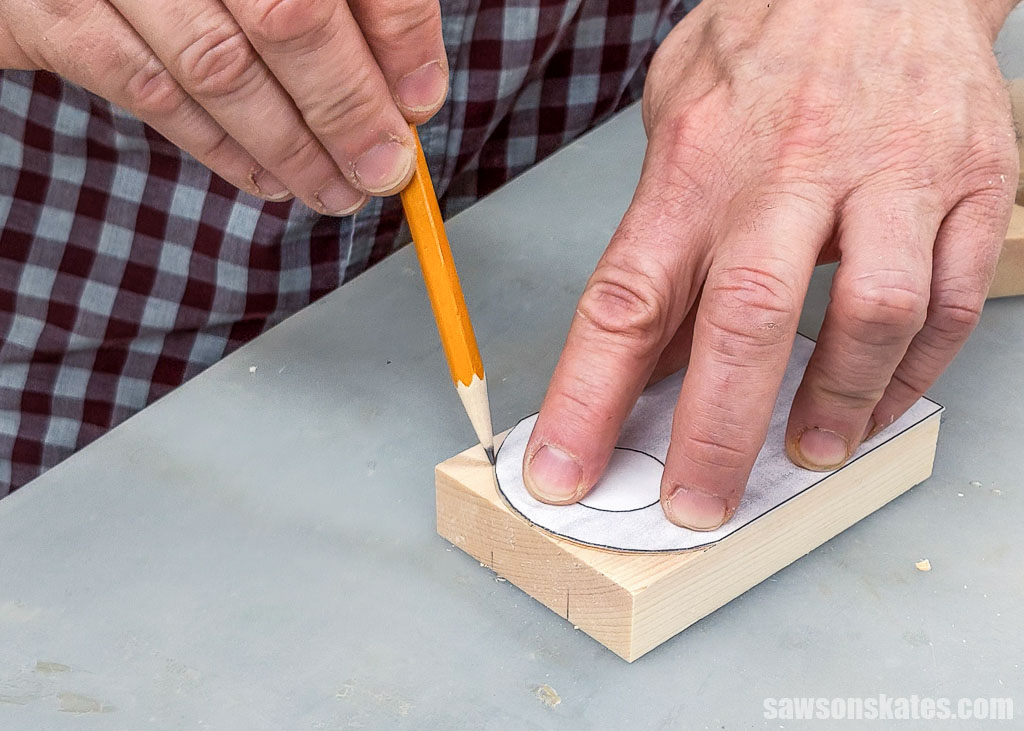
Print the template at the end of the plan and trace it on the arms.
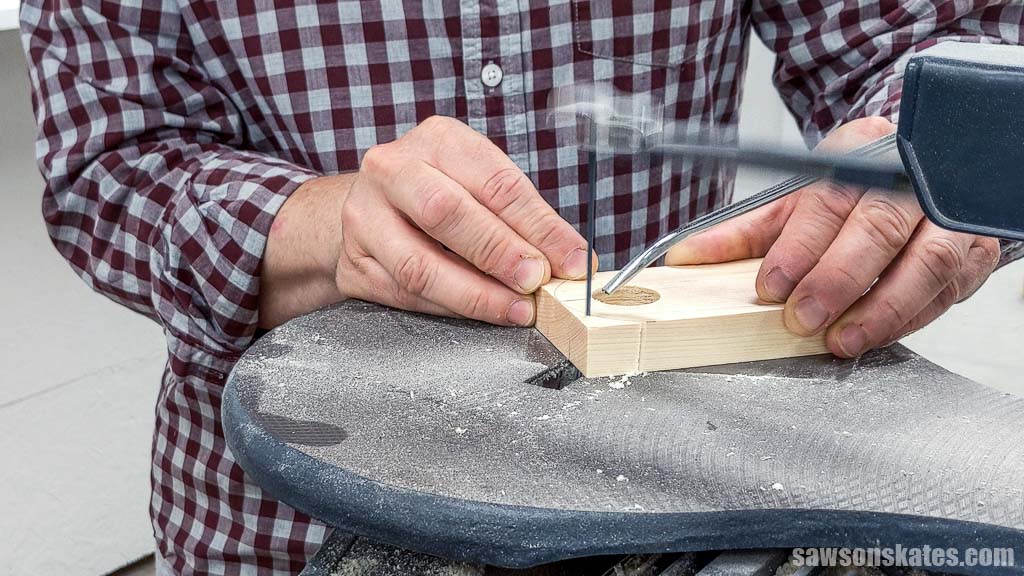
Then I used my scroll saw to cut next to the pencil line.
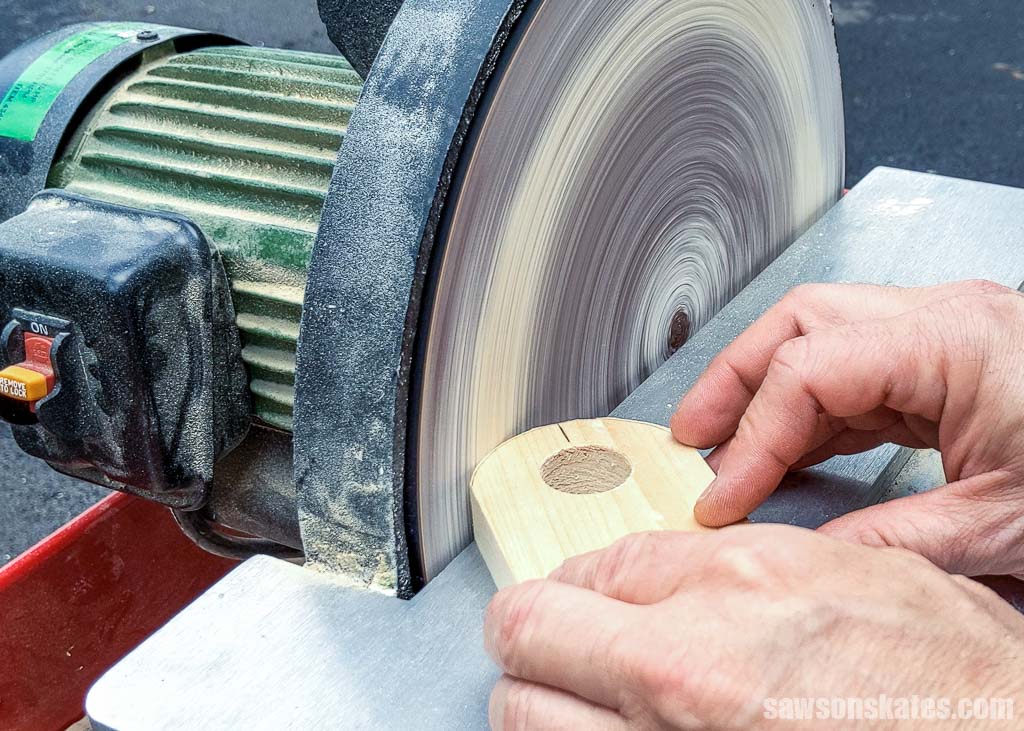
I fine-tuned the curve using my disc sander, but you can also use sandpaper instead.
Step 2. Assemble the Paper Towel Holder
Cut one piece of wood to length for the back.
Use the diagram in the printed plan to position the holders on the back.
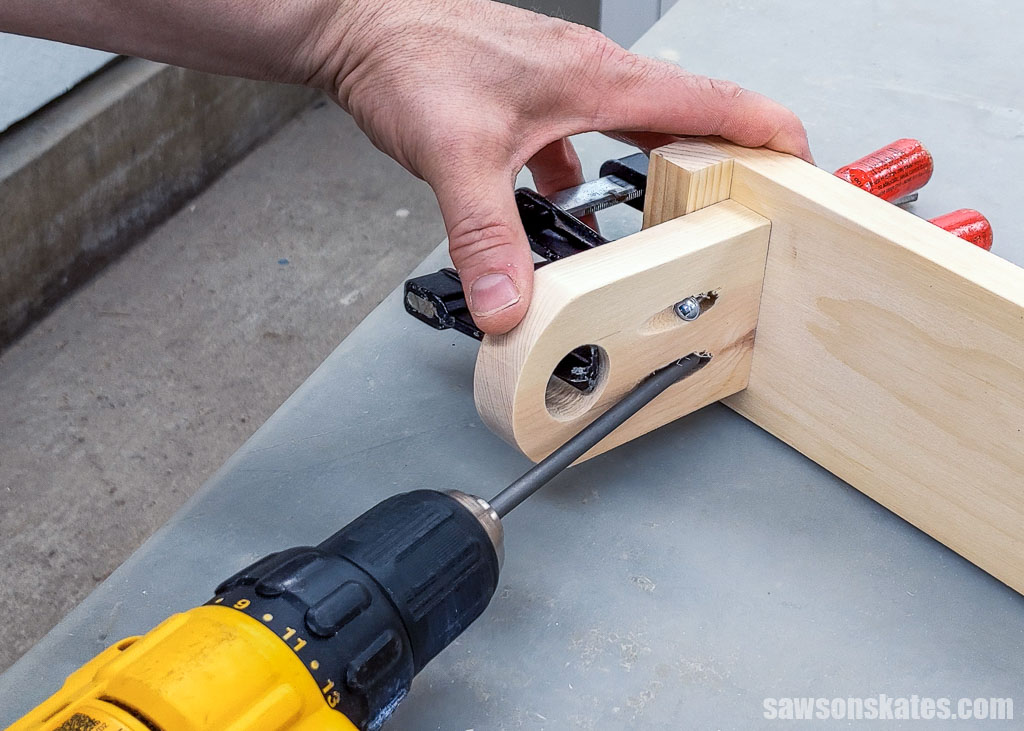
The arms set in from the edge. I clamped a piece of scrap wood on the edge of the back to help position the arm.
Next, I used my Kreg Multi-Mark to position the holder from side to side.
Next I attached the arm using pocket screws. Repeat for the other side. Then cut one piece of dowel to length.
Step 3. Finishing Touches
I didn’t apply a finish to my paper towel holder, but you may want to seal yours to protect it from wear and tear.
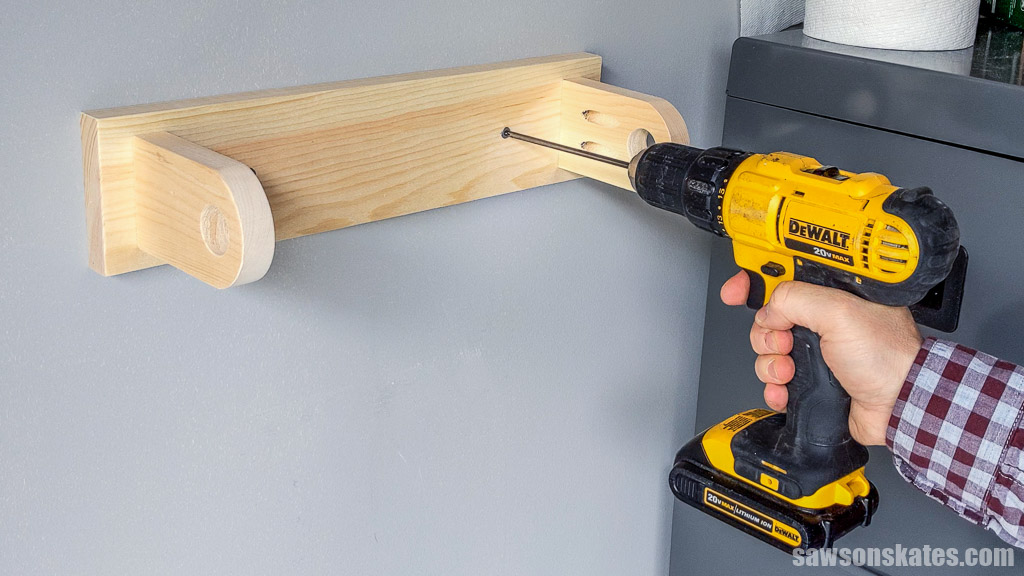
I drilled countersink holes in the holder’s back to mount it on the wall and attached it using screws and wall anchors.
Related: How to Use a Countersink Bit
Final Thoughts
And there you have it! This quick and easy DIY holder keeps your workshop paper towels tidy and organized, so you don’t waste time searching for them. It’s an incredibly affordable project that looks great in any shop or garage.
Don’t wait. Get your free plan (including the detailed instructions and measurements) now!
Thank you for stopping by. If you enjoyed this tutorial, would you please take a moment and pin it to Pinterest? I’d really appreciate it!
Recommended For You

Pin This For Later

Hi there – I’m Scott, a woodworking enthusiast and creator of Saws on Skates, a site I started in 2015 to share easy-to-follow tutorials, space-saving shop tips, and project inspiration for DIYers at any skill level. Learn more about my woodworking journey here.