Folding DIY Cupcake Stand
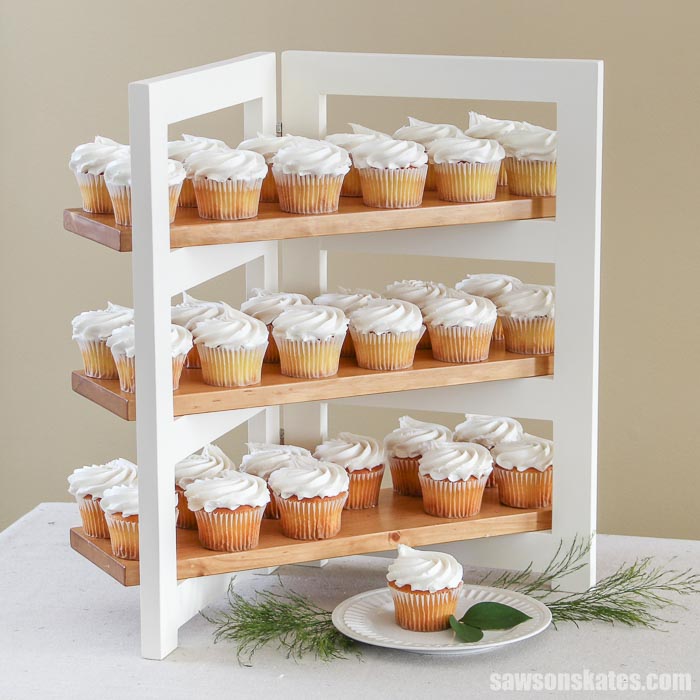
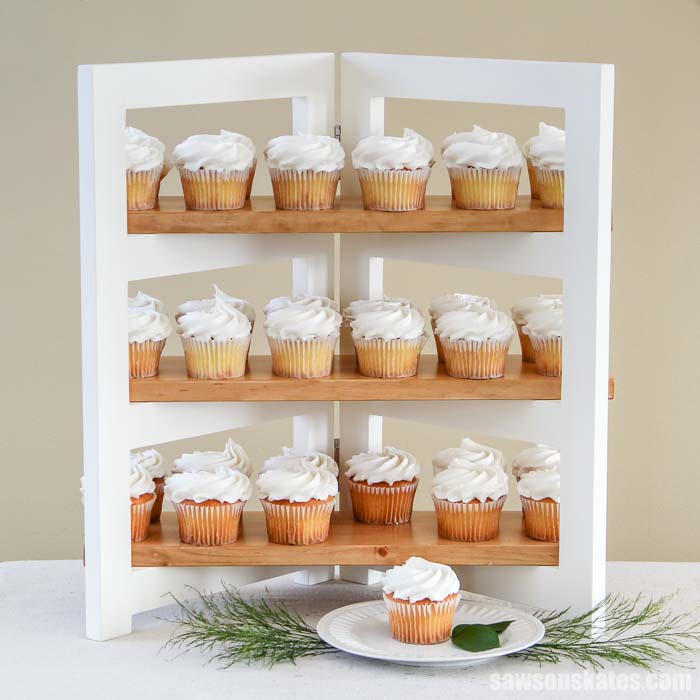
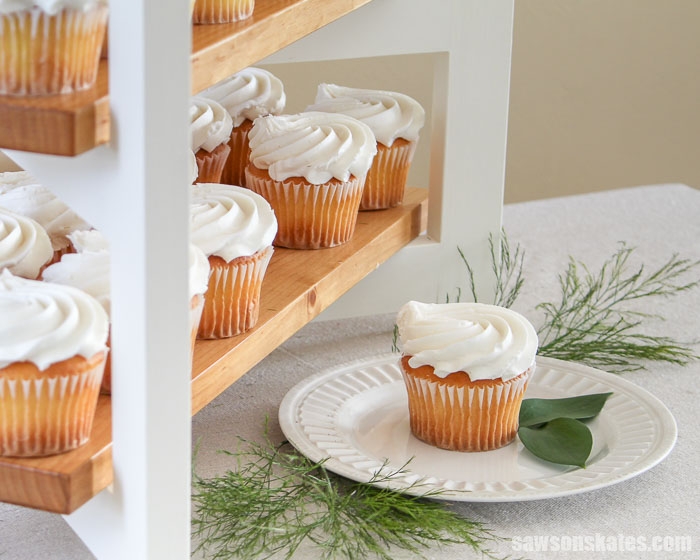
Make a DIY folding cupcake stand with these plans. This 3-tier wood stand holds up to 36 cupcakes. It’s easy for anyone to build with some basic tools.
What Should I Build Next?
That's the question I help answer.
Every week, I send woodworking ideas to 17,000 DIYers who love building things.
You'd fit right in.
DIY Cupcake Stand
This wood DIY cupcake stand is perfect for birthday parties, weddings, baby showers, graduations, and more. It would also make a great display for craft shows and antique shows. It’s simple for anyone to build with some basic tools.
You may also enjoy this DIY cake pop stand.
Table of Contents
- What Tools Do You Need?
- What Wood Should You Use?
- How Do You Finish the DIY Cupcake Stand?
- How to Make a Folding DIY Cupcake Stand
- Get the PDF Plan
This article contains affiliate links. If you purchase from these links, I may earn a small commission at no additional cost to you. Visit my site policies for more information.
How Many Cupcakes Does This Stand Hold?
This DIY cupcake stand can hold up to 36 regular-sized cupcakes, but you can also use it to display just about any dessert or sweet treat.
What Skills Do You Need to Build a DIY Cupcake Stand?
This is an easy project to build for DIYers of any skill level. It’s made with just a few basic tools, so it’s a great project for beginners.
Related: 10 Must-Have Woodworking Tools for Beginners
What Tools Do You Need to Build a DIY Cupcake Holder?
You’ll only need a few basic tools to build your DIY cupcake stand. Tools like a miter saw, Kreg Jig and a drill. It’s handy to have an orbital sander, but this project can be made without it. It’s also helpful to have an assortment of bar clamps.
You may enjoy these helpful tool tutorials:
- How to Use a Kreg Jig
- Beginner’s Guide to Using a Power Drill
- 7 Miter Saw Tricks Every DIYer Should Know
What Kind of Wood Do You Need to Make a Cupcake Stand?
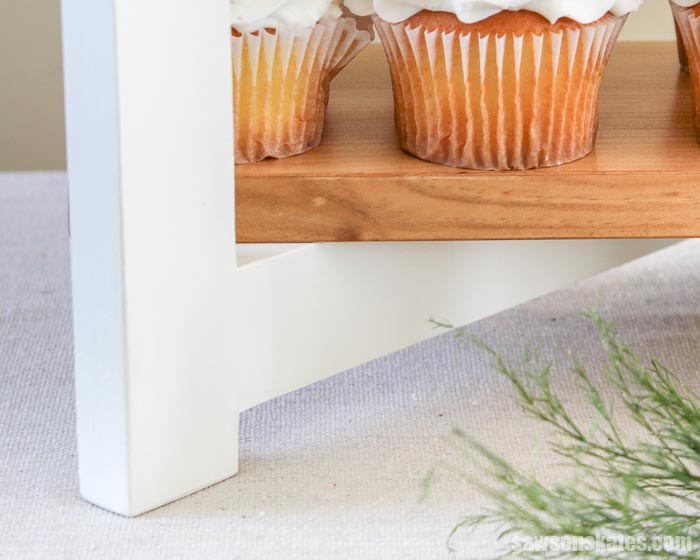
This DIY cupcake stand can be made with just about any type of wood. I used common pine to build the stand and shelves. Pine is inexpensive and easy to work with. I purchased the pine at my local big box home improvement store.
I painted the legs of the stand and stained the shelves. One way to customize this project is to use a different type of wood for the shelves. Woods like cherry, oak or mahogany would look great with the painted legs.
How Do You Finish the DIY Cupcake Stand?
I wanted to keep this project simple so I painted the legs with this chalk-type paint. Unlike other types of paint, we don’t need to apply a primer to the wood before applying a chalk-type paint.
All I did was sand the wood and apply the paint. Chalk-type paint dries quickly so I was able to apply two coats in just a few hours.
Related: Beginner’s Guide to Spraying Chalk-Style Paint
For the shelves, I applied a coffee stain and one coat of wax-free shellac. I followed the shellac with a couple of coats of this matte-finish Minwax Polycrylic. I think the matte-finish of the shelves pairs well with the chalky finish of the legs.
Related: How to Stain Wood With Coffee
I should mention that Polycrlic is not food-safe. This means food shouldn’t be placed directly on the shelves.
Related: Polycrylic vs Polyurethane: Are They the Same?
If you plan to place food directly on the shelves you will want to use a food-safe finish like this. You’ll also want to test on some sample boards to be sure the finish doesn’t react with the coffee stain.
Video: How to Make a Folding DIY Cupcake Stand
Watch the quick video to see how to make the DIY cupcake stand.
How to Make a Folding DIY Cupcake Stand
Printed Plan
Get the PDF plan here (includes detailed instructions, measurements, and bonus tips)
Materials
- Wood (per the printed plan)
- Wood Glue
- Pocket Hole Screws
- Pocket Hole Plugs
- Decorative Hinges
Tools
- Tape Measure
- Drill
- Kreg Jig
- Miter Saw
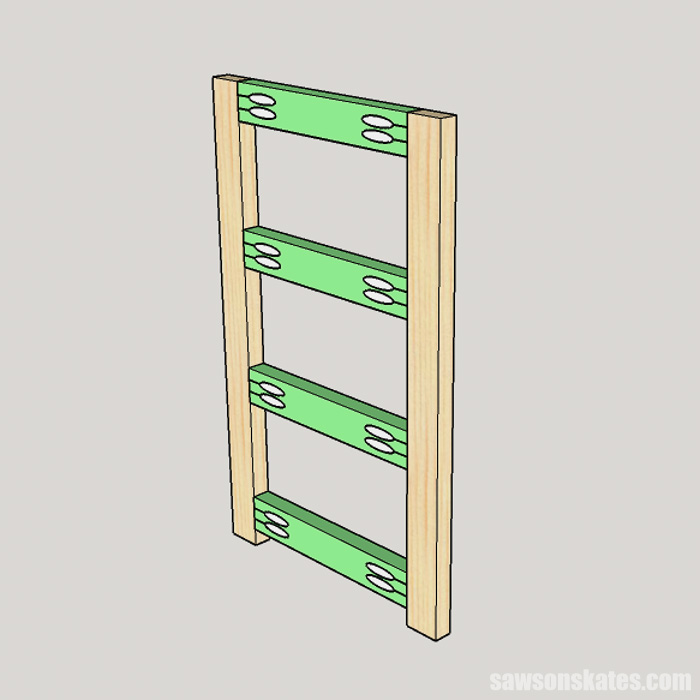
Step 1. Make the Cupcake Stand Frame
Layout two legs and four rails. Apply glue to the rails, clamp to the legs and attach with pocket screws. Repeat for the second frame.
Related: How to Use a Pocket Hole Jig
I applied glue to the pocket holes and inserted a pocket hole plug in each hole. I could have also filled the pocket holes with a filler like Ready Patch. When the glue was dry I used an orbital sander to sand the plugs smooth.
Related: How to Make Pocket Hole Plugs
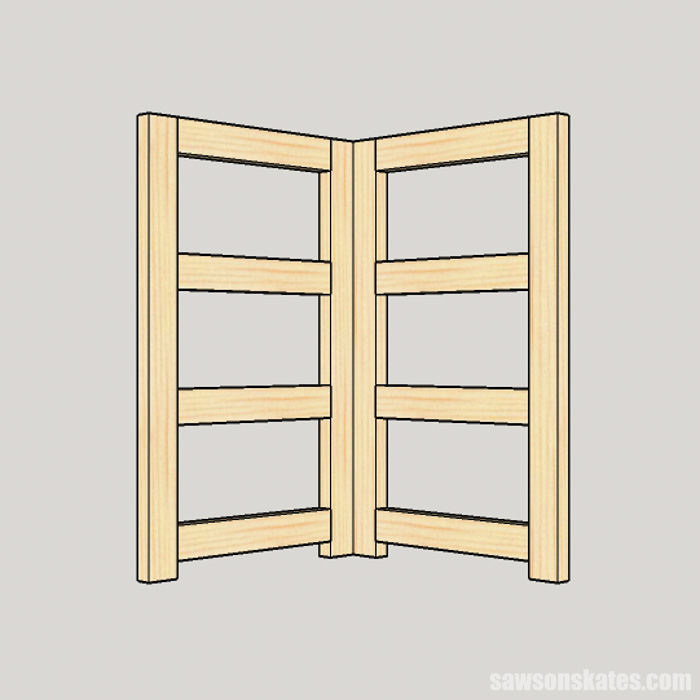
Step 2. Attach the Hinges
Place one frame on top of the other frame. Attach a hinge near the top and bottom of the legs.
Step 3. Make the Shelves
Cut three boards to length for the shelves.

Step 4. Finish the Cupcake Stand
I painted the frame with two coats of this chalk-type paint. I thought it was easier to paint the stand with the hinges in place. When the paint was dry I removed them and then finished painting the hinge area.
Next, I sanded the shelves smooth. I applied three coats of coffee stain with a rag and allowed the shelves to dry two hours between each coat.
After the third coat of stain was dry I lightly sanded the shelves with 220 grit sandpaper. I removed the sanding dust with a ShopVac and applied one coat of wax-free shellac with an inexpensive chip brush.
When the shellac was dry I lightly sanded the shelves with 220 grit sandpaper. I removed the sanding dust with a ShopVac and applied three coats of this matte-finish water-based polyurethane. I allowed each coat to dry for about two hours. I sanded with 220 grit sandpaper between each coat and removed the sanding dust with a ShopVac.
Related: How to Apply Polycrylic (Without Streaks or Brush Strokes)
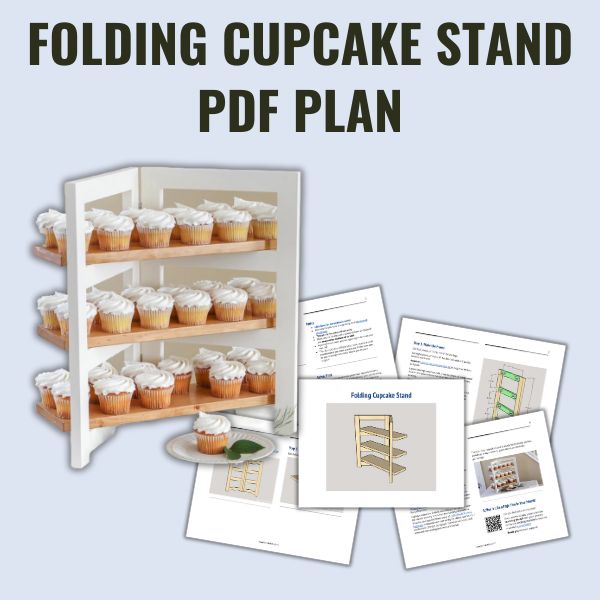
Includes:
- List of tools and materials
- Complete measurements (in inches)
- Easy-to-follow instructions
- Detailed diagrams
or get the best value:
Final Thoughts
This wood DIY cupcake stand is perfect for birthday parties, weddings, baby showers and more. It would also make a great display for craft shows and antique shows. It’s simple for anyone to build with some basic tools.
Get the PDF plan (including the detailed instructions and measurements) now!
Thank you for stopping by. If you enjoyed this tutorial, would you please take a moment and pin it to Pinterest? I’d really appreciate it!
Recommended For You

Pin This For Later

Hi there – I’m Scott, a woodworking enthusiast and creator of Saws on Skates, a site I started in 2015 to share easy-to-follow tutorials, space-saving shop tips, and project inspiration for DIYers at any skill level. Learn more about my woodworking journey here.