DIY Boot Jack (Wooden Shoe Remover Plans)
Having trouble removing your shoes? Make this wooden DIY boot jack! It’s easy to make and the plans include a template to lay out the curved details.
What Should I Build Next?
That's the question I help answer.
Every week, I send woodworking ideas to 17,000 DIYers who love building things.
You'd fit right in.
DIY Boot Jack
What is the thing called that helps you take off your boots? It’s a boot jack. It’s also called a boot puller or boot hook.
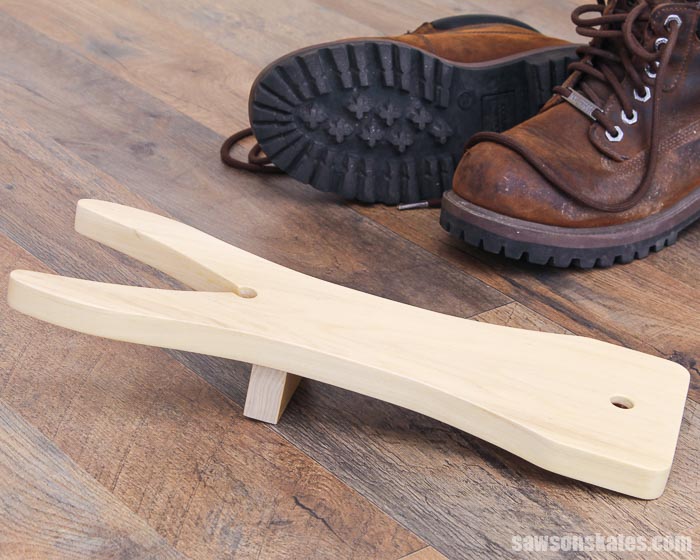
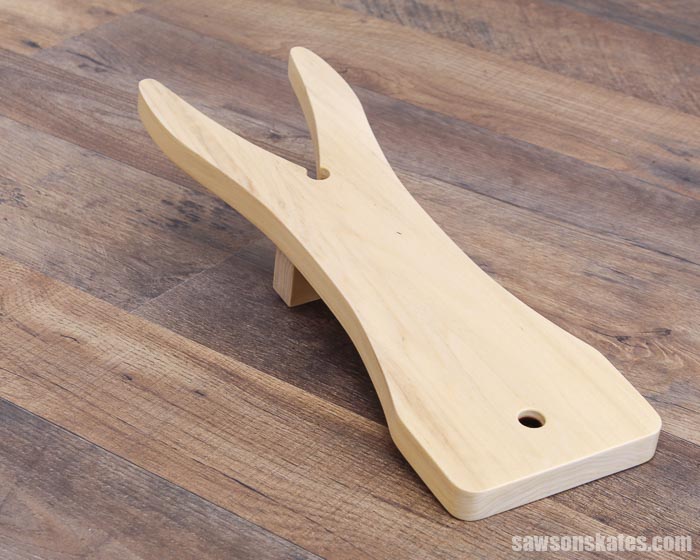
This wooden do-it-yourself boot puller features curved details inspired by an antique boot jack.
It’s easy to make with scrap wood and a few common woodworking tools. The plan includes all of the measurements, detailed instructions, and a template to lay out the curved details.
It’s perfect for anyone who has trouble removing their shoes. It also makes a great gift for someone who has everything.
Table of Contents
- What is a Boot Jack?
- How Do You Use a Boot Jack?
- What Tools Do You Need?
- What Wood Should You Use?
- How Do You Draw the Curved Detail?
- How Do You Finish the Boot Jack?
- How to Make a DIY Boot Jack
- Get the PDF Plan
This article contains affiliate links. If you purchase from these links, I may earn a small commission at no additional cost to you. Visit my site policies for more information.
What is a Boot Jack?
A boot jack is also sometimes called a boot hook, or boot puller. Wikipedia defines a boot jack as “a small tool that aids in the removal of boots. It consists of a U-shaped mouth that grips the heel of the boot, and a flat area to which weight can be applied with the opposite foot.”
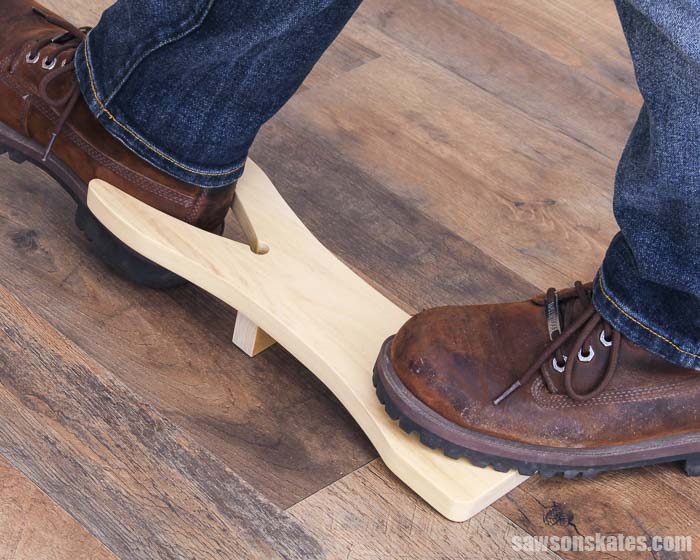
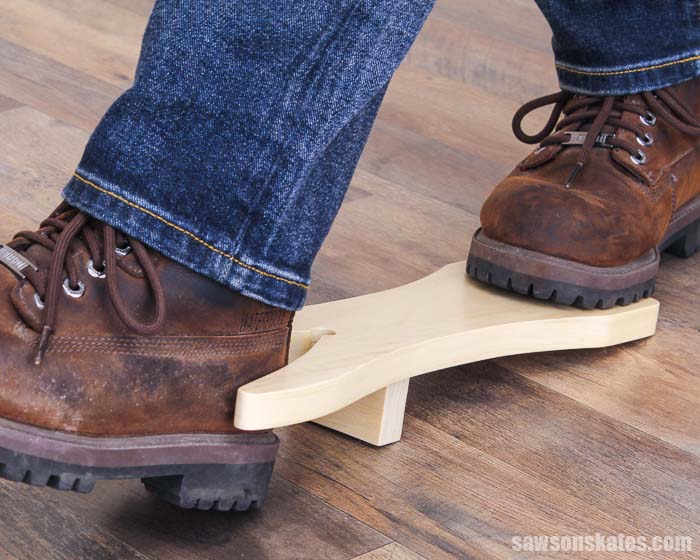
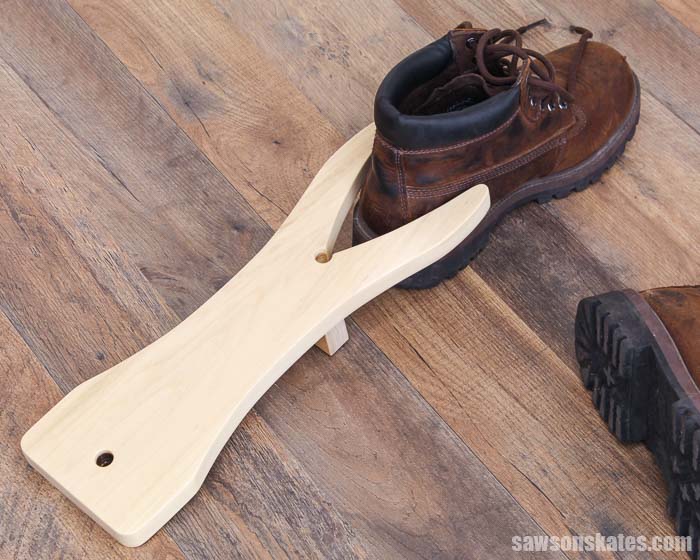
How Do You Use a Boot Jack?
To use a boot jack, you’ll place the heel of one boot in the U-shaped mouth of the jack. Next, with your other foot, stand on the back of the jack. Then, use your leg to pull up on the boot that is in the mouth of the jack. The mouth grips the heel and helps to remove your boot.
And yes, it helps if you untie you’re shoes first, lol.
Inspiration for this Project
In a few of the tutorials, I’ve mentioned that I volunteer at a local historical society. A couple of the project plans have been inspired by pieces that I have seen at the museum or ideas from my fellow volunteers. Projects like this display cabinet, tabletop book rack, and making missing pieces of molding.
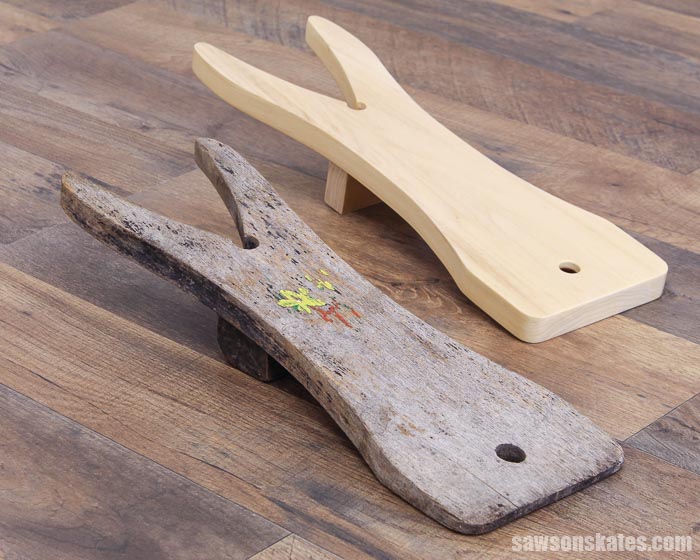
This project was inspired by one of my fellow volunteers, Andrea. At one of our meetings she said “you need to make a boot jack!” I said, “What is a boot jack?” She explained how it works and that she uses one all the time in the winter to remove her boots. At our next get-together, she brought me one of her antique boot jacks.
This do-it-yourself version was inspired by Andrea’s antique boot jack. It features drilled holes and similar curved details to the original.
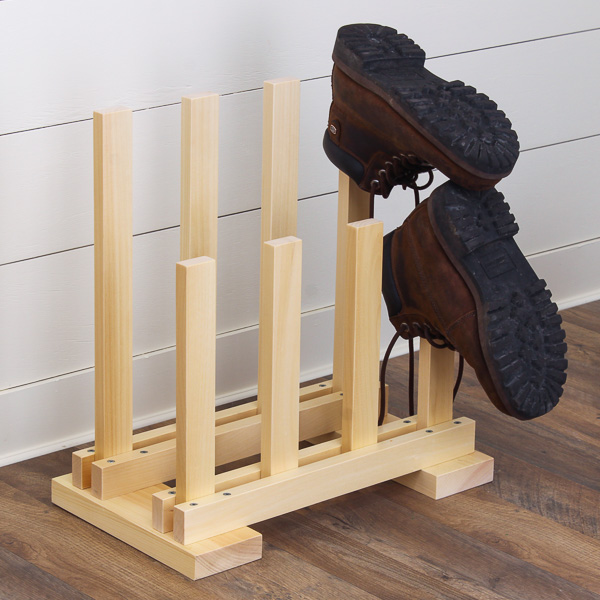
You may also enjoy this DIY boot rack.
Who Can Benefit From a Boot Jack?
- Anyone who needs help removing tight-fitting boots
- Anyone who needs help removing slip-on shoes
- Anyone who has trouble bending over to remove shoes
What Tools Do You Need to Make a Boot Jack?
This boot puller is easy to make for DIYers of any skill level. It’s a simple afternoon project that can be made using basic woodworking skills and just a few common woodworking tools.
Tools like a miter saw and a drill. We’ll also need a saw to cut the curved details.
Miter Saw
I used a miter saw to cut all of the parts to length for this project.
Related: 7 Miter Saw Tricks Every DIYer Should Know
Drill
The drill was used to make holes with a Forstner bit in the top of the boot hook and a countersink bit was used to drill holes in the bottom of the leg. The drill was also used to drive the screws that join the parts together.
Related: Impact Driver vs Drill: What’s the Difference?
Additional Saw
I used a scroll saw to cut the curved details on the sides and the U-shaped mouth, but you might be able to make these cuts with a jigsaw instead.
What Wood Should You Use?
This boot puller can be made with just about any type of wood. It doesn’t require much wood so it’s a great way to use up some scrap wood.
Related: How to Decide What Scrap Wood to Keep
Many times I use common pine to build my projects. Pine is relatively inexpensive and easy to work with.
But pine is a softwood and dents easily so it’s not the best choice for a project like this.
Hardwoods like oak, mahogany, maple, etc. would be a better choice. I had some scrap pieces of poplar which is also a hardwood so that’s what I used to make my puller.
How Do You Draw the Curved Detail?
The curves on this boot jack could be tricky to draw if you had to do it by hand. Fortunately, you don’t have to. The printable plan includes a template that takes the guesswork out of laying out these curved details.
Just get the plan, print the template, trace it on the board, and then use a saw to make the cuts.
How Do You Finish the Boot Jack?
This boot puller could be finished in a variety of ways. It could be left natural, painted, stained, or a combination of paint and stain.
I planned to leave my boot puller natural and apply a clear coat. I applied three coats of this natural polyurethane to this project.
Related: Why I Switched to This Polyurethane Alternative
How to Make a DIY Boot Jack
Printed Plan
Get the PDF plan here (includes detailed instructions, measurements, and bonus tips)
Supplies
- Wood (per the printed plan)
- 2” Wood Screws
Tools
- Tape Measure
- Drill
- Kreg Multi-Mark
- Miter Saw
- Scroll Saw or Jigsaw
- ½” Forstner Bit
- Countersink Drill Bit Set
- Portable Spindle Sander (optional)
Step 1. Cut the Boot Hook
Cut one piece of wood to length.
Print the template at the end of this printed plan.
💡 TIP: When printing the PDF template, be sure to set the scale to 100%.
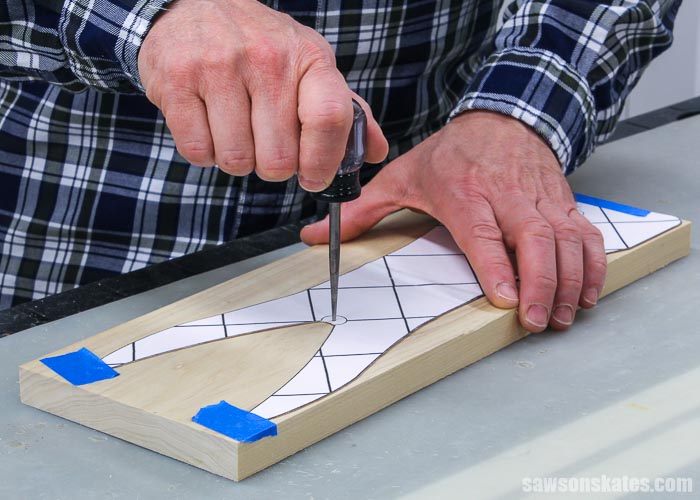
I prefer templates to be rigid. So I applied some spray adhesive to a manila folder and placed the template on top. Then, I cut out the template with scissors.
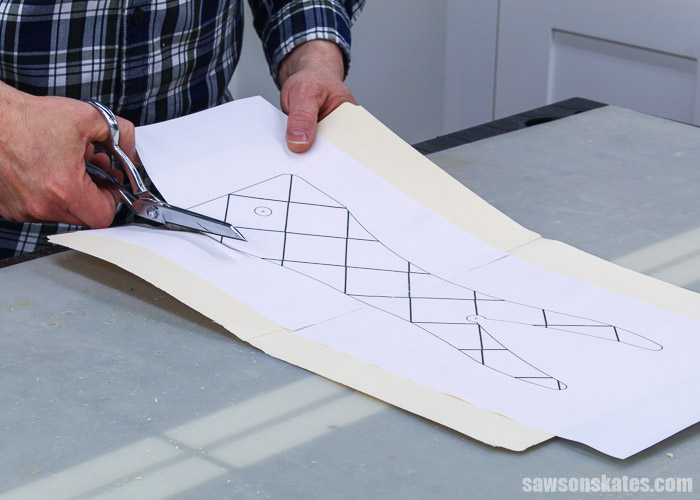
The manila folder provides a lip for the pencil to trace around.
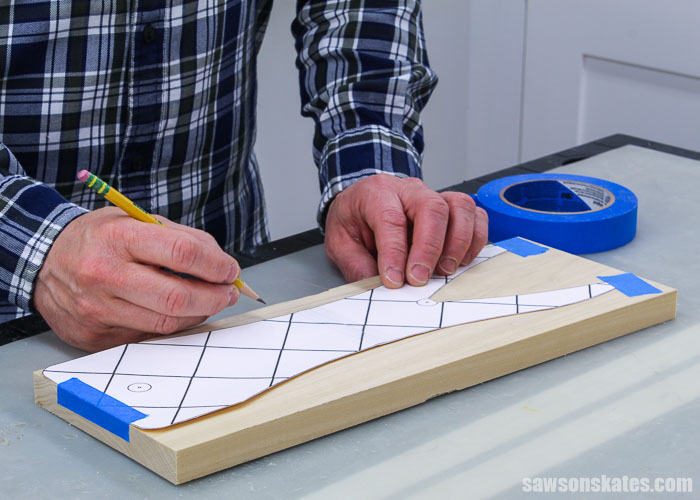
Use an awl to mark the locations for the drill bit.
Related: What is an Awl? (& How to Use It)
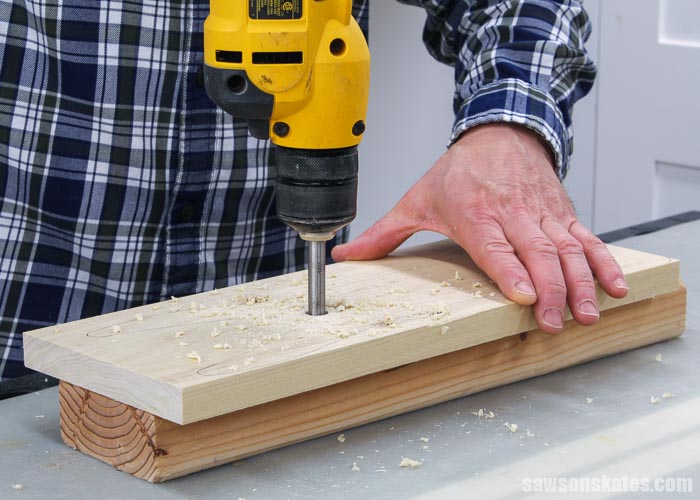
Then, use a ½” Forstner bit to drill a hole at each mark.
Related: What is a Forstner Bit? (& How to Use It)
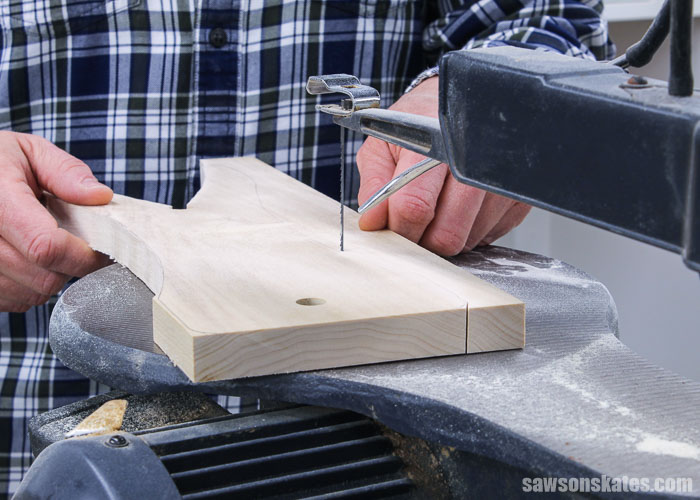
I used a scroll saw with this 10 TPI blade (teeth per inch) to cut out these curved details, but you might be able to use a jigsaw instead.
I made the cuts next to the pencil line. This way, I could sand to the pencil line.
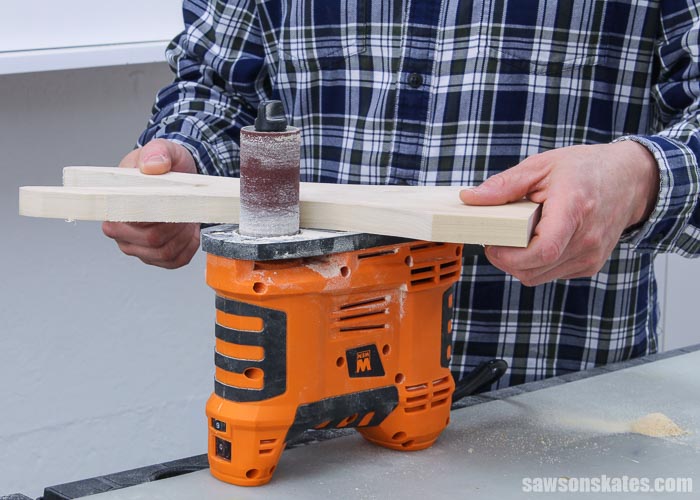
It’s not necessary, but I used this portable spindle sander to smooth the curved edges of the side panels. The spindle sander makes quick work of smoothing any saw marks. If I didn’t have a spindle sander, I would have smoothed the edges by hand with sandpaper.
Related: What’s the Best Sander for Furniture? (Here’s the Answer)
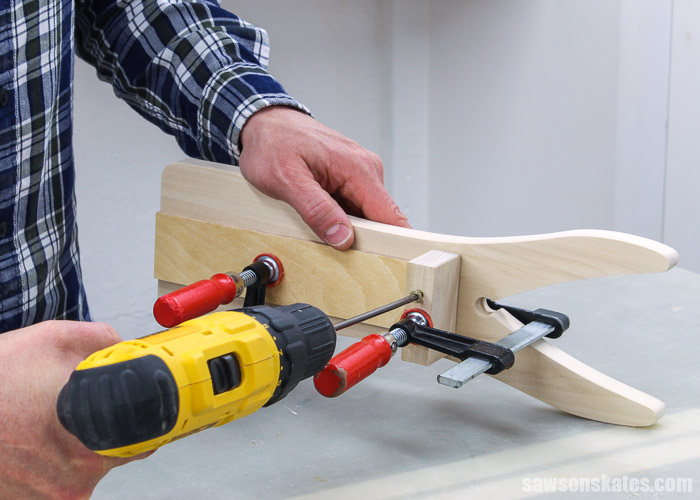
Step 2. Attach the Leg
Cut one piece of wood to length for the leg. Use the diagram in the printed plan to lay out the locations for countersink holes.
Use an awl to make a starting point for the drill bit.
Related: What is an Awl? (+ How to Use it)
Use a countersink drill bit at each mark. I used a countersink bit so the screw will sit below the surface of the wood. This will prevent the head of the screw from scratching the floor.
Related: How to Use a Countersink Bit
To help position the leg, I cut a piece of scrap wood to length.
Positioned the scrap wood flush with the end and clamp. Apply glue to the leg, center from side to side, and clamp. Attach using wood screws.
Step 3. Finish the Boot Jack
See How Do You Finish the Boot Jack? for more information.
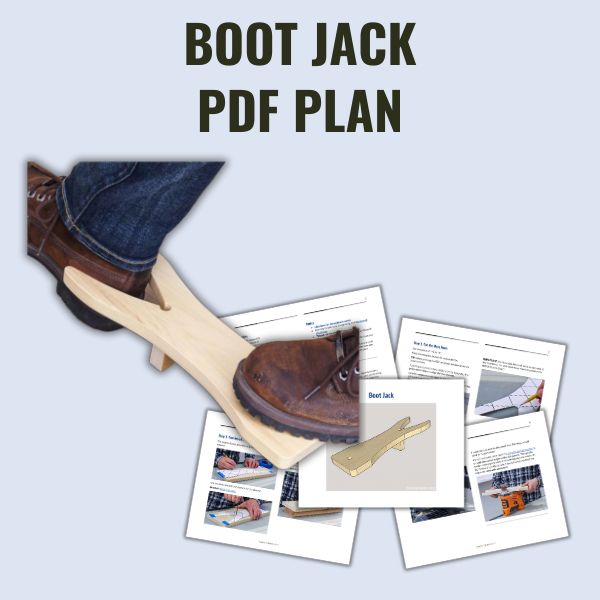
Includes:
- List of tools and materials
- Complete measurements (in inches)
- Easy-to-follow instructions
- Step-by-step photos
- Detailed diagrams
- Template
Final Thoughts
This DIY boot jack is easy to make with scrap wood and a few common woodworking tools. It’s perfect for anyone who has trouble removing their shoes. It also makes an excellent gift for someone who has everything.
Get the PDF plan (including the detailed instructions and measurements) now!
Thank you for stopping by. If you enjoyed this tutorial, would you please take a moment and pin it to Pinterest? I’d really appreciate it!
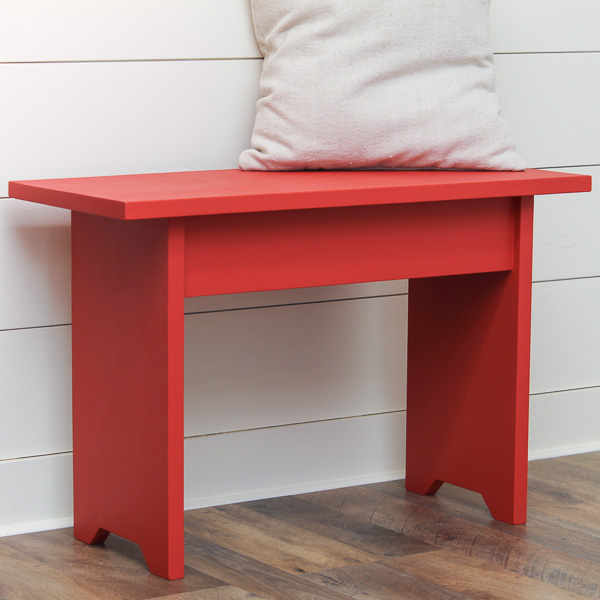
Recommended For You
Pin This For Later

Hi there – I’m Scott, a woodworking enthusiast and creator of Saws on Skates, a site I started in 2015 to share easy-to-follow tutorials, space-saving shop tips, and project inspiration for DIYers at any skill level. Learn more about my woodworking journey here.
being handicapped this will come in handy
Very cool item. I have been trying to find DIY men’s gift items and this fits the bill!
TY for a simple but useful item to make. (BTW no offence to women intended…of course they wear boots too!)
Just finished the project. All totalled, it took about 2 hours, including glue to dry. Question: what is the overall length supposed to be? I cut out the pattern, but matching the ends looked a bit short, so I added about an inch. The foot, at 8 1/2″ from bottom, would have been at the hole between the “ears”, so I had to back it off an inch. Mine is 11 1/2″ long.
Hi Jay the completed length is about 14-1/4″. I’m not positive, but it sounds like when printing the template it may have been set to “fit to page” rather than scale being set to 100%.