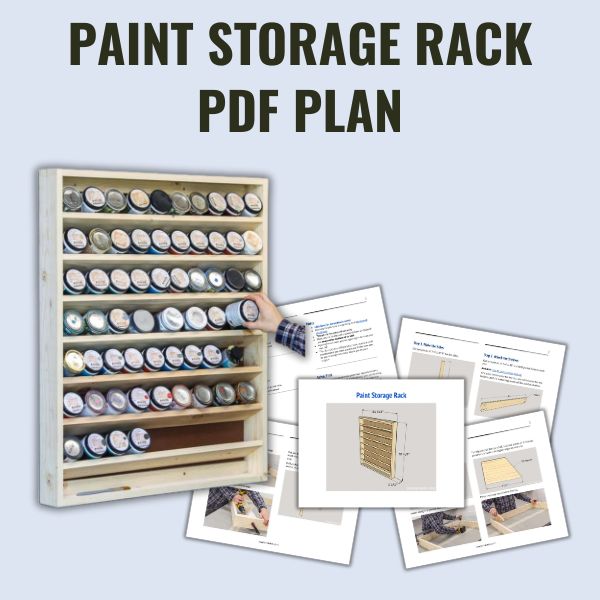
DIY Wall-Mounted Paint Storage Rack
Get organized with this DIY paint storage rack. This wall-mounted holder is easy to make and the perfect way to organize small paint containers.
What Should I Build Next?
That's the question I help answer.
Every week, I send woodworking ideas to 17,000 DIYers who love building things.
You'd fit right in.
DIY Paint Storage Rack
Are your paints disorganized? Can’t find what you need? Get organized now with this paint storage rack!
This wall-mounted holder is the perfect solution to organize paint containers in your workshop, garage, or basement.
I made this rack to organize small sample paint containers, but you could use it to organize half-pint (8 oz) containers of stain and finish. You could also customize the plan to store spray paint, tubes of caulk, or quart containers of paint, stain, and finish.
This is an easy afternoon project that you can make with a few simple cuts and a few common woodworking tools.
The plan includes all of the measurements and detailed step-by-step instructions. Get the plan now and build one today.
You may also enjoy DIY Craft Paint Organizer.
This tutorial contains affiliate links to supplies and tools. Purchases made using these links help support the Saws on Skates website and allows me to share more projects and tips with you. There is no cost to you for using these links. Visit my site policies for more information.
Table of Contents
- Inspiration for This Project
- How Many Paint Containers Can This Rack Hold?
- What Tools Do You Need to Make a Paint Organizer?
- What Wood Should You Use?
- Customize Your Paint Organizer
- How Do You Finish the Rack?
- How Do You Hang the Holder on the Wall?
- How to Make a Wall-Mounted Paint Rack Tutorial
- Get the PDF Plan
Inspiration for This Project
I often use paint samples to add color to my furniture projects. The samples are inexpensive and a great option if you only need a little bit of paint.
Over the years, I’ve accumulated a handful of these paints. Who am I kidding? I have a boatload of these paint samples!
The problem is the samples were scattered around my house. They were completely disorganized! The containers were in cardboard boxes, on a shelf in my basement, and even in my kitchen. It was frustrating because I could never find the color I wanted.
I recently organized my craft paints with this DIY craft paint organizer. Now it was time to get my paint samples organized.
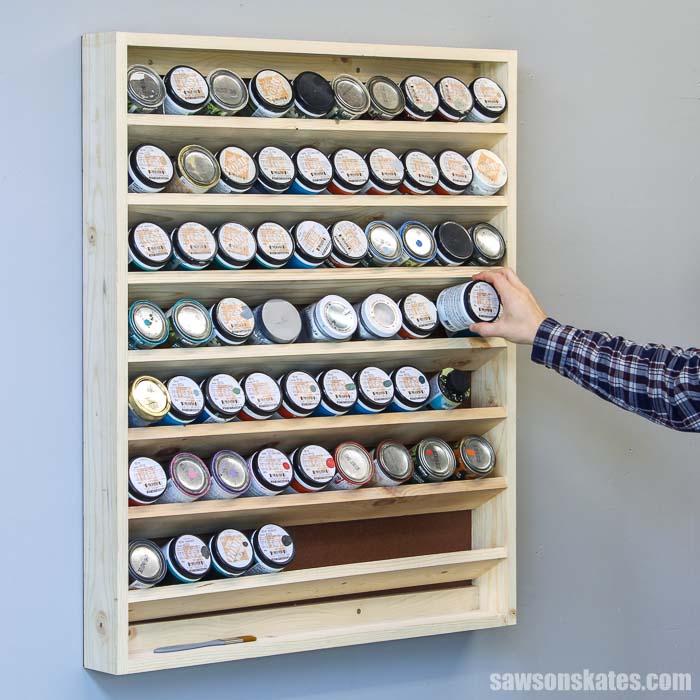
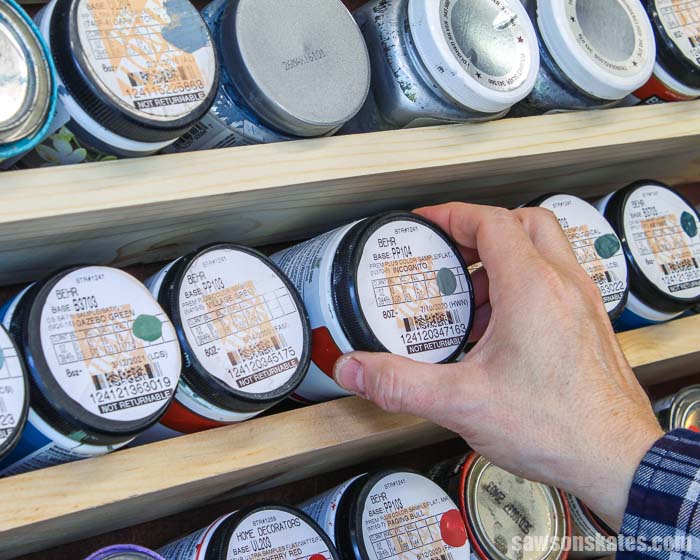
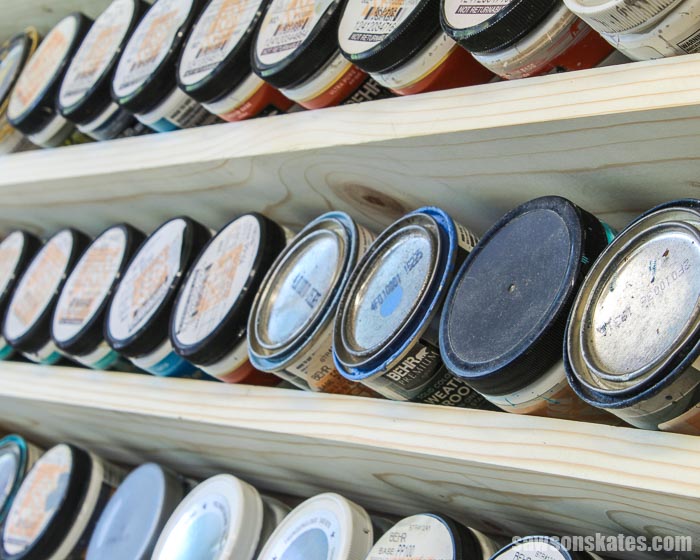
Here’s what I came up with: a wall-mounted display rack. The angled display shelves make it easy to find what you need. No more shuffling things around or digging through a box to find what you want.
I used my rack to display sample paint containers, but you could use it to organize half-pint (8 oz) containers of stain and finish. You could also adjust the depth and spacing between the shelves to accommodate aerosol cans, like spray paint, polyurethane spray, tubes of caulk, or even quart containers of paint, stain, and finish.
How Many Paint Containers Can This Rack Hold?
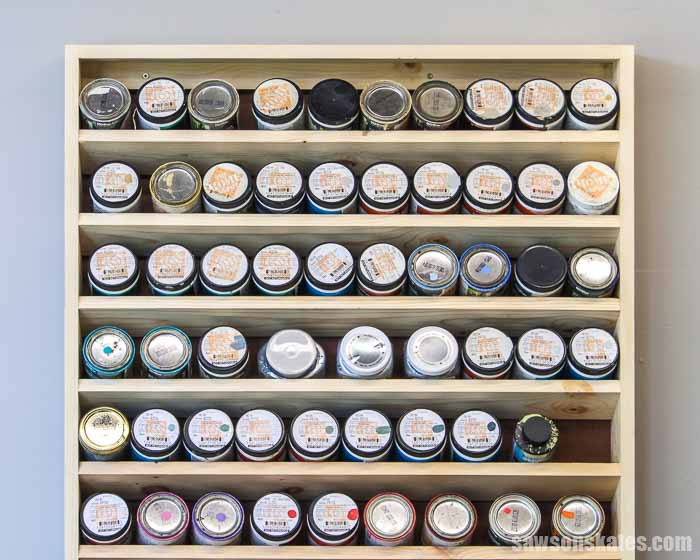
This rack has seven shelves, and each shelf holds about ten half-pints (8 oz) paint containers for a total of about 70 small paint containers.
What Tools Do You Need to Make a Paint Organizer?
This wall-mounted paint rack is easy to make for DIYers of any skill level. It’s a simple afternoon project that can be made using basic woodworking skills and just a few common woodworking tools.
Tools like a miter saw, pocket hole jig, and a drill.
Miter Saw
I used a miter saw to cut all of the parts to length for this project.
Related: 7 Miter Saw Tricks Every DIYer Should Know
Pocket Hole Jig
You can use any pocket hole jig to drill the pocket holes for this organizer. The Kreg Jig 320 is an affordable option to drill the pocket holes for this project.
Related: 9 Pocket Hole Mistakes You Don’t Want to Make
Drill
I used a drill to make the pocket holes and drive the screws that joined the parts together.
Related: Impact Driver vs Drill: What’s the Difference?
What Wood Should You Use?
This paint holder can be made with just about any type of wood. I used common pine to build mine. Pine is relatively inexpensive and easy to work with.
I purchased the pine 1×2s and 1×4s at my local home improvement store. I also used a small piece of ⅛” hardboard for the back of the organizer. Hardboard is usually located near the plywood section of many home improvement stores.
Related: Beginner’s Guide to Wood Sizes
Customize Your Paint Organizer
I designed this display rack for small, 8 oz paint containers. You could adjust the depth and spacing between the shelves to accommodate spray paint cans or quart containers of paint and stain.
How Do You Finish the Rack?
This paint rack could be finished in a variety of ways. It could be left natural, painted, etc. I chose to leave my rack natural.
How Do You Hang the Holder on the Wall?
This paint rack could be attached to the studs or attached to the wall with a french cleat.
Attach the Rack to the Studs
First, use a stud finder to locate the studs in the wall. Then, position the rack over the studs and use a level to make sure the rack is level. Next, drill countersink holes through the cleat into the studs. Attach the rack to the wall with 2-½” wood screws.
Related: How to Use a Countersink Bit
Attach the Rack to the Wall with a French Cleat
Make a french cleat the length of the rack. Attach one part of the cleat to the wall and the second part of the cleat to the back of the rack. Also, attach a piece of material the thickness of the cleat to the bottom of the rack. Adding a piece to the bottom will make the rack stand straight up and down on the wall.
Then, hook the rack on the French cleat.
Related: How to Make a French Cleat (2 Easy Ways)
Wall-Mounted Paint Rack
Printed Plan
- Get the PDF plan here (includes detailed instructions, measurements, and bonus tips).
Supplies
- Wood (per printed plan)
- 1-¼” Pocket Screws
- ⅝” Brad Nails
Tools
- Tape Measure
- Drill
- Kreg Jig
- Kreg Multi-Mark
- Miter Saw
- Table Saw or Circular Saw
- Brad Nailer or Hammer
Step 1. Make the Sides
Cut 2 pieces of wood to length for the sides.
Step 2. Attach the Shelves
Cut 9 pieces of wood to length and drill pocket holes in each end.
Related: How to Use a Kreg Jig
1 piece will be used for the top, 1 piece will be used for the bottom, and the remaining 7 pieces will be used as shelves.
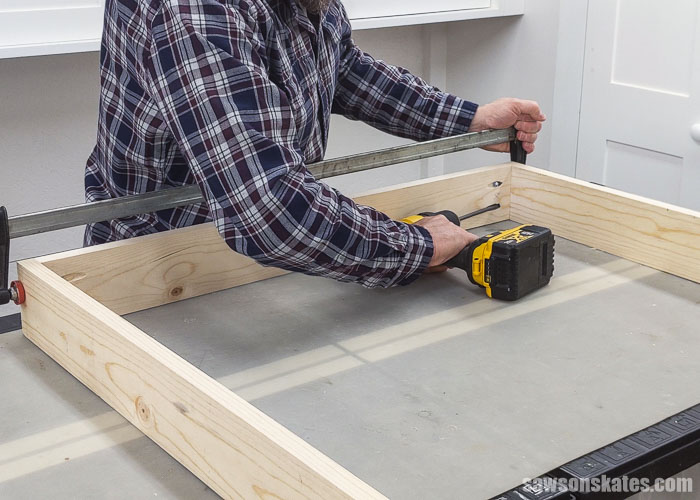
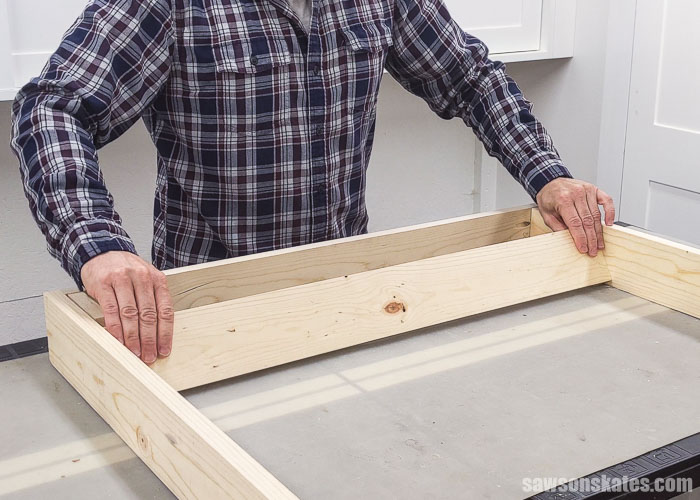
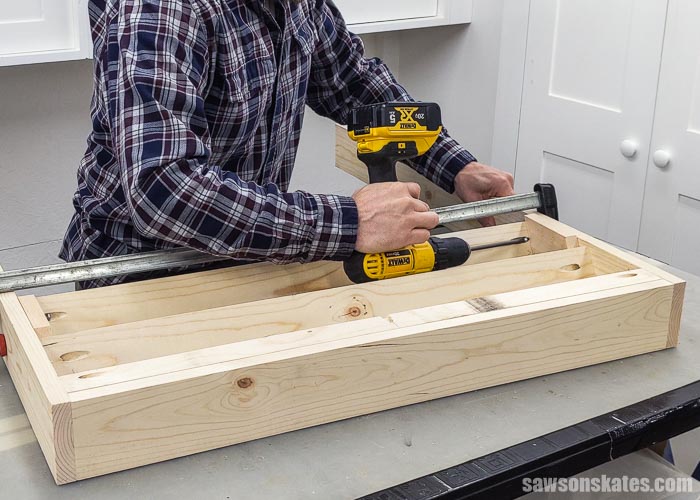
Apply glue to the ends of the top, position on the sides, and clamp. Attach using 1-¼” pocket screws.
Related: How to Prevent Pieces from Moving When Assembling Pocket Hole Joints
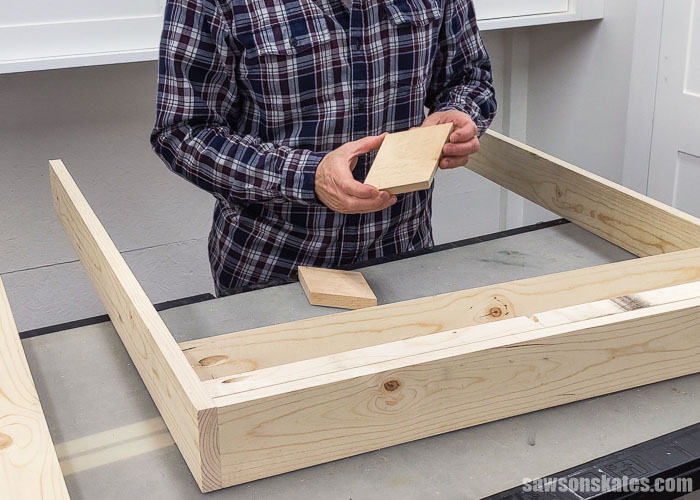
To help position the top shelf, I cut 2 pieces of scrap wood to length and cut an angle on one end.
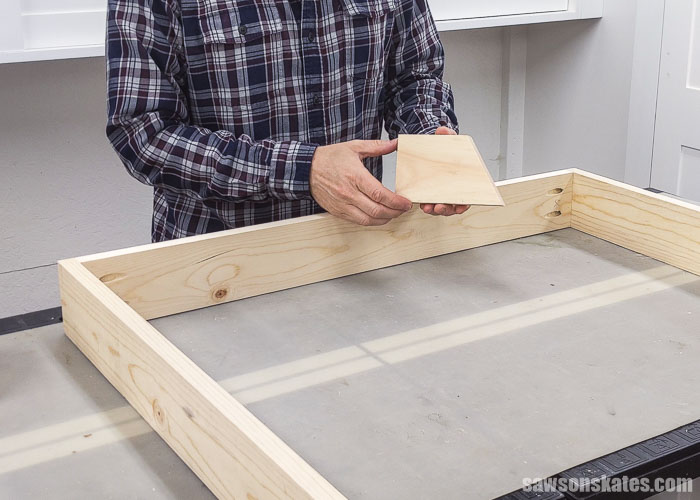
Place the scrap wood below the top.
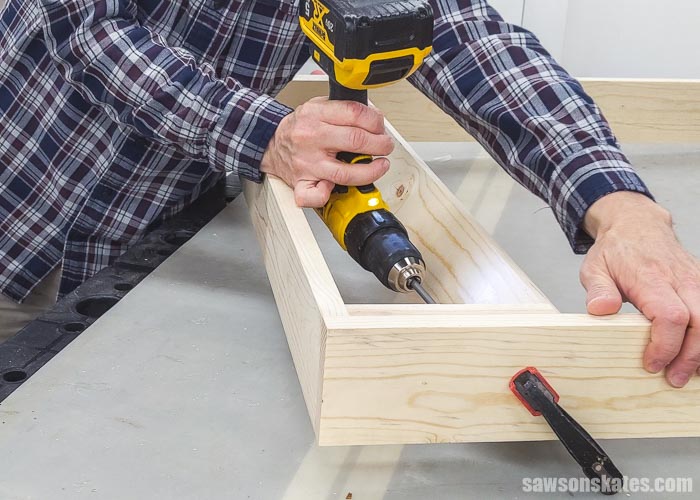
Position the shelf against the scrap wood and clamp.
Attach using 1-¼” pocket screws.
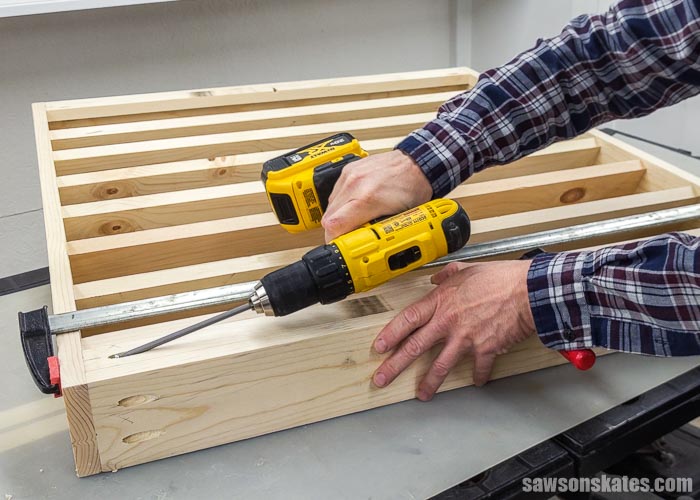
Cut 2 pieces of wood to length for the back rails. 1 piece will be used now, and the other piece will be used towards the end of this step. Drill pocket holes in each end and one pocket hole in the middle of one edge.
Position the rail below the top and clamp. Attach using 1-¼” pocket screws.
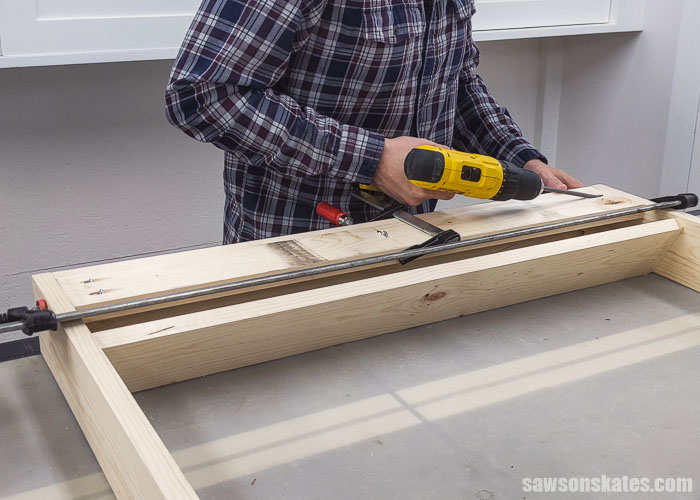
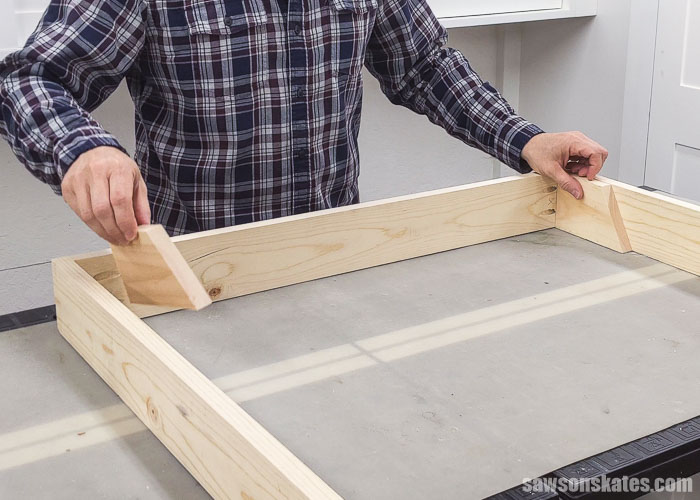
To help position the remaining shelves, I cut 2 pieces of scrap wood to length with a parallel angle on each end.
Place the scrap wood below the top shelf, position the shelf against the scrap wood, and clamp. Attach using 1-¼” pocket screws. Repeat for the remaining shelves.
Apply glue to the ends of the bottom, position on the sides, and clamp. Attach using 1-¼” pocket screws.
Position the rail above the bottom and clamp. Attach using 1-¼” pocket screws.
Step 3. Attach the Back
I used two pieces of hardboard to make the back sections for my project. If you have a piece of material that is large enough, you can make the back one piece rather than two.
Cut 2 pieces of hardboard to size. I used my table saw to make these cuts, but you can use a circular saw instead.
Related: 4 Ways to Make Straight Cuts with a Circular Saw
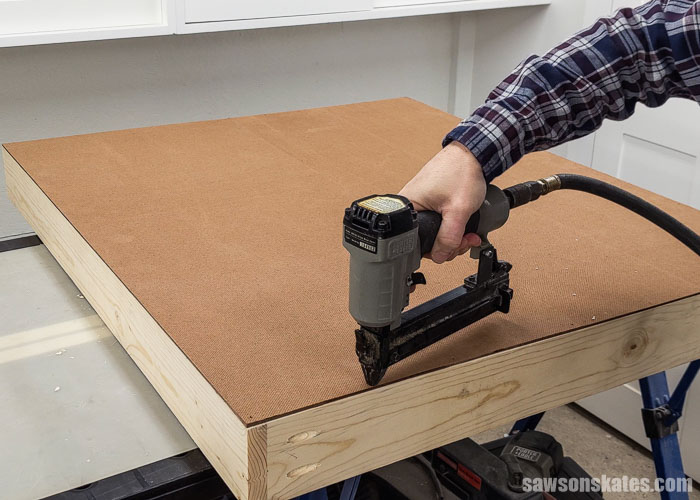
Apply glue to the edges and position the back.
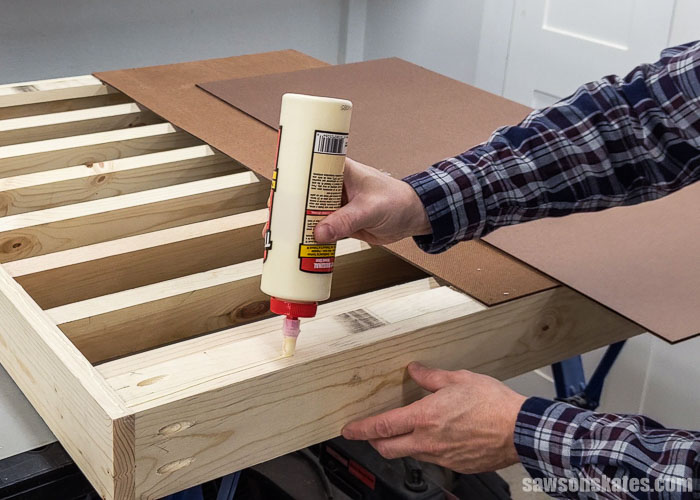
Attach using ⅝” brad nails.
Related: Brad Nailer vs Finish Nailer: Are They the Same?
Step 4. Hang the Rack
See How Do You Hang the Holder on the Wall? for more information.
Includes:
- List of tools and materials
- Complete measurements (in inches)
- Easy-to-follow instructions
- Step-by-step photos
- Detailed diagrams
Final Thoughts
This wall-mounted holder is the perfect solution to organize paint containers in your workshop, garage, or basement. I made this rack to organize small containers of sample paint, but you could customize the plan to store spray paint, tubes of caulk, or quart containers of paint and stain.
Get the PDF plan (including the detailed instructions and measurements) now!
Thank you for stopping by. If you enjoyed this tutorial, would you please take a moment and pin it to Pinterest? I’d really appreciate it!
Pin This For Later

Hi there – I’m Scott, a woodworking enthusiast and creator of Saws on Skates, a site I started in 2015 to share easy-to-follow tutorials, space-saving shop tips, and project inspiration for DIYers at any skill level. Learn more about my woodworking journey here.