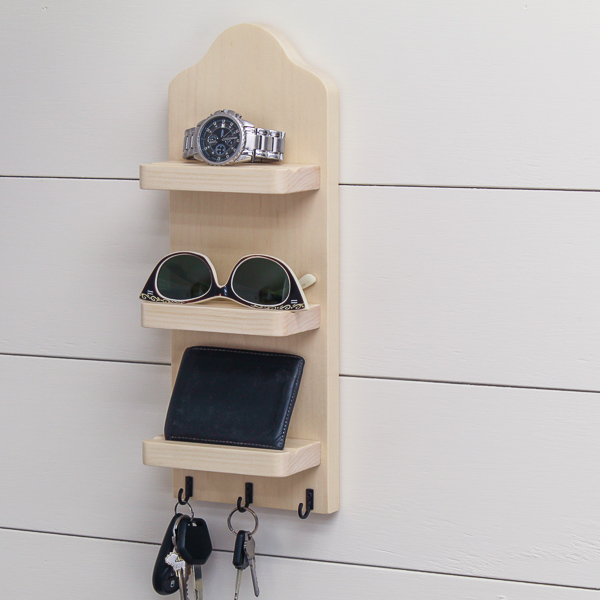
DIY Wall-Mounted Key Cabinet (Simple and Rustic)
Enhance your entryway organization. Make a charming, rustic-style DIY key cabinet with this simple step-by-step tutorial.

What Should I Build Next?
That's the question I help answer.
Every week, I send woodworking ideas to 17,000 DIYers who love building things.
You'd fit right in.
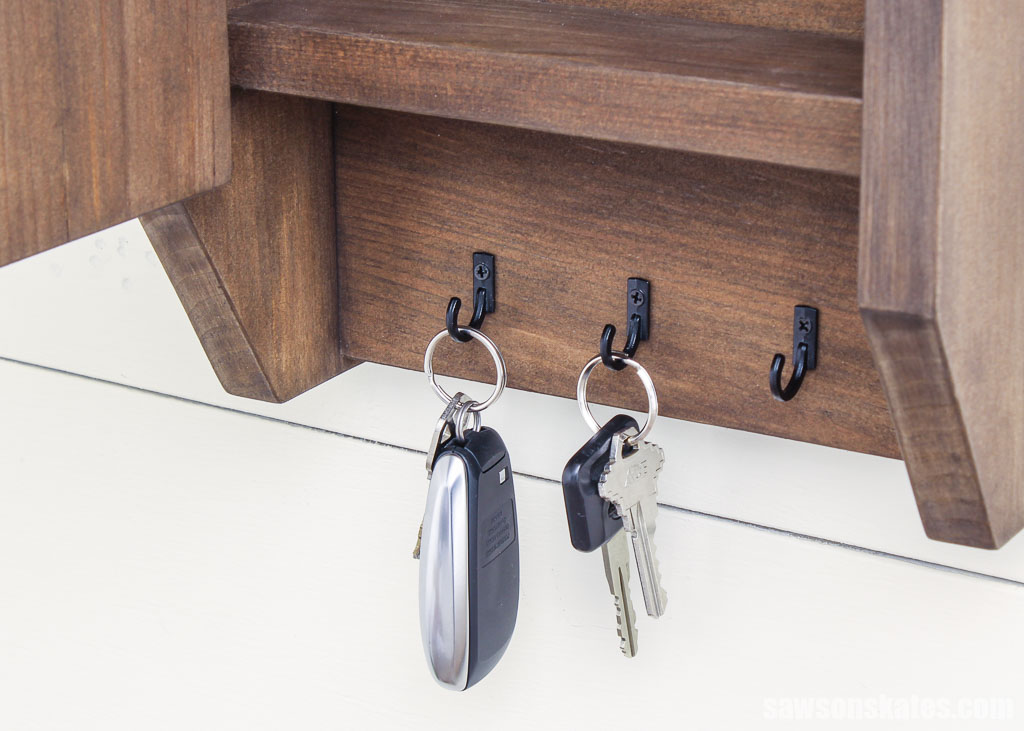
Tired of the frantic morning fumble for your misplaced house or car key? Here’s the solution. I’ll show you how to make a DIY cabinet for your wall that will keep your keys organized and bring a touch of rustic charm to your entryway.
Table of Contents
- What Wood Should You Use?
- What Tools Do You Need?
- Customize Your Key Cabinet
- How to Make a DIY Key Holder Cabinet
- Get the PDF Plan
This article contains affiliate links. If you purchase from these links, I may earn a small commission at no additional cost to you. Visit my site policies for more information.
Inspiration for This DIY Key Holder Cabinet
A while back, a reader’s key holder request inspired plans for this organizer. However, a primitive-style key cabinet lingered in the back of my mind like a half-written story.
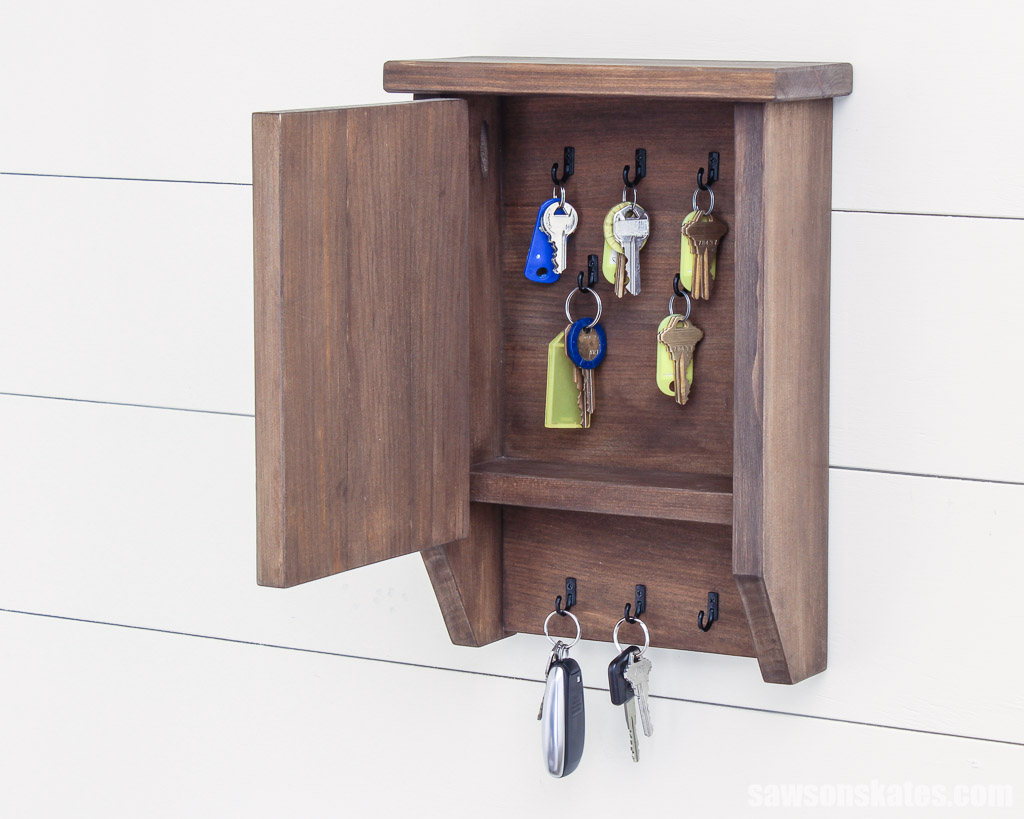
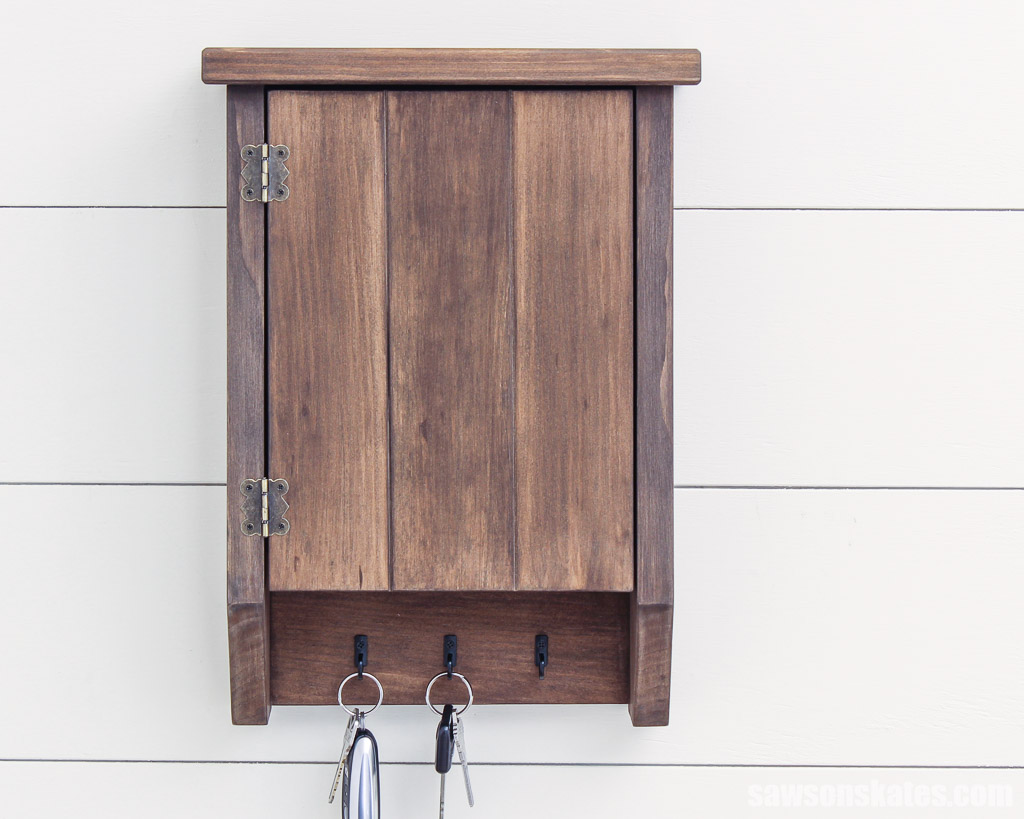
Then, a friend, challenged with organizing keys for his vacation rentals, rekindled the flame. Here’s what I came up with: a simple key holder box with a door and eight hooks for storing keys.
What Wood Should You Use?
This project doesn’t require much material, so it’s an excellent way to use your cutoffs. I made mine with pine scraps, but it would also look fantastic with a hardwood like oak.
What Tools Do You Need?
I used four basic tools to make this key cabinet:
- Drill
- Pocket hole jig
- Miter saw
- Table saw
I also used my trim router and a chamfer bit to add dimension to the cabinet’s top and door, but this step is optional if you don’t have them.
Related: Trim Router vs Full-Size Router (Which to Buy & Why)
Customize Your DIY Key Holder Box
This key cabinet is incredibly versatile, so make it your own. Here are some ideas on how you can customize it.
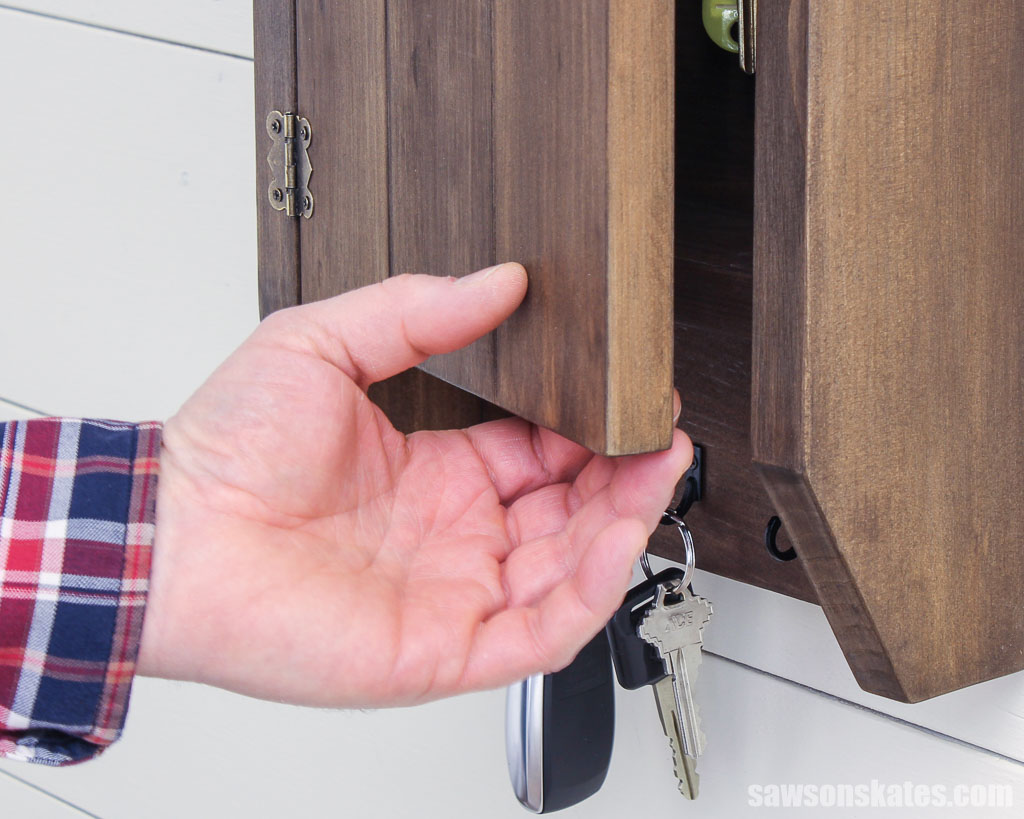
I chose an overhanging design for the door, creating a built-in handle; however, you can add a knob for a more traditional look.
Magnetic catches are a budget-friendly way to keep the door shut, and they’re super easy to install. You can find them for less than a buck at most hardware stores.
How Do You Finish the Key Holder Box?
Craving a rustic vibe for my key cabinet, I turned to Varathane’s Aged Wood Accelerator, and it delivered, but feel free to pick a finish that reflects your style.
Related: Varathane Aged Wood Accelerator (Review & 5 Woods Tested)
How to Make a DIY Key Cabinet
Printed Plan
Get the PDF plan here (includes detailed instructions, measurements, and bonus tips)
Materials
- Wood (per the printed plan)
- Wood Glue
- 1-¼” Pocket Hole Screws
- Hooks
- Miniature Cabinet Hinges
- Sawtooth Picture Hanger
Tools
- Tape Measure
- Kreg Multi-Mark
- Miter Saw
- Table Saw
- Pocket Hole Jig
- Drill and Drill Bits
- Right Angle Drill Attachment
- Router (optional)
- Chamfer Router Bit (optional)
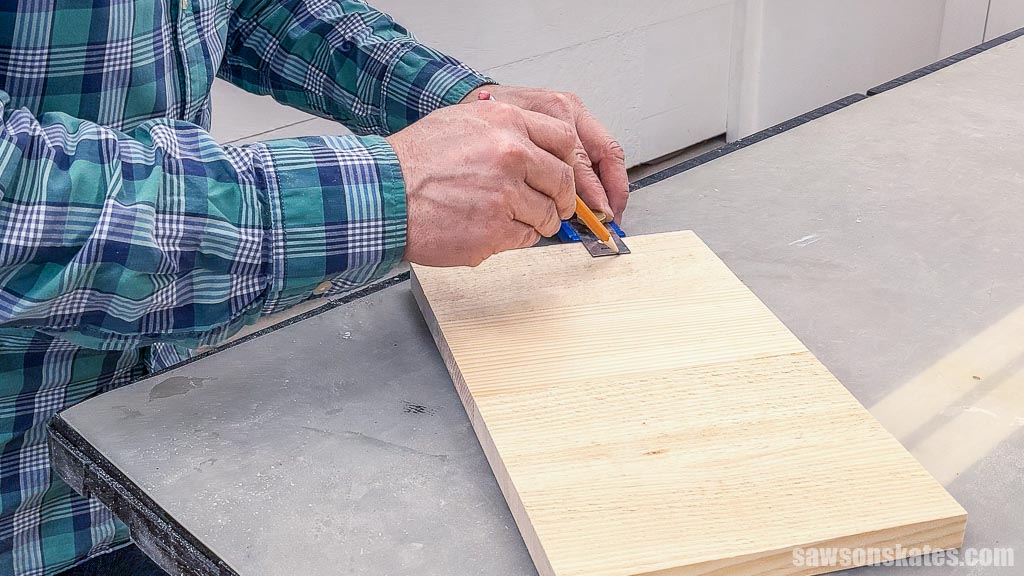
Step 1. Make the Sides
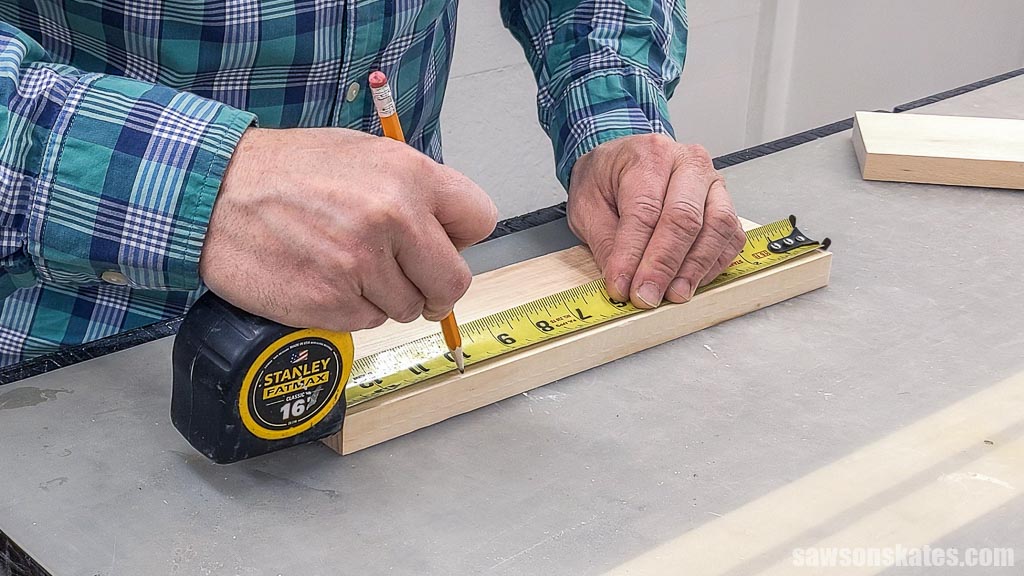
Cut two pieces of wood to length for the sides. Then, use the diagram in the printed plan to mark the location for the angles.
Related: How to Use a Tape Measure Correctly (Tips for Success)
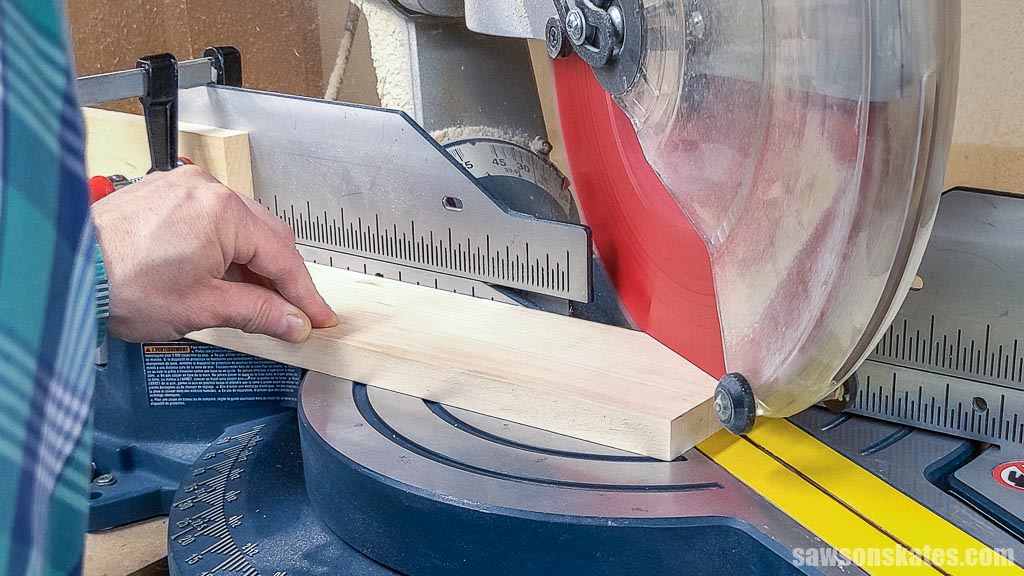
I adjusted my miter saw’s angle and made the cuts.
Related: Why Can’t I Make Accurate Cuts? (& How to Fix It!)
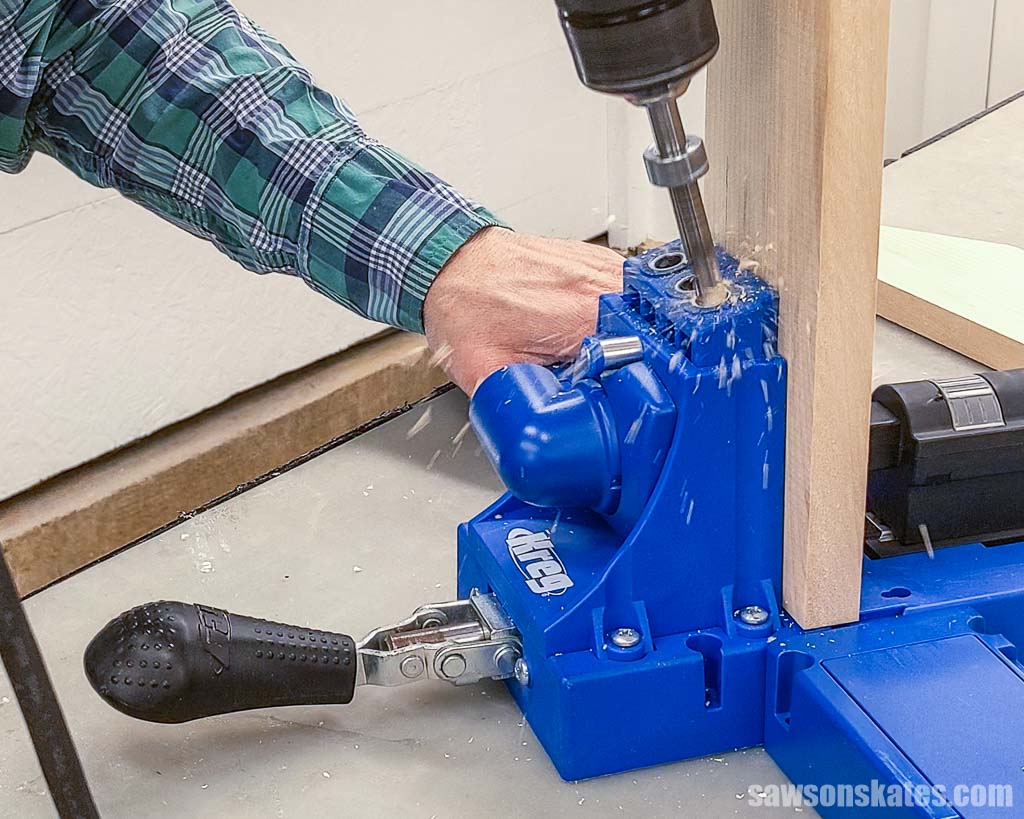
Next, use the diagram in the printed plan to mark the location for pocket holes that will attach the sides to the top. Be sure to make a right and left side.

Then, I drilled a pocket hole at each mark.
Related: How to Use a Pocket Hole Jig (and Beginner Pitfalls to Avoid)
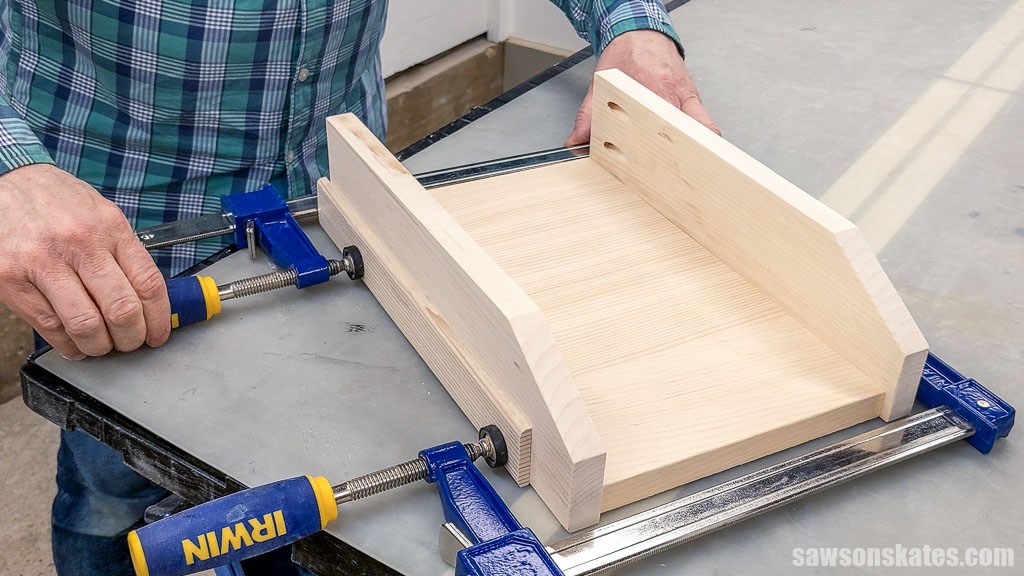
Step 2. Attach the Back
Cut four pieces of wood to length for the back.
Apply glue and clamp to form a panel. Boards may shift slightly during glue-up, leading to misaligned edges. Pay close attention, keeping them as square as possible.

When the glue is dry, use the diagram in the printed plan to mark the locations for pocket holes that will attach the back to the sides. Then, drill one at each mark.
Position the sides on the back.
NOTE: The back should have clearance at the top to accommodate seasonal expansion and contraction. I’ve made this adjustment in the printed plan.
And attach using pocket hole screws.
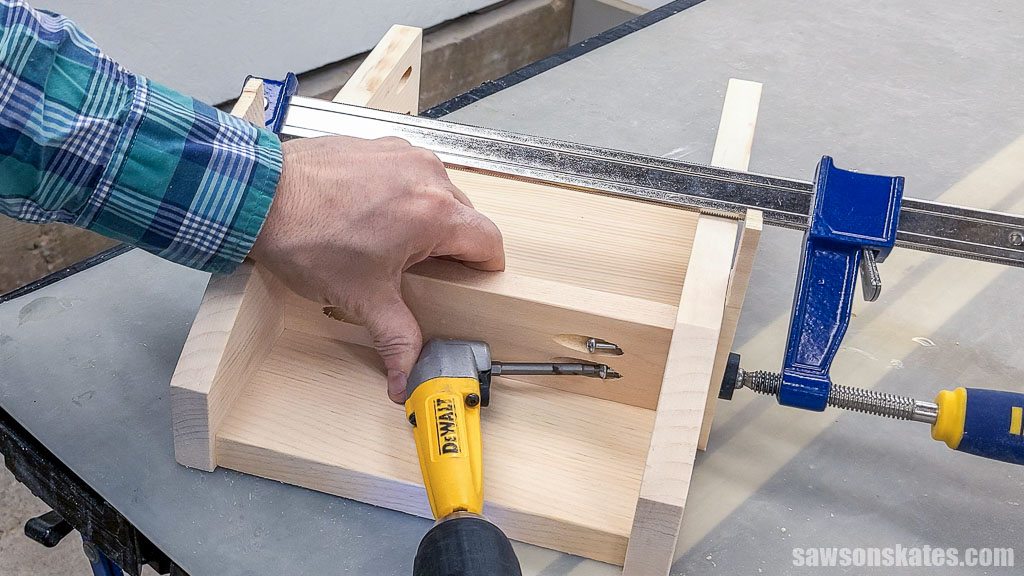
Step 3. Attach the Shelf
Cut one piece of wood to length for the shelf and rip to width using a table saw.
Related: 21 Table Saw Safety Rules (& Mistakes to Avoid)
Then, drill two pocket holes in each end.
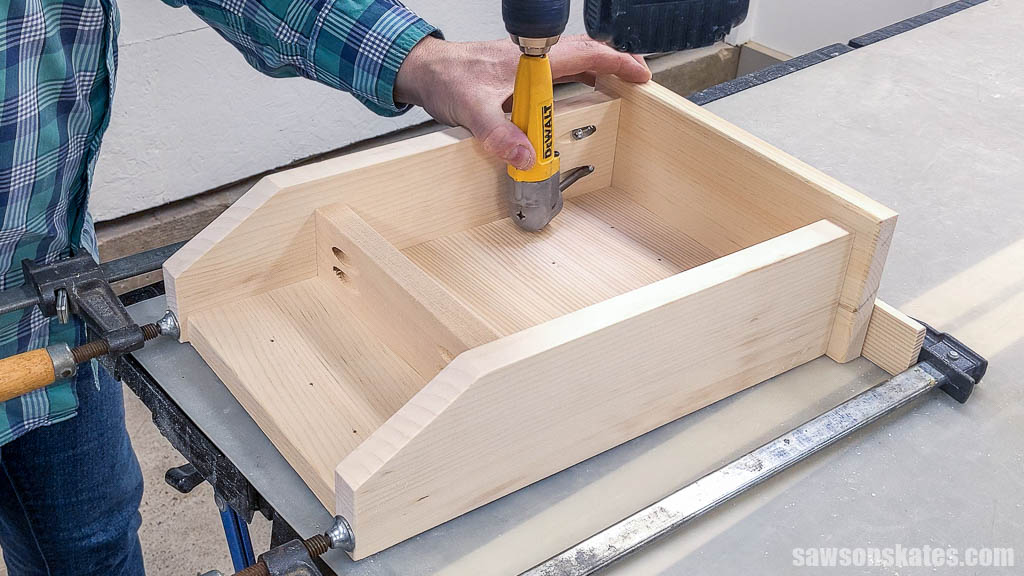
I used a scrap piece of wood to help position the shelf.
I placed the shelf on top of the scrap wood and clamped it in place.

I joined it using pocket hole screws and a right angle drill attachment.
Next, use the diagram in the printed plan to mark the location for the hooks.
NOTE: While I installed eight hooks, I’ve updated the plan so you can install nine.
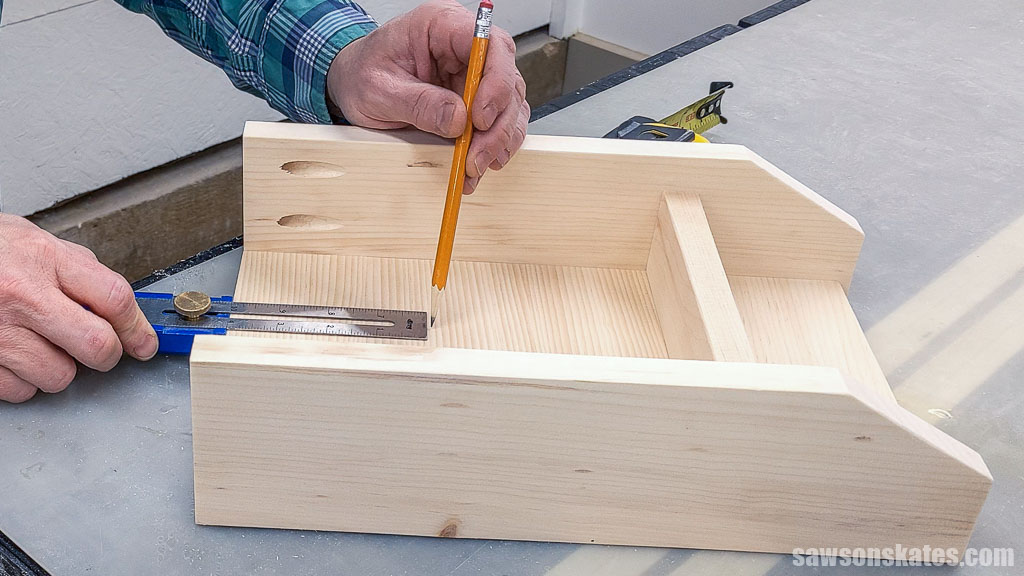
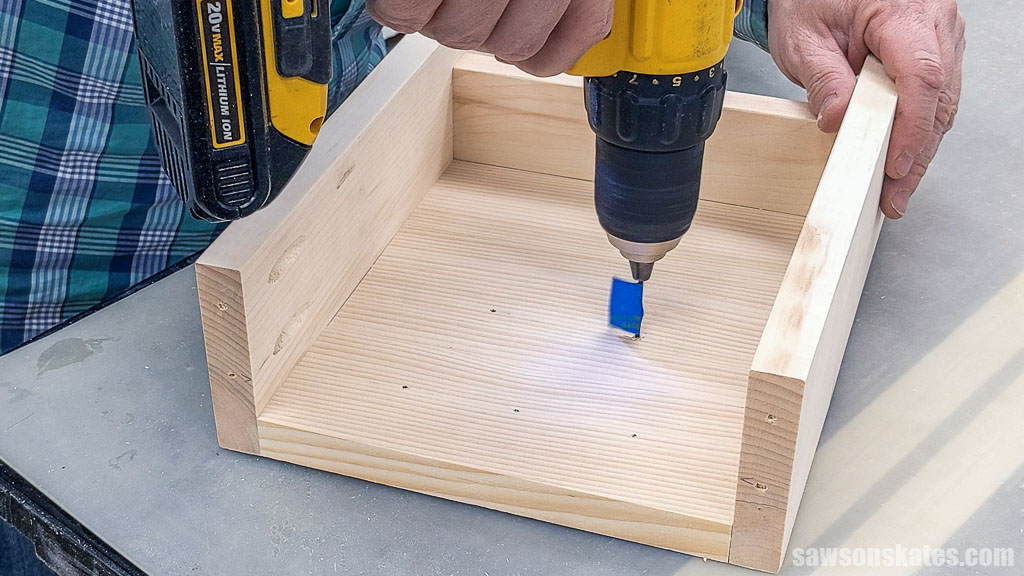
I used an awl to make a starting point for the drill bit.
Related: What is an Awl? (and How to Use It)

Then, I used a drill bit, with painter’s tape as a depth stop, to make a pilot hole at each location.
Related: How to Drill Pilot Holes (Why, When & Correct Size)
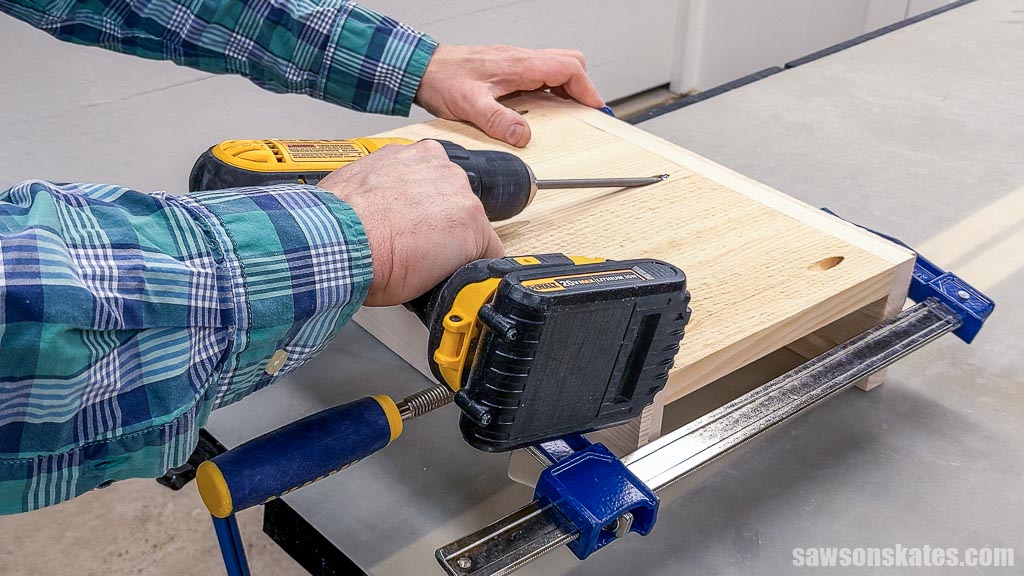
Step 4. Attach the Top
Cut two pieces of wood to length for the top. Apply glue and clamp to form a panel.
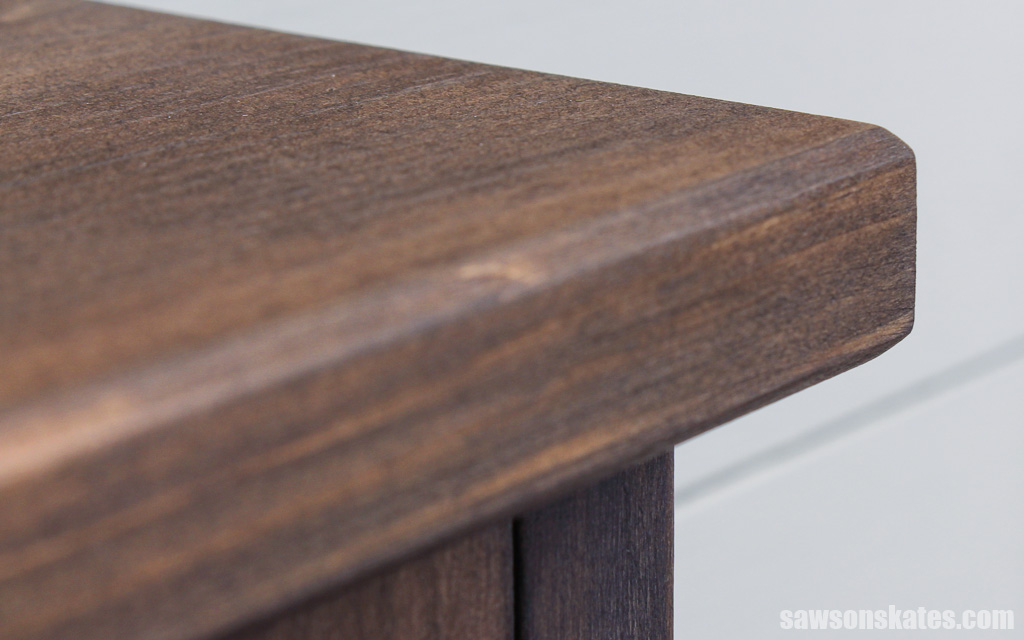
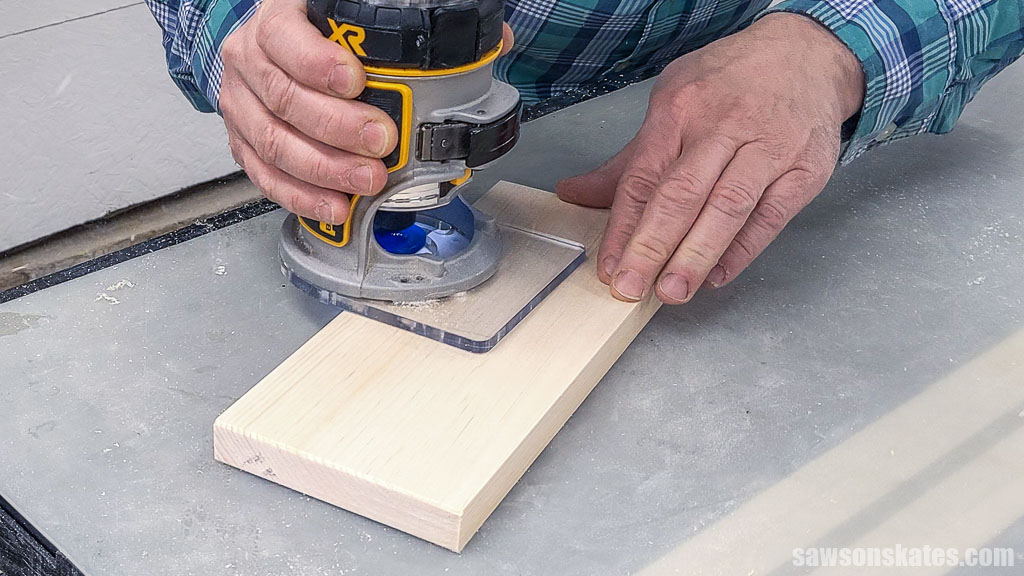
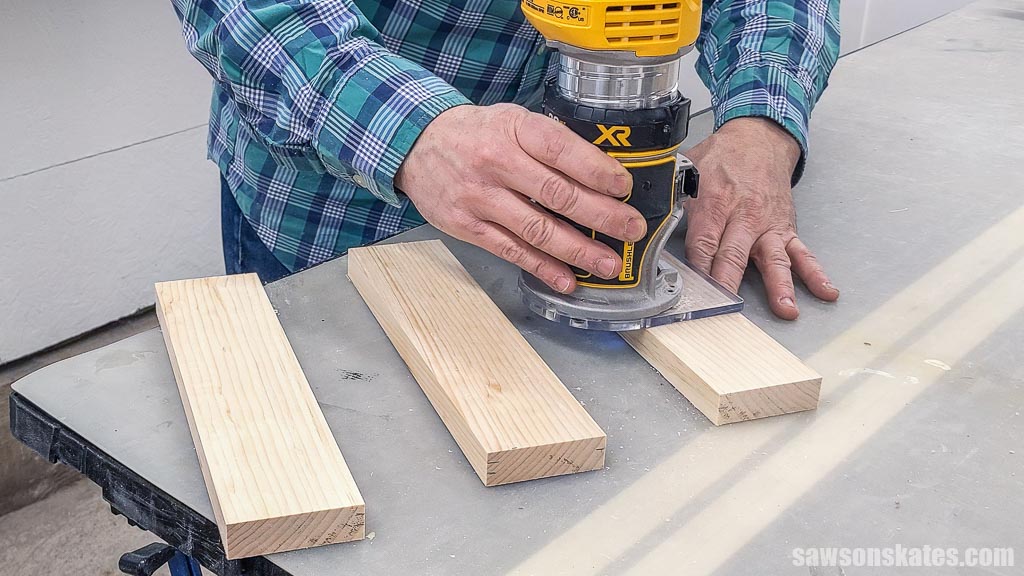
I used my router and chamfer bit to bevel the top’s edges, making it appear thinner and giving it a finished look.
Position the top on the cabinet, clamp, and attach using pocket hole screws.
Step 5. Attach the Door
Cut three pieces of wood to length for the door.
I used my router and chamfer bit to bevel the interior edges, giving the door a beadboard-like appearance.
Apply glue and clamp to form a panel.
The door needs clearance on each side. Instead of aiming for precision right away, I took a gradual approach to “sneak up” on the perfect fit.
With my table saw unplugged, I placed the panel next to the blade and gently snugged the rip fence next to it.
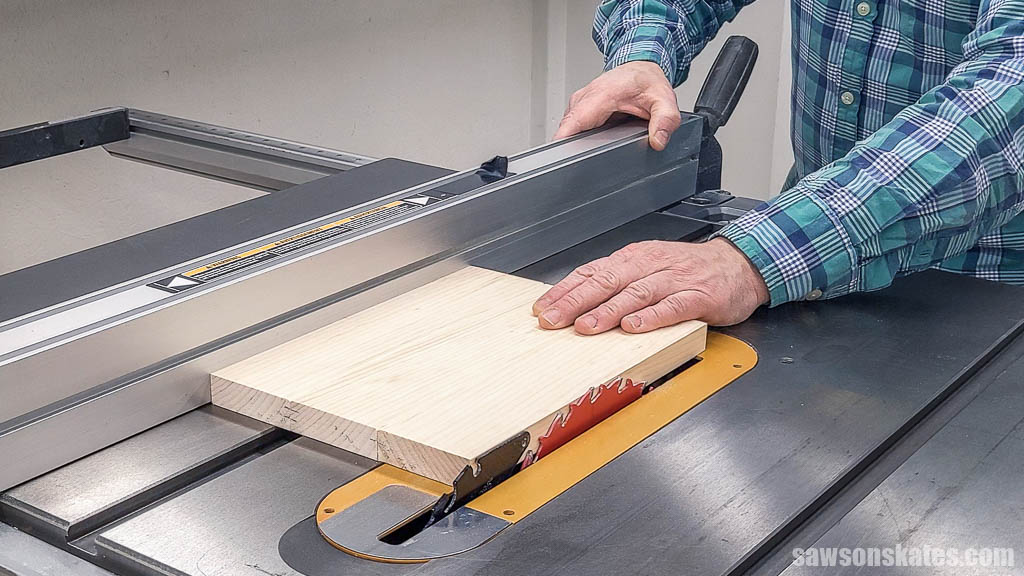
This method allowed me to shave off a thin amount of material.
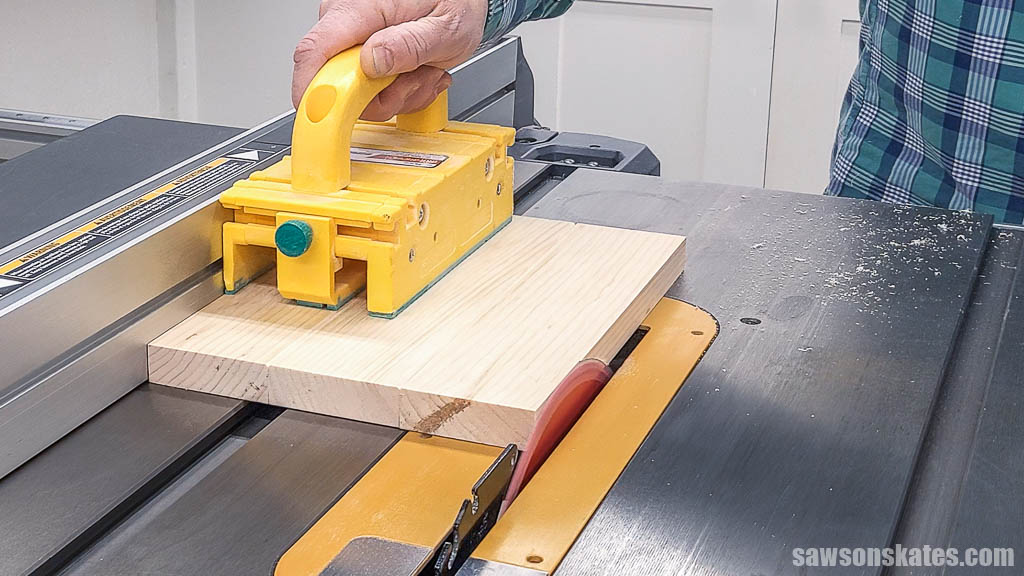
I flipped and repeated this process on the other side. I continued flipping and shaving, test fitting in the cabinet after each pair of passes. I forgot to write it down, but I think I made a total of three passes on each side.
To help position the door, I cut a piece of scrap wood to match the shelf’s width, and placed it at the top of the cabinet.
Then, I positioned the door in the opening using playing cards and marked the location for the hinges.

I used an awl to make a starting point for the drill bit and drilled pilot holes for the screws.
Then, I attached the hinges using the screws that came with them.
Step 6. Finish the Key Holder Cabinet
See How to Finish the Key Holder Box for more information.
After finishing the cabinet, I installed the hooks. On the back, I attached a sawtooth picture hanger to hang it on the wall.

Includes:
- List of tools and materials
- Complete measurements (in inches)
- Easy-to-follow instructions
- Step-by-step photos
- Detailed diagrams
Final Thoughts
This rustic DIY key holder cabinet is a fantastic way to keep your keys organized and add charm to your entryway.
Don’t wait. Get your PDF plan (including the detailed instructions and measurements) now!
Thank you for stopping by. If you enjoyed this tutorial, would you please take a moment and pin it to Pinterest? I’d really appreciate it!
Recommended For You
Pin This For Later

Hi there – I’m Scott, a woodworking enthusiast and creator of Saws on Skates, a site I started in 2015 to share easy-to-follow tutorials, space-saving shop tips, and project inspiration for DIYers at any skill level. Learn more about my woodworking journey here.
I built this over a day or two but without the door or power tools! I used pallet wood.