DIY Wooden Tool Tote (Rustic & Versatile)
Upgrade your tool storage game with this DIY wooden tool tote! Transform old license plates into one-of-a-kind carrier with this step-by-step plan.
What Should I Build Next?
That's the question I help answer.
Every week, I send woodworking ideas to 17,000 DIYers who love building things.
You'd fit right in.
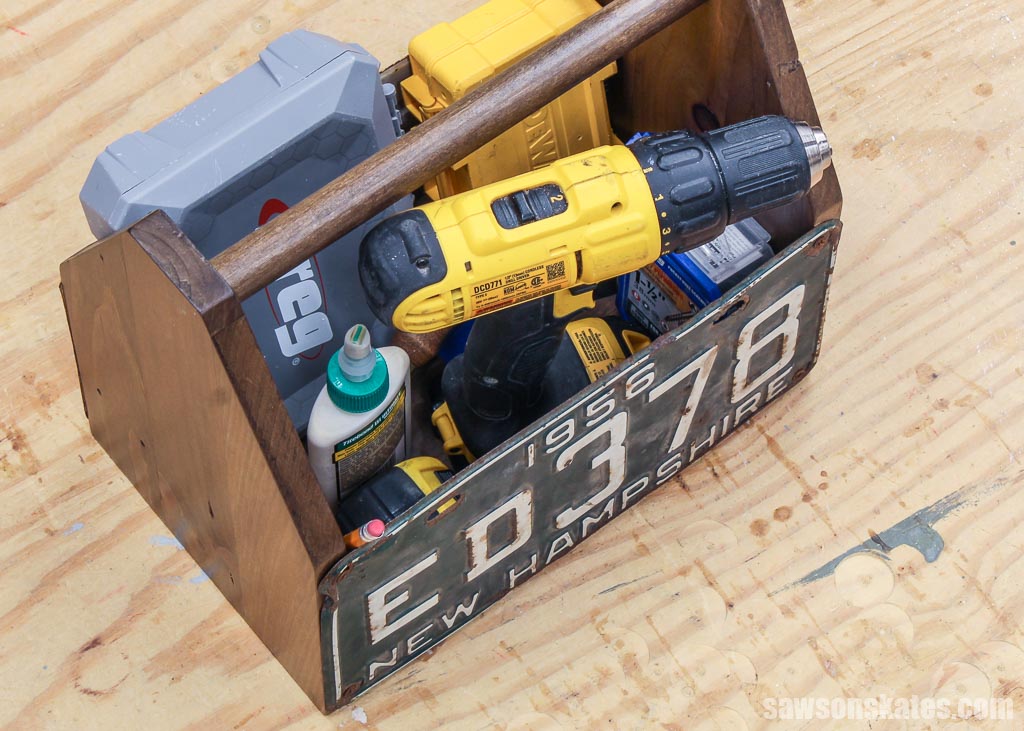
Are you looking for a fun and creative way to store your tools? With just a few simple steps, I’ll show you how to turn discarded license plates into a rustic and versatile tool tote perfect for tackling your next DIY project. So gather your supplies and keep reading to find out how to make this unique storage box!
Table of Contents
- Inspiration for This DIY Wooden Tool Tote
- What Tools Do You Need?
- What Wood Should You Use?
- How Do You Finish the Tool Tote?
- How to Make a DIY Wooden Tool Tote
- Get the PDF Plan
This article contains affiliate links. If you purchase from these links, I may earn a small commission at no additional cost to you. Visit my site policies for more information.
Inspiration for This DIY Wooden Tool Tote
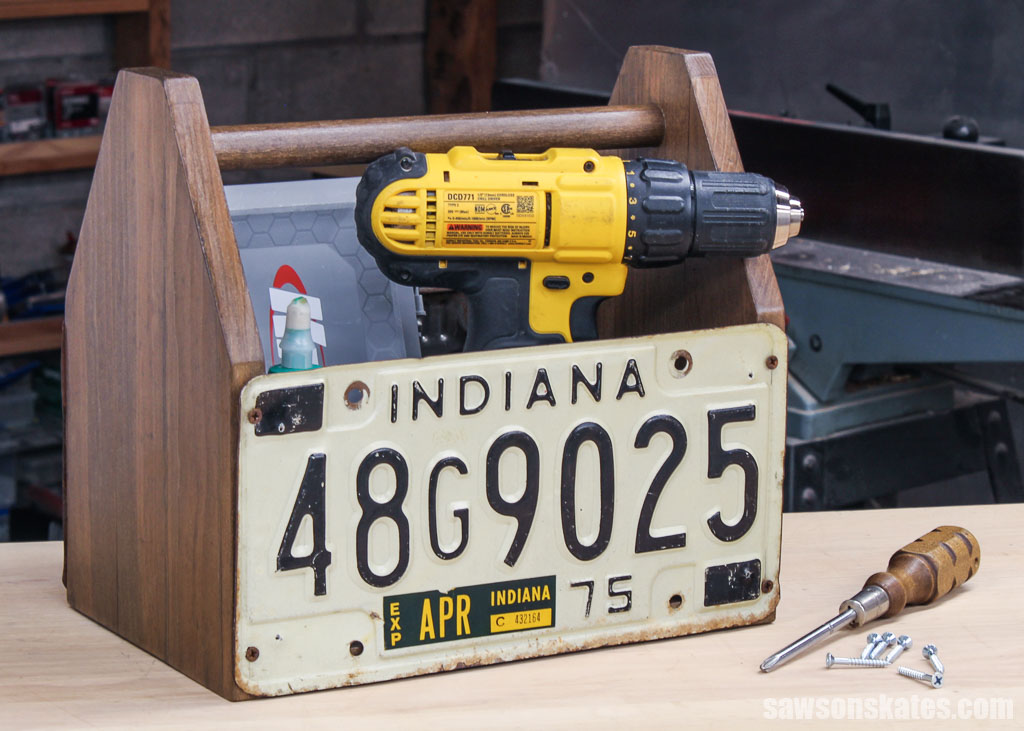
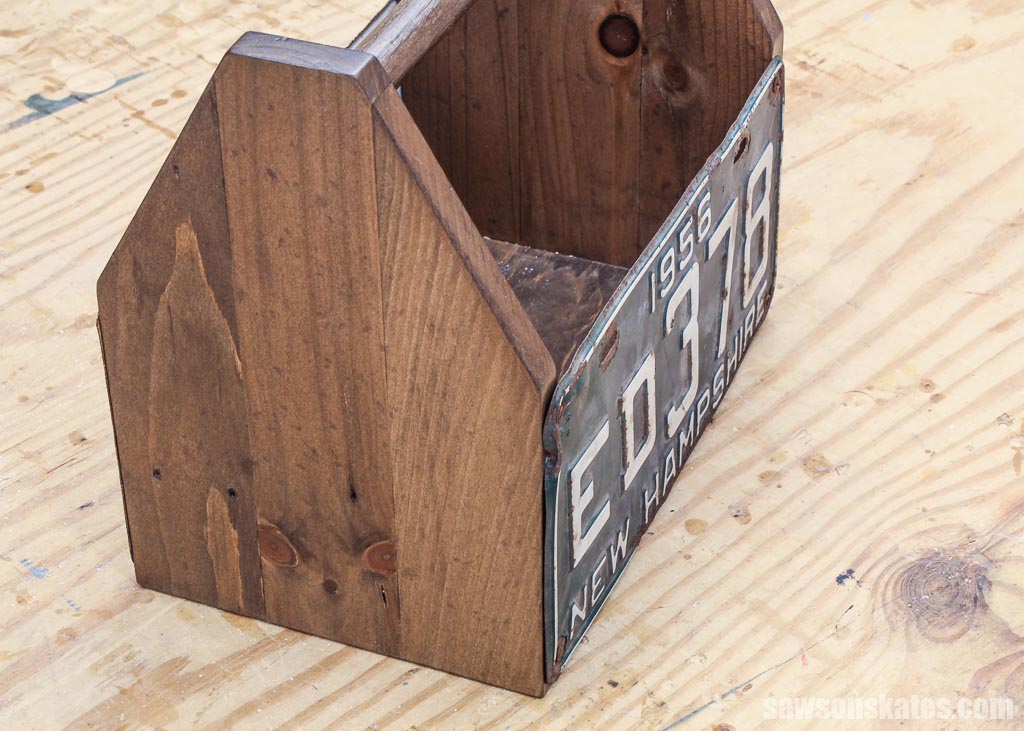
Inspired by vintage plates I had leftover from making this license plate birdhouse, this DIY wooden tool tote is a unique way to store your tools while showing off your state pride. It’s perfect for any workshop, and you can customize it with different plates or make the sides out of wood for a traditional look.
If you want to give your workshop a personal touch, look no further than this easy project!
You can use this charming tote for more than storing tools. Consider using it to organize your gardening gear, like gloves and pruners, or to keep your art and craft supplies.
Related: How to Make a DIY Craft Paint Storage Caddy
It would also make a great gift for car enthusiasts to store their detailing supplies, such as waxes and polishes.
What Tools Do You Need?
You can make this DIY tool tote with just a few tools. Here’s what you’ll need:
Miter Saw
I used a miter saw to cut all of the tote’s parts to their required lengths.
Jigsaw
I used my jigsaw to cut the tote’s angled sides, but you might be able to use a circular saw instead.
Related: Jigsaw vs Circular Saw (Differences, Uses & Which to Buy)
Pocket Hole Jig
I used a Kreg Jig to make pocket holes that join the tote’s bottom to the sides.
Drill
I used my drill to make the pocket holes, the holes for the handles, and to drive the screws that attach the license plates to the carrier’s sides.
What Wood Should You Use?
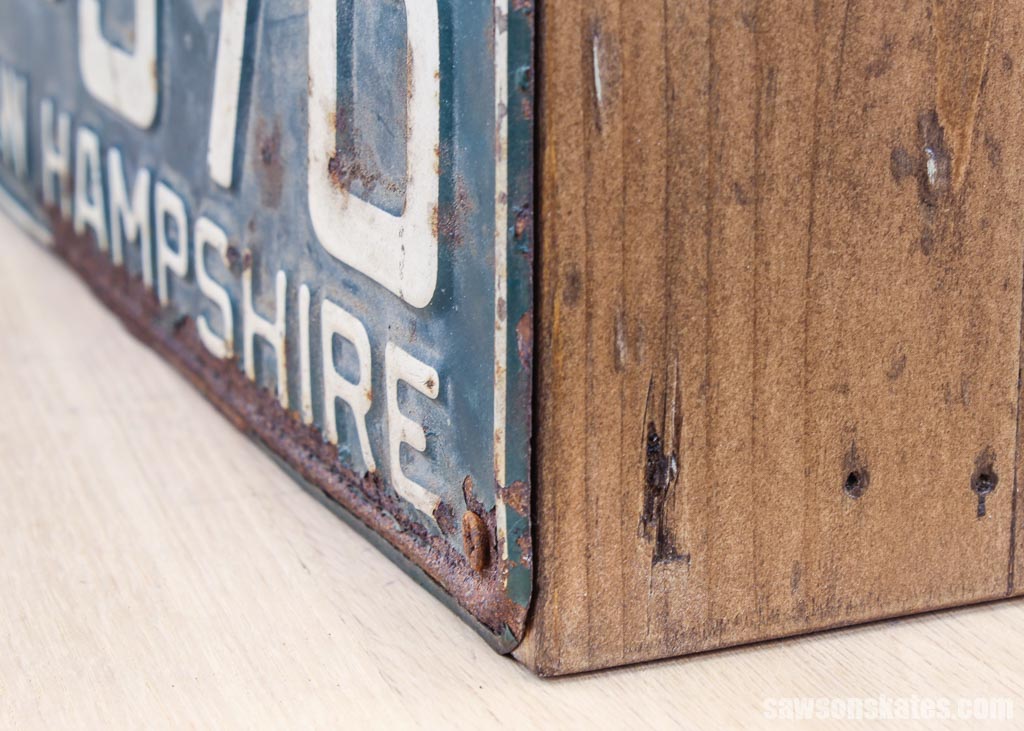
I used repurposed pieces of pine to make my tote. My boards have nail holes, paint remnants, and other imperfections, so you don’t need to worry about using new wood. I think the blemishes give it more character complementing the vintage license plates.
Where Do You Get License Plates?
Don’t worry if you don’t have old license plates to use for your project. You can usually find them at garage and estate sales, thrift stores, and flea markets. I’ve found some great plates for just a few bucks at these places. If you don’t have any luck there, you can always buy them online at sites like eBay and Etsy.
How Do You Finish the Tool Tote?
I wanted a rustic look for my project, so I applied one coat of Varathane Aged Wood Accelerator which gave the tote a warm, brown color.
I tested the Accelerator on a few small samples in this comparison, and the results appeared promising. However, I’m really impressed seeing it on a full-size project and how it transformed new wood into a vintage-looking piece.
Related: Varathane Aged Wood Accelerator (Review & 5 Woods Tested)
The Accelerator’s drawback is that it must be top-coated with lacquer, but I wanted to finish the tote with clear matte Polycrylic. So, I sprayed a coat of lacquer, waited for it to dry, then applied my preferred finish.
Related: How to Apply Polycrylic
DIY Wooden Tool Tote
Printed Plan
Get the PDF plan here (includes detailed instructions, measurements, and bonus tips)
Supplies
- Wood (per the printed plan)
- Wood Glue
- 1-¼” Pocket Hole Screws
- #6 1″ Wood Screws
Tools
- Tape Measure
- Miter Saw
- Jigsaw
- Kreg Multi-Mark
- Pocket Hole Jig
- Drill
- ⅞” Forstner Bit
Step 1. Make the Sides
Cut six pieces of wood to length for the sides.
If you have a sliding miter saw, which can cut wider boards than a standard saw, I suggest cutting the sides longer. Sometimes boards can shift when you glue up panels, resulting in an edge that’s not square. So if you leave the boards long, you can use your miter saw to square the edge while trimming them to the required length.
However, if you have a standard miter saw (one that doesn’t slide), the panel will be too wide to cut, so I suggest cutting the boards to their required length. Then do your best to keep the edges as square as possible while doing your glue up.
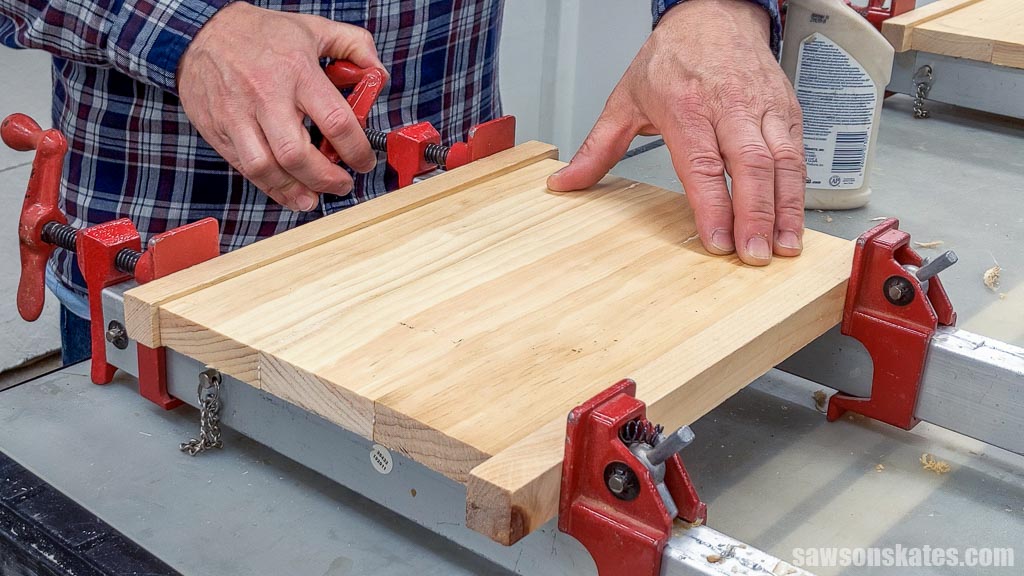
Apply glue to the boards, clamp, and allow the panel to dry for about an hour.
TIP: I used scrap wood pieces as clamping cauls. Cauls distribute the clamping force evenly and prevent damage to the edges of your workpiece.
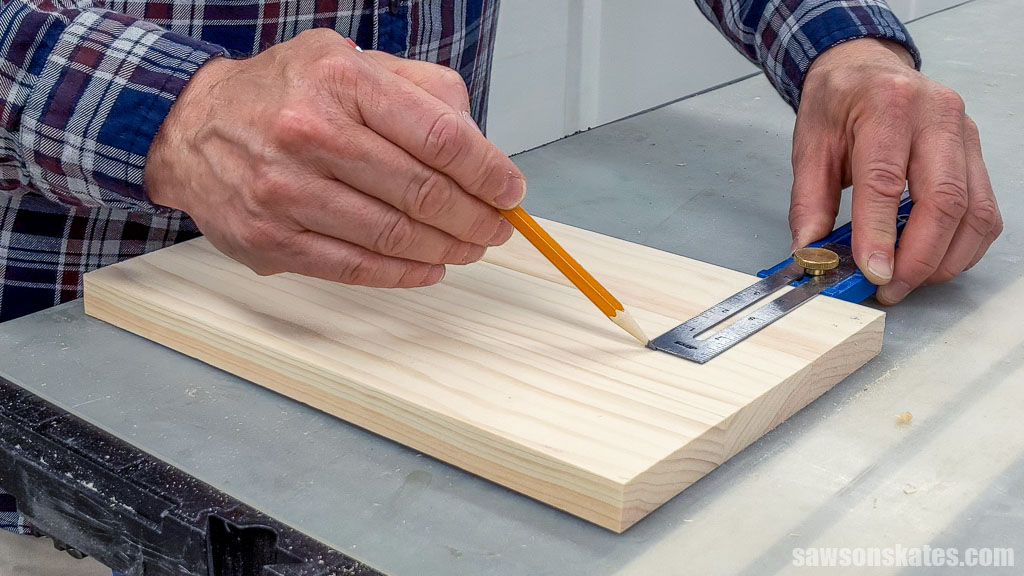
Cut your panels to length if you haven’t already, then use the diagram in the printed plan to mark the locations for the handle holes.
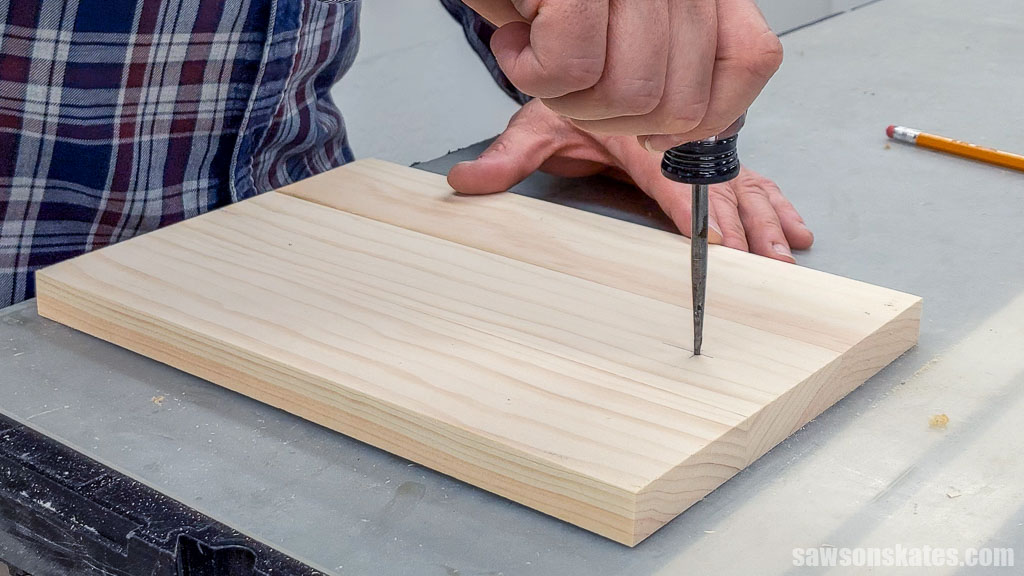
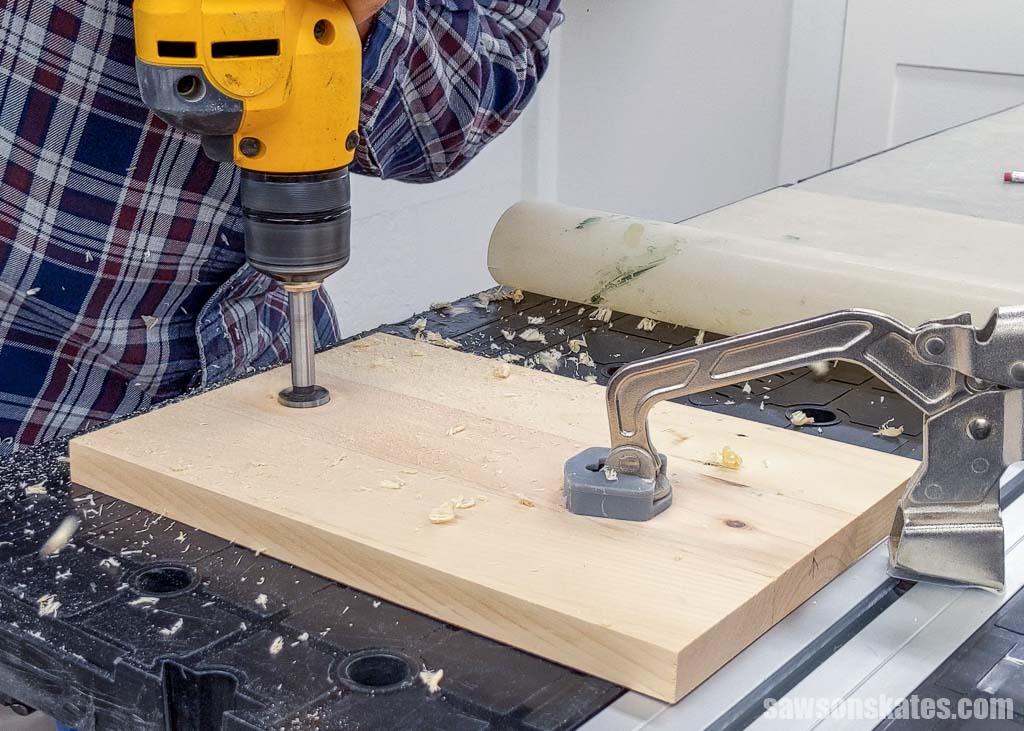
Use an awl to make a starting point for the drill bit.
Related: What is an Awl? (+ How to Use It)
Next, I clamped the panel to my workbench and used a drill and Forstner bit to make a hole for the handle.
Related: What is a Forstner Bit? (& How to Use It)
Use the diagram in the printed plan to mark the tote’s angled sides.

Then connect the marks with a straightedge.
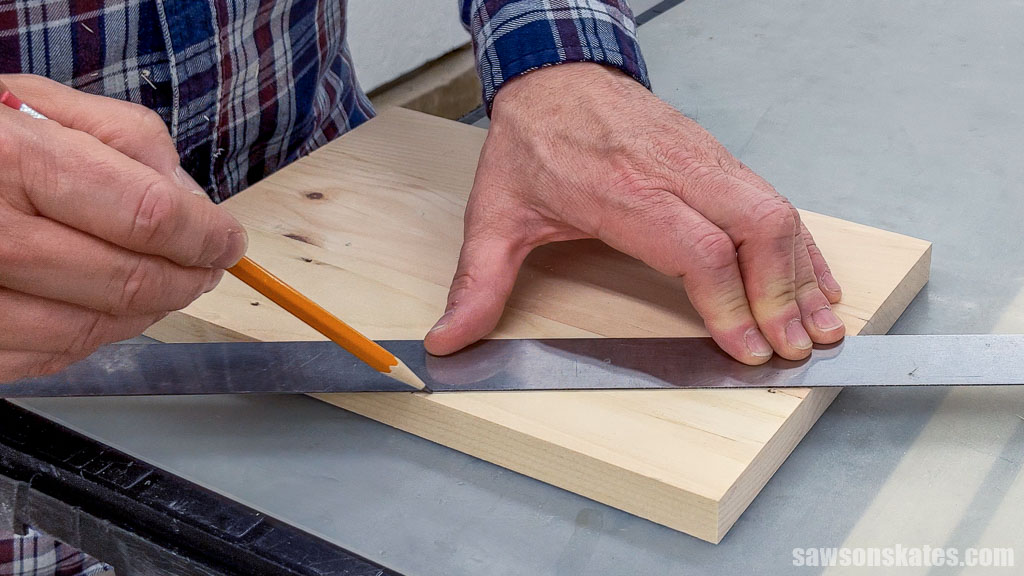
I used a jigsaw to cut the angles, but you might be able to use a circular saw instead.
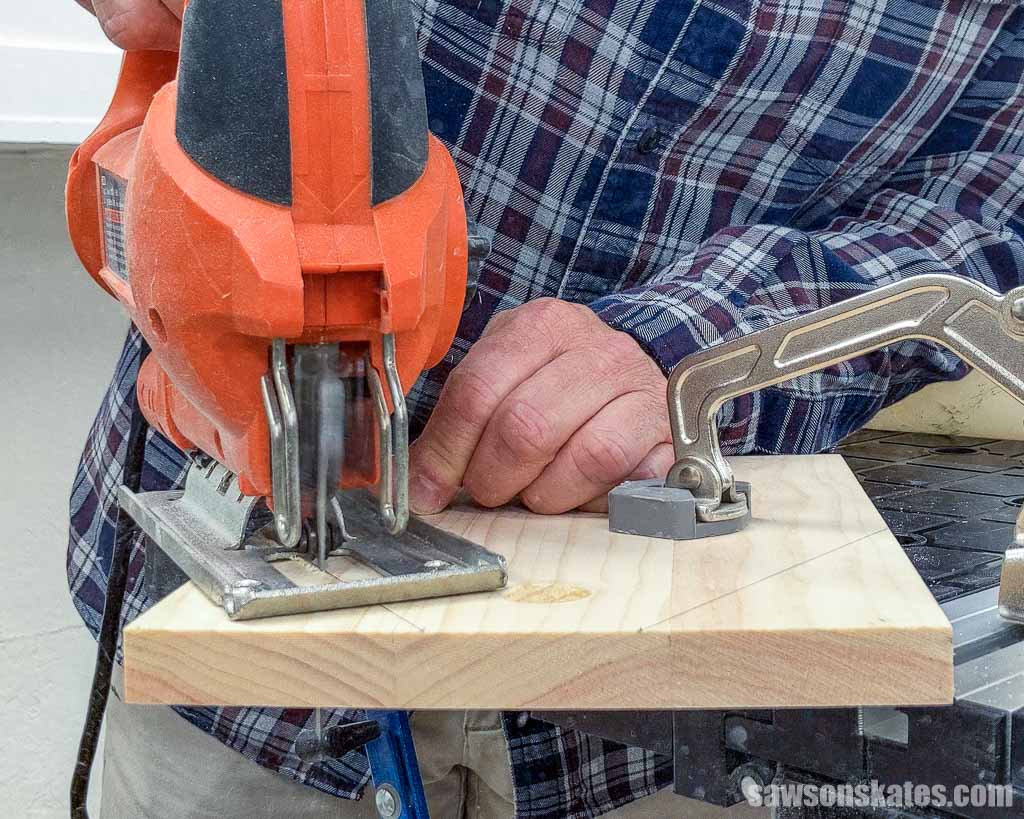
I cut next to the line and fine-tuned the edge with my disc sander.

Step 2. Make the Bottom
Cut three pieces of wood to length for the bottom.
Again, if you have a sliding miter saw, I recommend cutting the pieces a little long, so you can square the panel when the glue is dry.
Apply glue to the boards, clamp, and allow the panel to dry for about an hour.
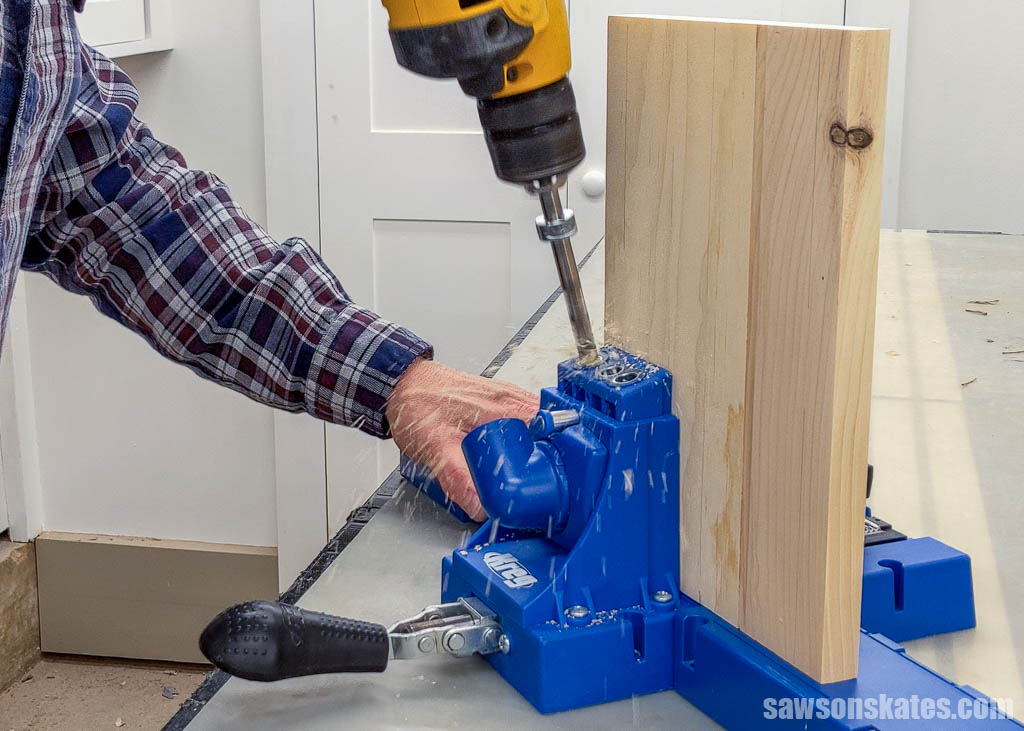
Cut your panels to length if you haven’t already, then use the diagram in the printed plan to mark the locations for pocket holes.
Next, drill a pocket hole at each mark.
Related: How to Use a Pocket Hole Jig (& Beginner Pitfalls to Avoid)
Step 3. Assemble the Tool Tote
Cut one piece of dowel to length.
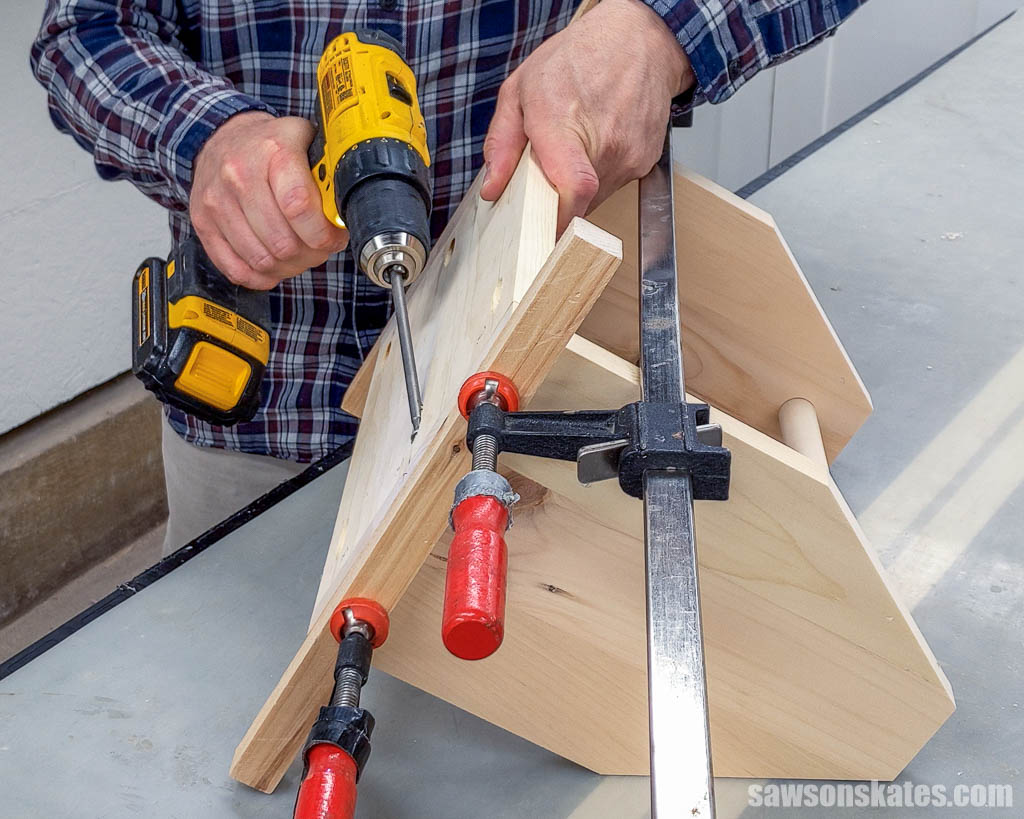
Apply glue to the ends of the bottom, position the handle and sides, and clamp.
Attach using pocket screws.
If you want, you can fill the pocket holes with plugs for a polished look.
Related: How to Make Pocket Hole Plugs (Step-by-Step Guide)
Step 4. Finish the Tool Tote
See How Do You Finish the Tool Tote for more information.
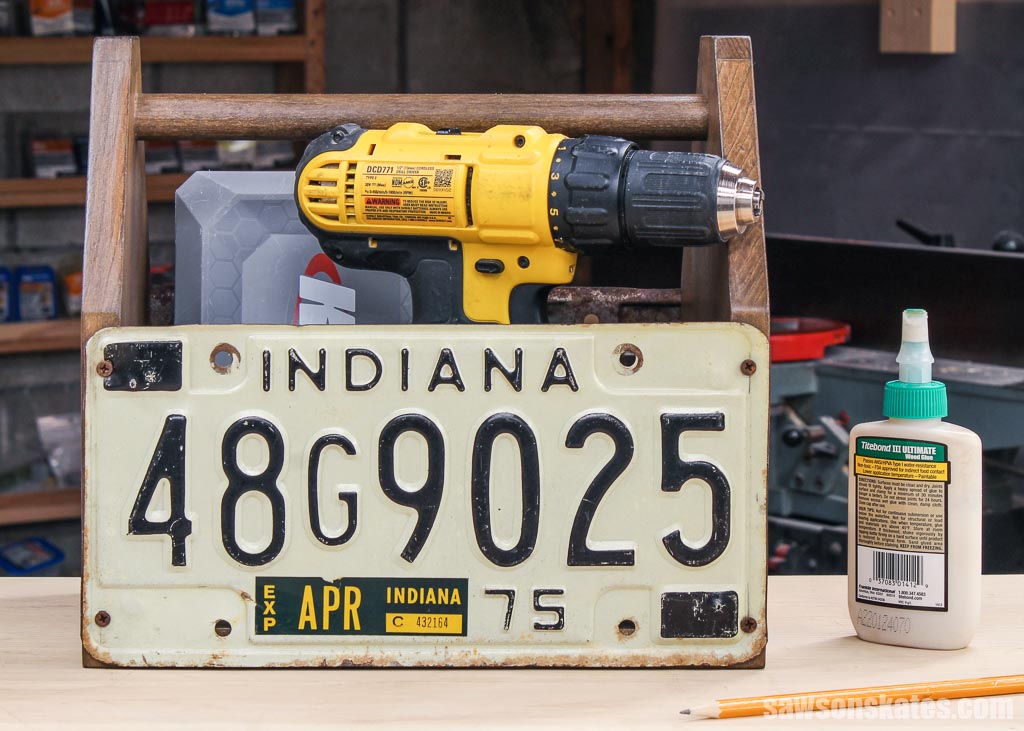
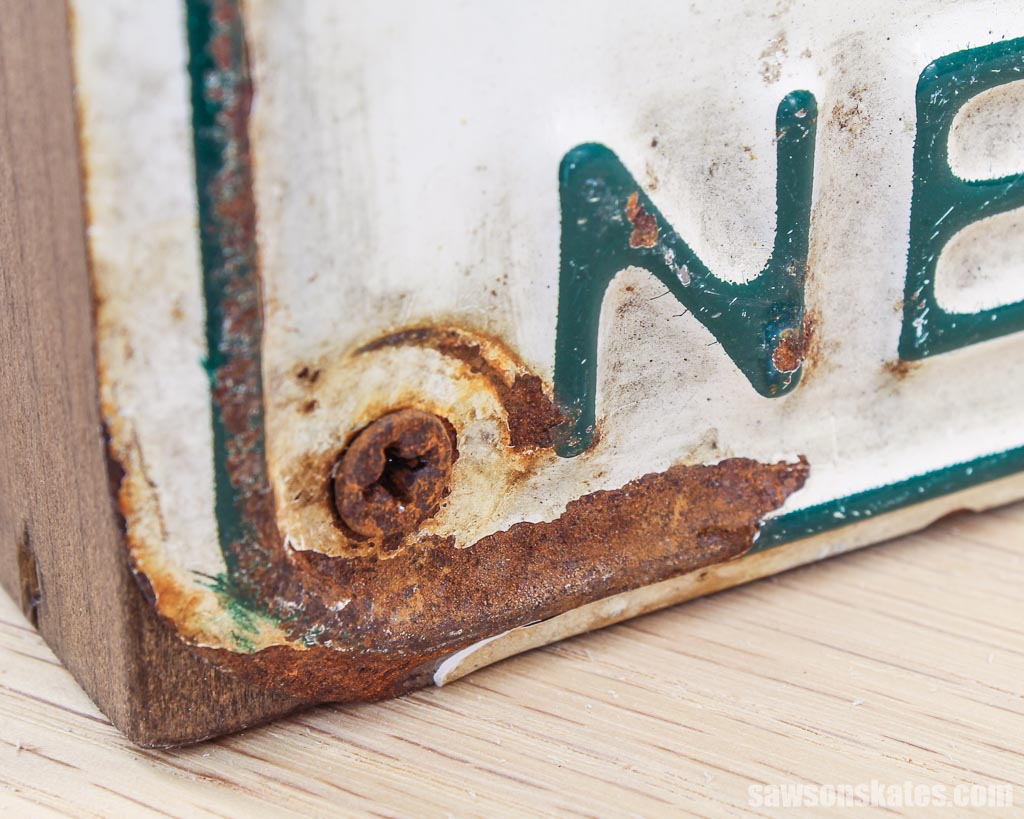
Position the license plates and attach using 1″ wood screws. I aged my screws so that they matched my old license plates. My plates already had holes in the corners, but you may need to drill some if yours don’t.
Related: How to Age Metal
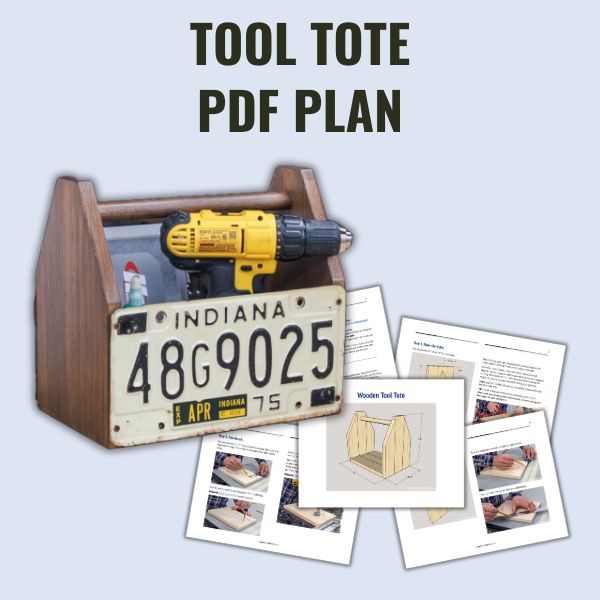
Includes:
- List of tools and materials
- Complete measurements (in inches)
- Easy-to-follow instructions
- Step-by-step photos
- Detailed diagrams
Final Thoughts
This easy-to-make DIY wooden tool tote is a great way to store your tools in style. I love how it uses repurposed license plates, giving it a rustic, vintage look. With just a few simple steps, you can create your own unique storage box, perfect for any workshop!
Don’t wait. Get your PDF plan (including the detailed instructions and measurements) now!
Thank you for stopping by. If you enjoyed this tutorial, would you please take a moment and pin it to Pinterest? I’d really appreciate it!
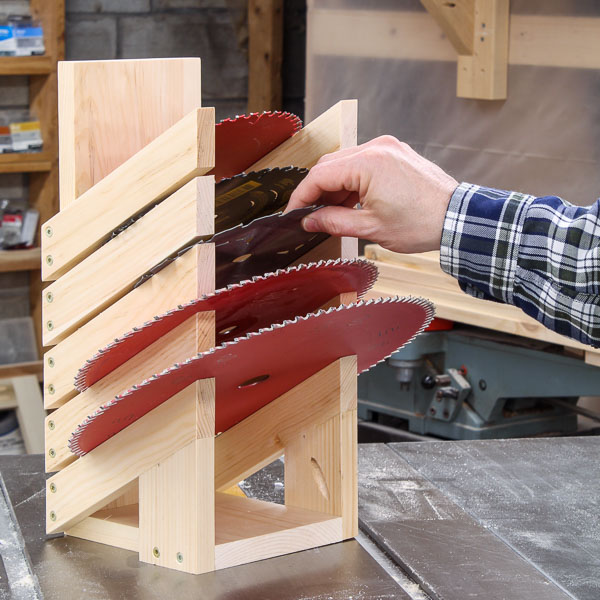
Recommended For You
Pin This For Later

Hi there – I’m Scott, a woodworking enthusiast and creator of Saws on Skates, a site I started in 2015 to share easy-to-follow tutorials, space-saving shop tips, and project inspiration for DIYers at any skill level. Learn more about my woodworking journey here.
Oh, my god that’s CUTE!! My husband is a mechanic, and he’s been saving old license plates for decades…