Bora Lumber Rack (Installation and Review)
Is the Bora Lumber Rack the right storage solution for your workshop? Learn how to install it and get my honest review in this comprehensive guide.

What Should I Build Next?
That's the question I help answer.
Every week, I send woodworking ideas to 17,000 DIYers who love building things.
You'd fit right in.
Are you tired of disorganized lumber cluttering your workspace? The Bora Lumber Rack promises a solution, but is it worth the investment? In this comprehensive guide, I’ll walk you through the step-by-step installation and provide a detailed review, helping you decide if it’s the right choice for your workshop or garage.
This article is not sponsored. I bought all of the supplies listed below.
Table of Contents
This article contains affiliate links. If you purchase from these links, I may earn a small commission at no additional cost to you. Visit my site policies for more information.
Inspiration for This Project
I recently completed a renovation and had some leftover T1-11 siding. Although it was damaged in some areas, it was too good to throw away.
I’ve already repurposed it for a few Halloween projects like these pumpkins and ghost lanterns, and a cat porch leaner. But it was taking up too much space in my garage, so I decided to do something about it. A quick online search led me to the Bora Lumber Rack (PBR-001).

Unboxing and Preparation
I usually read reviews before I buy something, but I thought it was just a fluke when multiple people said the lumber rack’s packaging arrived damaged. Unfortunately, they were right.
My first order came with the box ripped open, and the delivery driver left its vertical bars resting on top. When I checked inside, I realized the hardware was missing. The exchange process was pretty easy, but the new one took nearly a week to show up. The first one only took two days.
The second box was also damaged. The end was missing, and someone tried to fix it with clear tape. At least this one had the hardware. Speaking of that, it’s hidden inside one of the tubes, so it’s easy to overlook.
By the way, the rack doesn’t come with any wall-mounting hardware. I had to purchase lag screws to secure it to the studs. The screws don’t add much to the overall cost, about $5, but it’s important to note as you can’t install the rack without them.

How to Install a Bora Lumber Rack
Printed Plan
Get the PDF plan here (includes detailed instructions, measurements, and bonus tips)
Materials
- Bora Lumber Rack
- ¼” Washers
- ¼” × 3″ Lag Screws (I used 3-½” lag screws instead)
Tools
- Tape Measure
- Screwdriver
- Stud Finder
- Level
- Drill and Drill Bits
- Ratchet or Wrench
Step 1. Assemble the Rack
I began by laying out the two vertical bars and twelve horizontal bars on my folding workbench, then found and removed the screws and spacers package from one of the horizontal bars.
I drove a screw into the bottom of the vertical bars, where the holes are about ½” from the end.
NOTE: These screws are the only thing that holds the horizontal bars in place. They felt loose and never fully tightened for me. I would feel more confident in the rack’s stability if the horizontal bars were attached with bolts that went through the vertical bars.

Then, I inserted a horizontal bar with the notched side facing the screw.

I repeated these steps for the remaining parts, driving screws into the holes and inserting the horizontal bars with the notches facing them.

Step 2. Mount the Rack on the Wall
I started by locating the studs. I knew where they were since I previously installed my yard tool rack on this wall. If I hadn’t known, I would’ve used a stud finder to locate them. After finding the studs, I used a 4-foot level to mark their position from top to bottom.

I wanted about 8 inches above the rack for wood storage. So, I cut a piece of scrap wood to 8 inches, placed it between the ceiling and rack, positioned the rack on the wall, and marked the three mounting holes on the wall with an awl.
TIP: Hold the vertical bar because the horizontal bars are only held in place by gravity and will slide upward.

Using a drill and a 3/16” drill bit, I made a pilot hole for the lag screws.
Related: How to Drill Pilot Holes (Why, When & Correct Size)

I positioned the rack on the wall, with the included spacers behind the holes, and attached it to the wall with a ¼” washer and a 3-½” lag screw.

That’s it. The wood rack is ready to fill with lumber.

Product Review
Overall, I’m satisfied with the rack’s functionality and ease of use, but there were a few drawbacks.
Pros:
- Affordable: The Bora Lumber Rack is reasonably priced, making it a good value for the amount of lumber it can hold.
- Easy to assemble: The rack is relatively simple to assemble and goes together quickly.
- Easy to mount on the wall: The rack includes predrilled holes for wall mounting, making it straightforward to secure to your desired location.
- Holds a lot of lumber: The rack can accommodate a significant amount of lumber, helping to keep your workshop organized and clutter-free.
Cons:
- Damaged packaging: Both boxes arrived damaged, and one was missing the hardware. While the rack itself wasn’t damaged, receiving a product with damaged packaging is always a bit unsettling.
- Loose screws: The tiny screws that hold the horizontal bars in place felt loose and never seemed to tighten completely for me. I would have felt more confident in the rack’s stability if the horizontal bars were attached with bolts that went through the vertical bars.
- Lacks wall-mounting hardware: The rack doesn’t include the hardware needed for wall mounting, which was a bit inconvenient. You’ll need to purchase your own screws to secure the rack to the wall.
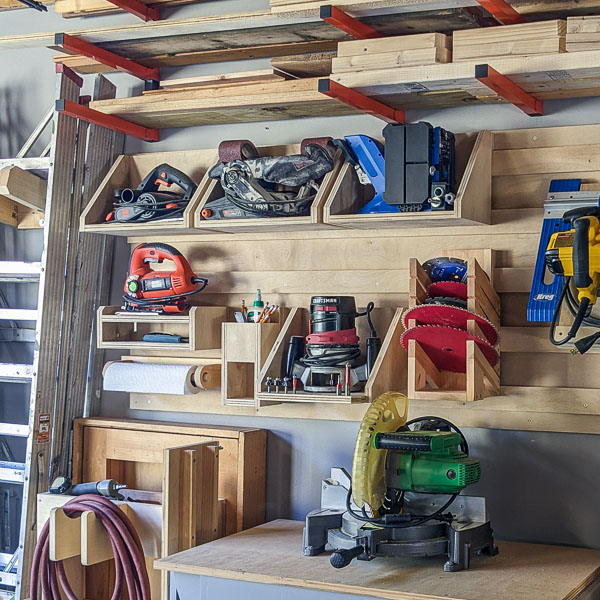
You might be wondering if I would buy the Bora Lumber Rack again. While overall, I’m satisfied with it; I would also consider the Ultrawall Lumber Storage Racks I bought and mounted above my French cleat wall. I wish I had reviewed those at the time because I like how the horizontal bars are attached with bolts, and it comes with all the necessary hardware for wall mounting.
Final Thoughts
Overall, I’m satisfied with the Bora Lumber Rack’s functionality. It’s affordable, easy to assemble and mount, and can hold a significant amount of lumber. However, there were a few drawbacks that I encountered: damaged packaging and missing hardware, the screws never tightened up, and it lacked the mounting hardware.
If you’re considering purchasing a Bora Lumber Rack, I recommend carefully inspecting the packaging upon arrival and ensuring all parts are included. Additionally, you’ll need to buy wall-mounting hardware.
While I’m happy with my purchase, I also recently purchased the Ultrawall Lumber Storage Racks, which I’ve mounted above my French cleat wall. I wish I had reviewed those at the time because I prefer the way the horizontal bars are attached with bolts and that they included all the necessary hardware for wall mounting. If you’re looking for a similar product, check out the Ultrawall Lumber Storage Racks as well.
Thank you for stopping by. If you enjoyed this tutorial, would you please take a moment and pin it to Pinterest? I’d really appreciate it!
Recommended For You


Hi there – I’m Scott, a woodworking enthusiast and creator of Saws on Skates, a site I started in 2015 to share easy-to-follow tutorials, space-saving shop tips, and project inspiration for DIYers at any skill level. Learn more about my woodworking journey here.
Probably the reason Bora doesn’t include mounting screws for the rack is they have no idea on what kind of wall you are mounting the rack – wood studs or concrete. Obvious, these two require different screws. This would add to the expense of the rack to provide both types of screws. My shop is in the basement, and my rack is on concrete. The rack is excellent, and I would recommend it as well.
I have the lee valley lumber storage system . Though pricier it seems sturdier and more versatile then either mentioned.
Good review. I have installed several of these. The same copy (non Bora brand) version of it is $33 on Amazon. Same pro and con you mention, but so far no problems. Bought a box of galvanized masonry 1/4 inch screws to install in concrete block (in my case).