DIY Window Cabinet
Don’t toss that old window pane into a landfill. Upcycle it into a door for this rustic DIY window cabinet! It’s easy to make and adds charm to any room.
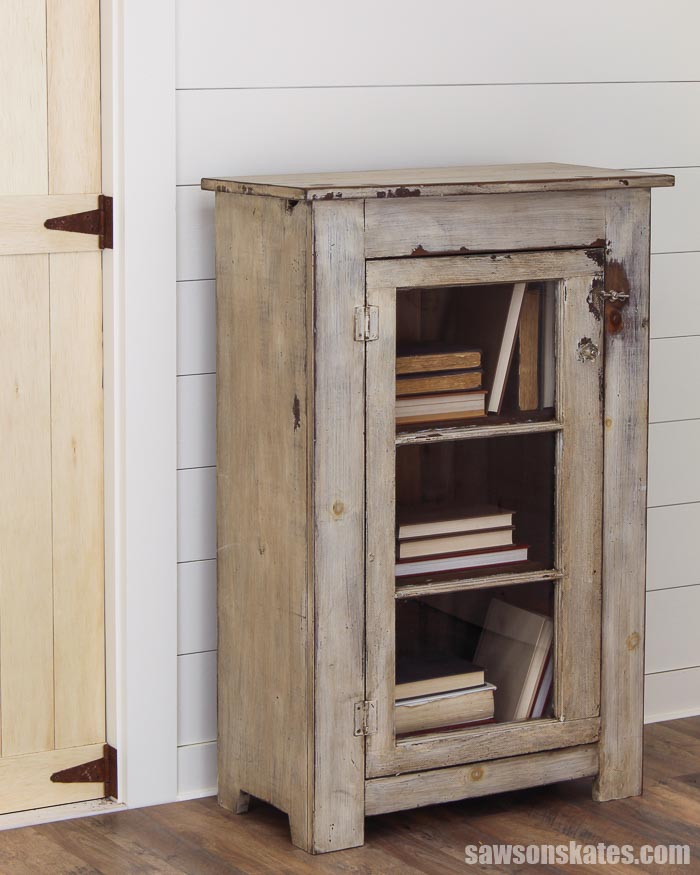
DIY Window Cabinet
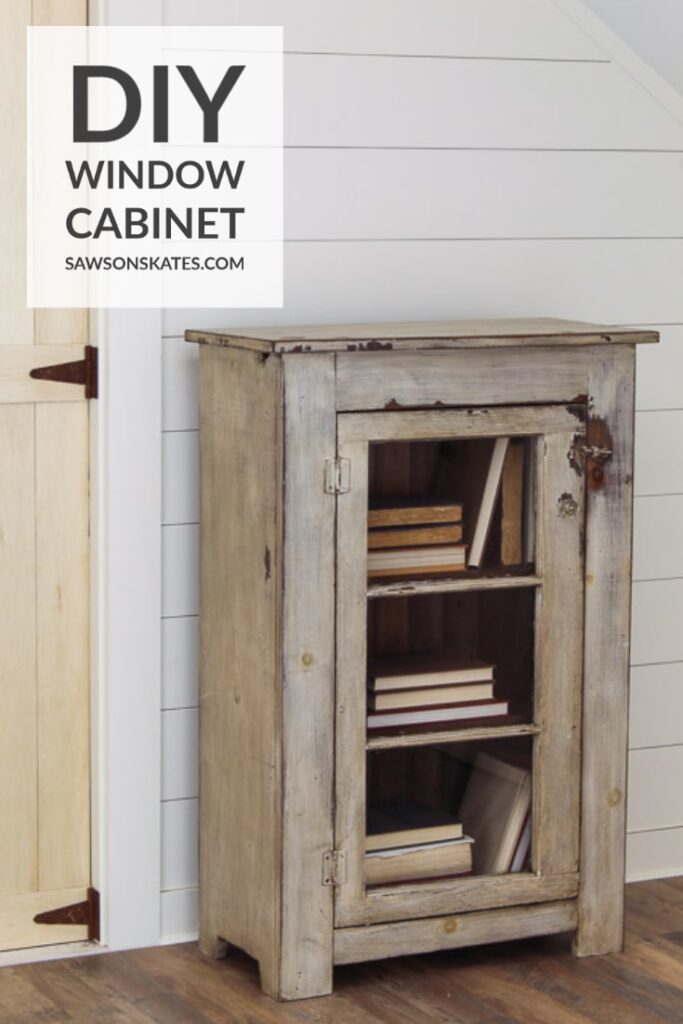
This rustic DIY window cabinet features a repurposed window pane as a cabinet door. The combination of wood, glass, and chippy paint adds rustic style to any room.
It’s the perfect way to display books, plants, home decor pieces, and more. Or use it as a display at a craft show or antique store.
Get the free plans and build one today!
Originally published August 11, 2015, updated September 14, 2020
This tutorial contains affiliate links to supplies and tools. Purchases made using these links help support the Saws on Skates website and allows me to share more projects and tips with you. There is no cost to you for using these links. Visit my site policies for more information.
Before we get into how to build a DIY window cabinet, be sure to click the subscribe button at the bottom of this page to sign up for my FREE weekly newsletter loaded with helpful pocket hole tricks, space-saving workshop ideas, clever DIY tips and more!
Table of Contents
- What is a Window Cabinet?
- Where to Find Old Windows
- Old Windows May Contain Lead-Based Paint
- What Do You Need to Build a Window Cabinet?
- What Wood Should I Use?
- Customize Your Window Cabinet
- How Do You Finish the Window Cabinet?
- Where to Use a Window Cabinet
- DIY Window Cabinet Tutorial
- Get the Free Printed Plan
What is a Window Cabinet?
A window cabinet is a piece of furniture where an old window is used as a door.
Window cabinets can either be floor standing or wall-mounted.
There are a few reasons why you might want to repurpose a window pane into a cabinet door. First, the window won’t end up in a landfill.
Second, upcycling a window saves you a step from needing to build a door.
Related: How to Build DIY Shaker Cabinet Doors
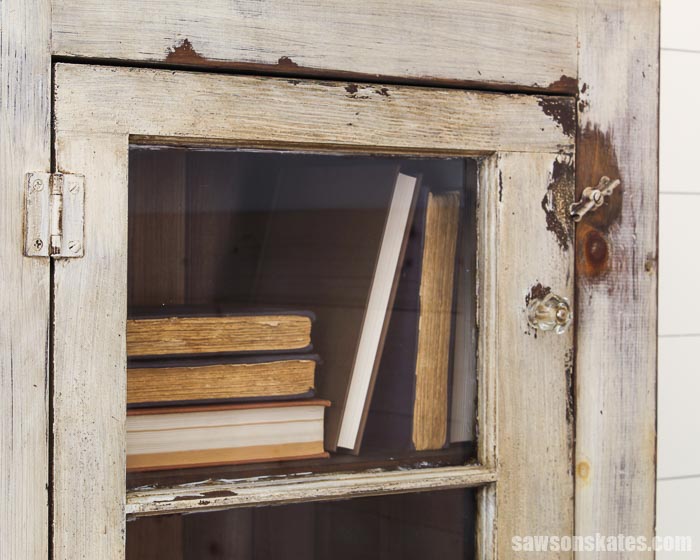
Third, old windows usually have a great, chippy paint patina.
And the last reason to use a window as a cabinet door is it just looks cool!
Back to Table of ContentsWhere to Find Old Windows
When you are a DIYer, people are always trying to give you materials that you can use to build projects. A while back, my neighbor installed new basement windows. So, of course, he asked if I wanted the old windows.
I said yes even though I had no idea what I was going to do with them. The windows were cool. Aged, worn, chipping paint with all of the original hardware.
Here are some other places to look for old windows:
- Craigslist
- Facebook Marketplace
- Architectural salvage stores
- Habitat for Humanity ReStore
- Town cleanup days
Old Windows May Contain Lead Paint
According to the Environmental Protection Agency (EPA) many homes built before 1978 have lead-based paint, and “lead from paint, chips, and dust can pose serious health hazards.”
You may have seen this warning on paint and stain cans: “WARNING: If you scrape, sand or remove old paint you may release lead dust. LEAD IS TOXIC.”
That means we need to be careful when working with old windows because they may contain lead-based paint.
Visit the EPA for more information about lead-based paint.
What Do You Need to Build a Window Cabinet?
This DIY window cabinet is a fairly straightforward project that can be made using basic woodworking skills and some common woodworking tools.
Tools like a miter saw, drill, Kreg Jig, jigsaw, and a table saw, or circular saw.
The miter saw will be used to cut the parts to length. The table saw will be used to rip the pieces for the shelves and back to width.
Related: When to Use a Miter Saw vs Table Saw
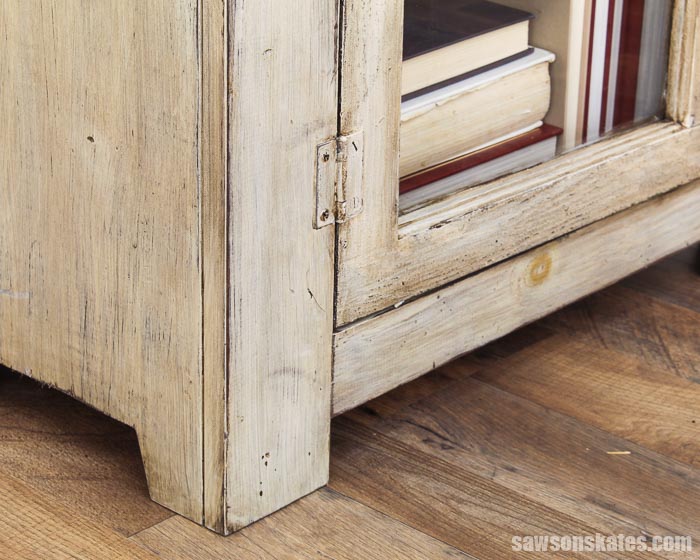
We’ll also need to measure the window, and if necessary, adjust the dimension of the printed plan to fit the window. First, we’ll measure the window and add a ¼” to each measurement. This will provide an ⅛” gap on each side of the door. This gap will allow for expansion due to seasonal changes.
Related: Mistakes with Wood Can Cause Your DIY Furniture to Crack
Let’s say we find a window that measures 18 inches by 36 inches. Next, we’ll add a ¼” to each measurement. This means we’ll need an opening for the window that measures 18-¼” by 36-¼”. This will allow an ⅛” clearance on each side of the door.
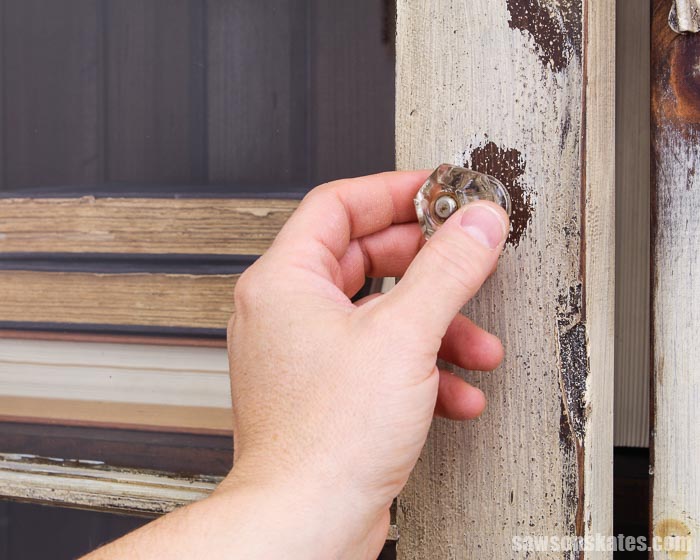
What Wood Should I Use?
This cupboard can be made with just about any type of wood. I used new pine to build my cabinet. Pine is inexpensive and easy to work with. You could also build the cabinet with reclaimed wood or barn wood.
Related: Where to Buy Barn Wood
I purchased the pine 1×3s, 1×4s, 1×6s, and 1×12s, at my local home improvement store.
Related: Beginner’s Guide to Wood Sizes
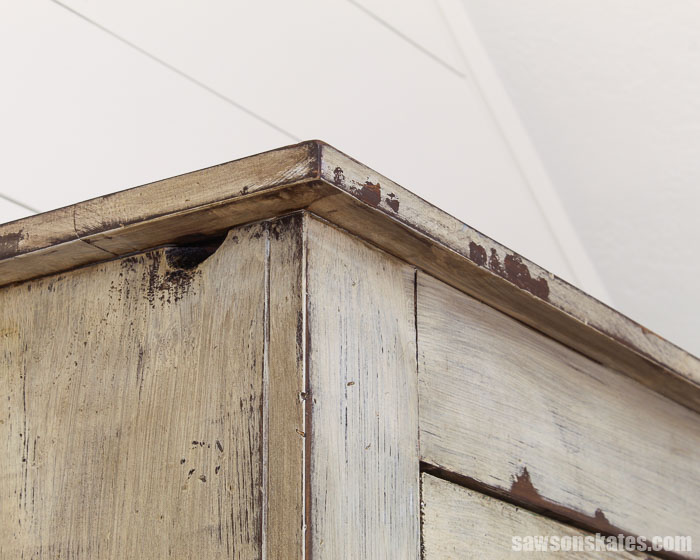
I also used 1×6 tongue and groove pine boards for the back of the cabinet. If you are not able to find tongue and groove boards in your area, you could use ¾” plywood instead. The plywood can be cut with either a table saw or a circular saw.
Related: 4 Ways to Make Straight Cuts with a Circular Saw
Back to Table of ContentsCustomize Your Window Cabinet
This window cabinet was designed with fixed shelves. One way you customize your cabinet is to add adjustable shelves.
For projects like this DIY bookshelf and this DIY end table I used my Kreg Shelf Pin Jig to drill shelf pin holes in the side panels. Then, shelf pins were inserted into the holes to support the shelves.
The jig is simple to use. Clamp the jig to the board and drill through the guides in the jig. It’s just that easy.
Related: How to Use a Shelf Pin Jig
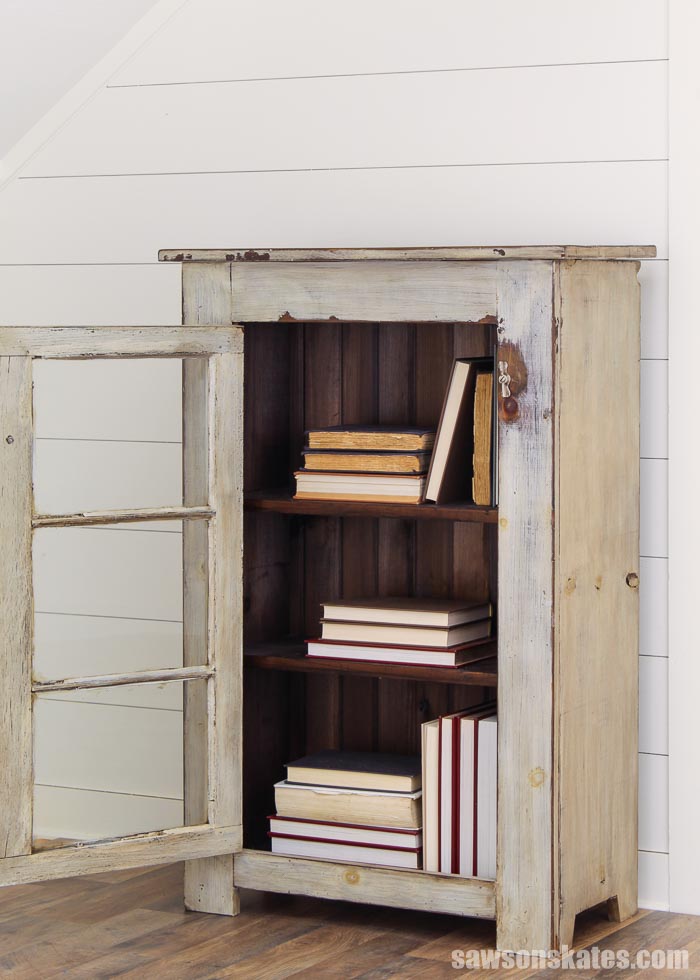
How Do You Finish the Window Cabinet?
The window that I used for my project had aged white paint. My goal was to match the new wood of the cabinet to the aged paint of the window.
First, I applied a wood dye to the interior of the window cabinet. The dark brown wood dye instantly gave an aged look to the interior of the cupboard.
Related: How to Use Rit Dye on Wood (Tips + Mistakes to Avoid)
For the exterior of the cabinet, I applied a dark brown chalk-type paint. When the brown paint was dry, I applied an off-white chalk-type paint.
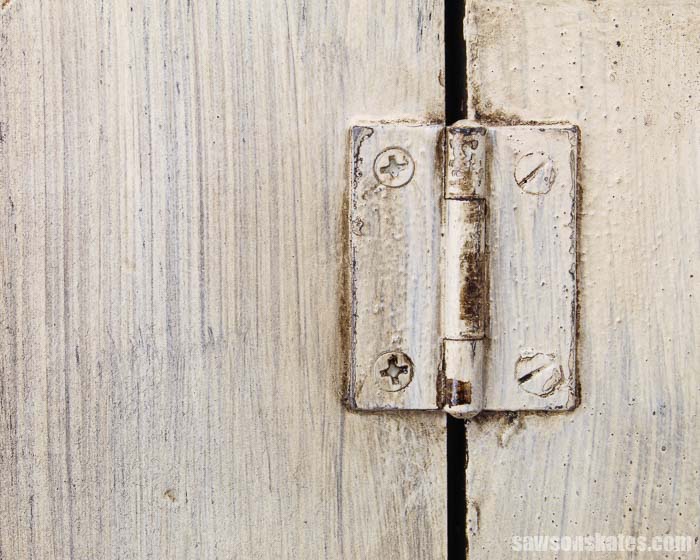
When the paint was dry, I sanded the cabinet in areas where the paint would naturally wear. In some spots, I sanded through the white paint to reveal the brown paint. In some areas, I sanded through both layers of paint to reveal the wood.
Related: 11 Secrets for Sanding Wood Projects Like a Pro
Next, I removed the sanding dust with my ShopVac. Then, I applied dark wax to all of the painted areas. This gave the piece an aged look.
Back to Table of ContentsWhere to Use a Window Cabinet
- Kitchen
- Dining room
- Living room
- Bathroom
- As a display at a craft show or antique store
DIY Window Cabinet
Printed Plan
- Click here to get the FREE plan (includes detailed instructions, measurements, and bonus tips)
Supplies
- Wood (per printed plan)
- 1-¼” Pocket Screws
- 1-¼” Finish Nails
- 1-¼” Wood Screws
- (4) ³/₁₆” × 1” Fender Washers
- Wood Glue
- Hinges
- Knob
Tools
- Tape Measure
- Drill
- Kreg Jig
- Miter Saw
- Circular Saw
- Table Saw or Kreg Rip-Cut
- Jigsaw
- Hammer or Nail Gun
📝 NOTE: This cabinet is based on a window that measures 17″ × 31″. Adjust the measurements of the cabinet to fit your window if necessary.
Step 1. Make the Sides
Cut 2 pieces of wood to length for the sides.
Use the diagram in the printed plan to layout the location of the legs.
Next, in the leg area that will be removed, drill a hole near the corner of each leg. These holes will make it easier for the jig saw to turn the corners. Then, use a jig saw to cut out the leg area.
Use the diagram in the printed plan to drill pocket holes in each side panel. Be sure to make a right and a left side.
Related: How to Use a Pocket Hole Jig
Step 2. Assemble the Case
Cut 4 pieces of wood to length for the top, bottom, and shelves. Then rip the pieces to width with a table saw or Kreg Rip Cut. Use the diagram in the printed plan to drill pocket holes in each end.
Related:
To help with positioning the bottom panel, I ripped 2 pieces of scrap wood to 1-¾” wide. The scrap wood was clamped to the bottom of each side.
Apply glue to the edges of the bottom, position on top of the scrap wood, and clamp. Apply glue to the edges of the top, position at the top of the case, and clamp.
The top and bottom are flush with the front and set in ¾” from the back. Attach using 1-¼” pocket screws.
📝 NOTE: I positioned the shelves in my cabinet based on the way the glass was divided in my window pane. You may want to adjust the spacing of the shelves based on your window.
To help with positioning the bottom shelf, I cut several pieces of scrap wood to 11-⁵/₁₆”. The scrap wood was positioned on top of the bottom panel and clamped to the sides of the case.
Apply glue to the edges of the bottom shelf, position on top of the scrap wood, and clamp. Attach using 1-¼” pocket screws.
To help with positioning the top shelf, I cut several pieces of scrap wood to 10”. The scrap wood was positioned on top of the bottom shelf and clamped to the sides of the case.
Apply glue to the edges of the top shelf, position on top of the scrap wood, and clamp. Attach using 1-¼” pocket screws.
Step 3. Attach the Face Frame
Check the dimensions of the case and adjust face frame measurements if necessary.
Cut 2 pieces of wood to length for the stiles. Cut 2 pieces of wood to length for the rails and drill pocket holes in each end.
To help with positioning the bottom rail, I cut 2 pieces of scrap wood to 1-¾”. The scrap wood was clamped to the bottom of each stile.
Apply glue to the rails, clamp to the stiles and attach using 1-¼” pocket screws.
Apply glue to the front edge of the case, clamp the face frame to the case and attach using 1-¼” pocket screws.
Step 4. Attach the Back
Cut the tongue and groove boards to length. Center the first piece on the back from side to side and attach using 1-¼″ finish nails.
Then, continuing installing the boards on the left and right side of the center board. The last piece on each side will need to be ripped to width to fit.
Step 5. Attach the Top
Cut 3 pieces of wood to length for the top. Use the diagram in the printed plan to drill pocket holes and attach using glue and 1-¼″ pocket screws to form the top panel.
Attach the top to the case using 1-¼″ screws. The top is flush against the back and overhangs each side 1″.
Step 6. Finish the Window Cabinet
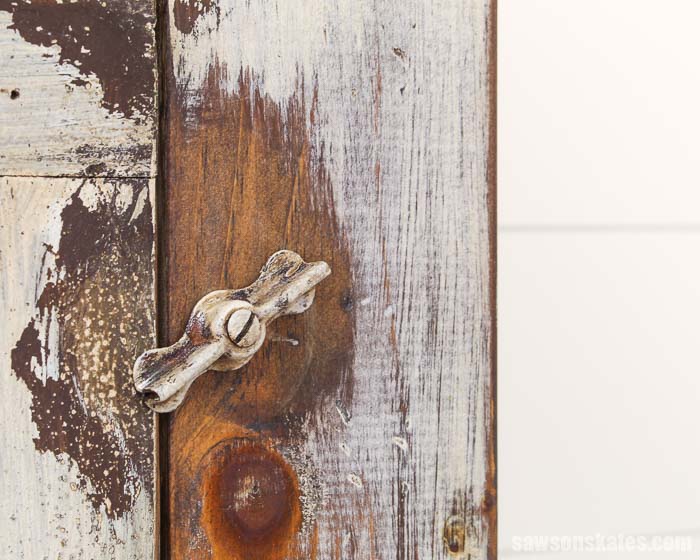
Attach the hinges, knob, and latch.
See How Do You Finish the Window Cabinet? for more info about finishing the cabinet.
Final Thoughts
This rustic DIY window cabinet features a repurposed window pane as a cabinet door. The combination of wood, glass, and chippy paint adds rustic style to any decor.
Click here to get the free plan (including the detailed instructions and measurements) now!
Thank you for stopping by. If you enjoyed this tutorial, would you please take a moment and pin it to Pinterest? I’d really appreciate it!

Very cute, and easy to follow plans too. Thanks!
Thank you 🙂
How many more basement windows do you have? You might be able to make a cold frame greenhouse for your garden with them. Hmm, build a wood frame shed. Install left over windows horizontally, wrap remaining walls with canvas and you’ve got a “summer workshop”.
(Borrowed this idea from the old campgrounds in northern Michigan)
Mine stores a few cords of wood in the winter, protected from snow and rain.
Hi Susan – All of those are really good ideas… I wish I had more windows! There were only a few windows that were solid (not rotted) enough to repurpose. I’ve always wanted a cold frame and the “summer workshop” is great idea. Thank you for the suggestions!