Countertop DIY Wine Rack
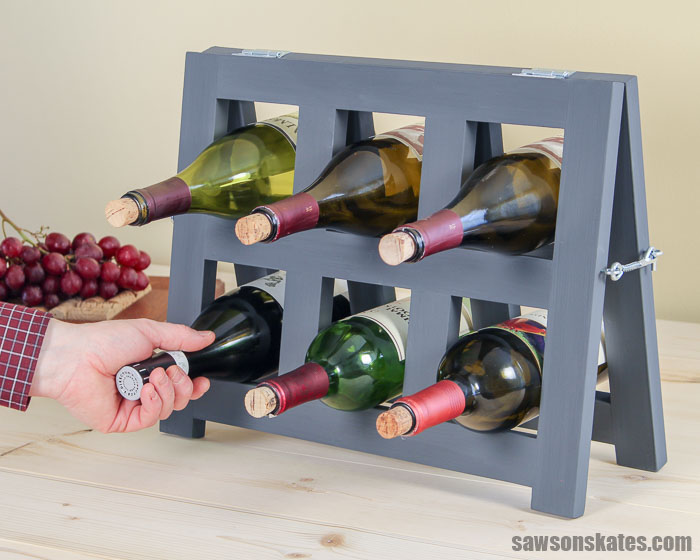
This small, countertop DIY wine rack is the perfect way to display wine bottles. It’s easy to make, and the simple, modern design complements almost any decor.
What Should I Build Next?
That's the question I help answer.
Every week, I send woodworking ideas to 17,000 DIYers who love building things.
You'd fit right in.
DIY Wine Rack
Make a DIY wine rack with these plans and a few basic tools. It’s easy to build, and the small size makes it perfect for a countertop. Even better, it folds.
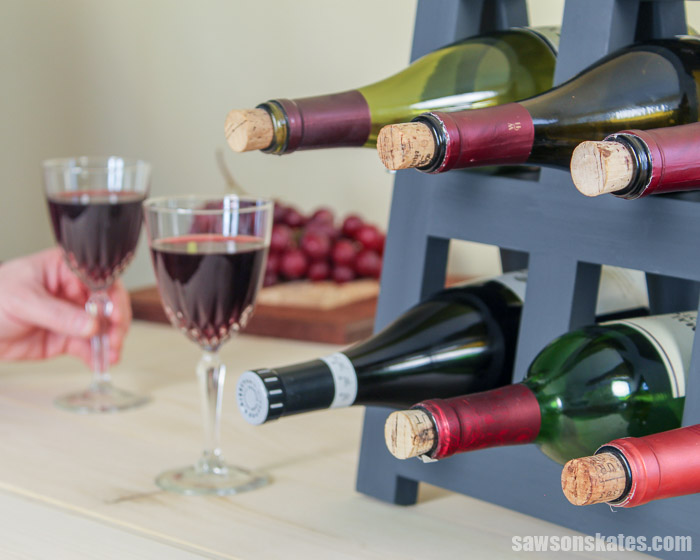
The simple, modern design is an attractive way to display wine year-round in the kitchen or dining room.
The folding design makes it perfect for parties and special occasions when you need to display more bottles of wine. Unfold it when you need it, then fold it back up to save space.
Make one for yourself, or make one as a gift. Pair it with a bottle of wine for a thoughtful birthday present or hostess gift.
Table of Contents
- What Tools Do You Need?
- What Wood Should You Use?
- Customize Your DIY Wine Rack
- How to Make a Countertop DIY Wine Rack
- Get the PDF Plan
This article contains affiliate links. If you purchase from these links, I may earn a small commission at no additional cost to you. Visit my site policies for more information.
What Skills Do You Need to Build This DIY Wine Rack?
This is an easy do it yourself project for DIYers of any skill level. It’s made with just a few basic tools which makes this a great project for beginners.
Related: 10 Must-Have Woodworking Tools for Beginners
What Tools Do You Need to Build This DIY Wine Rack?
We only need a few basic tools to build this countertop wine rack. Tools like a miter saw, Kreg Jig and a drill. It’s handy to have an orbital sander, but you could use a sanding block to smooth the parts instead. It’s also helpful to have an assortment of bar clamps.
You may enjoy these helpful tool tutorials:
- How to Use a Kreg Jig
- Beginner’s Guide to Using a Power Drill
- 7 Miter Saw Tricks Every DIYer Should Know

What Kind of Wood Do You Need to Make This DIY Wine Rack?
This easy-to-build wine rack can be made with just about any type of wood. I used common pine to build mine. Pine is inexpensive and easy to work with. I purchased the pine at my local home improvement store.
This plan calls for 1×2 boards. Sometimes it’s difficult to find narrow width boards like 1×2s that are straight. Many times they’re wavy, twisted or bent like a banana!
Related: Beginner’s Guide to Wood Sizes
I used 1×4 boards for this project and ripped them to width on my table saw. If you have a table saw and you’re comfortable using it, this is a good way to get straighter boards for your project.
Related: Beginner’s Guide to Table Saw Safety
You can still make this wine rack if you are not comfortable using a table saw or don’t have one. Just look through the pile of 1×2s and search for the straightest boards with the least amount of knots. It may take some digging, but you will find some. I have been known to go through an entire pile of lumber just to find the right boards for a project.
Related: How to Buy Wood (Top Tips for Choosing Woodworking Lumber)
How Do You Finish the DIY Wine Rack?
This wine rack can be painted, stained or left natural. I wanted to keep things simple so I painted the rack with this chalk-type paint. Unlike other types of paint, we don’t need to apply a primer to the wood before applying a chalk-type paint.
Related: How to Stop Knots From Bleeding Through Paint
I sanded the wood smooth and applied the paint with a paintbrush. Chalk-type paint dries quickly so I was able to apply two coats in just a few hours.
Related: Beginner’s Guide to Spraying Chalk-Style Paint
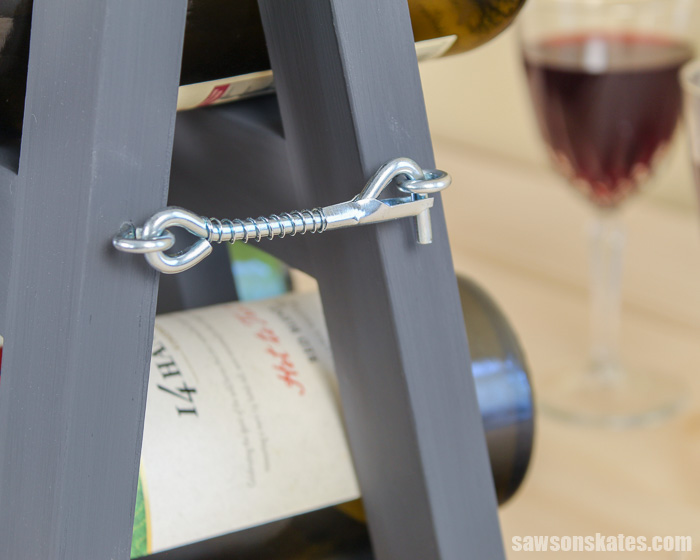
Customize Your DIY Wine Rack
I designed this project to use a hook & eye. The hook and eye prevent the legs of the rack from spreading apart.
Instead, you could drill holes in the legs and attach them with some rope. That would give this piece a more rustic or farmhouse look.
You could also use a piece of chain or even leather shoelaces. The possibilities are endless.
Video: How to Make a DIY Wine Rack
Watch the quick video to see how to make this countertop wine rack.
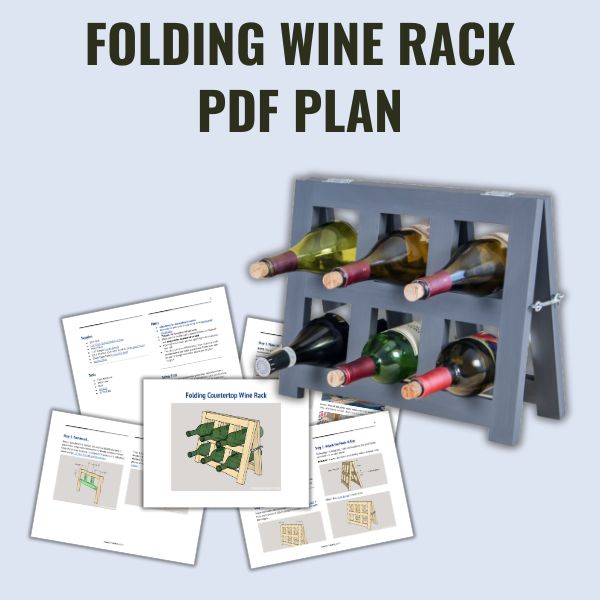
Countertop DIY Wine Rack
Printed Plan
Get the PDF plan here (includes detailed instructions, measurements, and bonus tips)
Supplies
- Wood (per the printed plan)
- 1-¼” Pocket Screws
- Wood Glue
- 1-½” Hinges
- (2) 3” Positive Lock Gate Hook & Eye
- Chalk-Type Paint
- Ready Patch
Tools
- Tape Measure
- Drill
- Kreg Jig
- Kreg Multi-Mark
- Miter Saw
- ⅛” Drill Bit
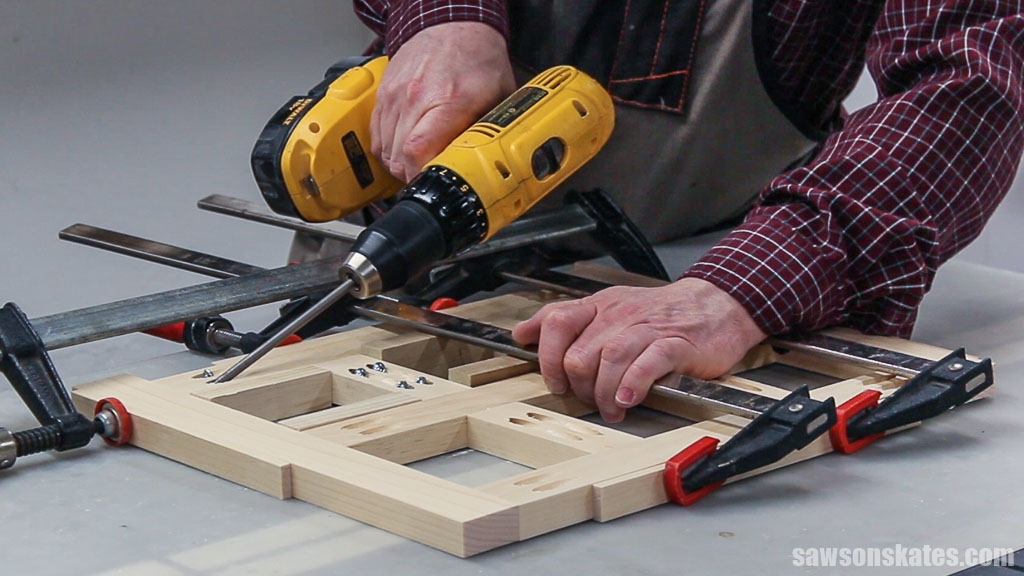
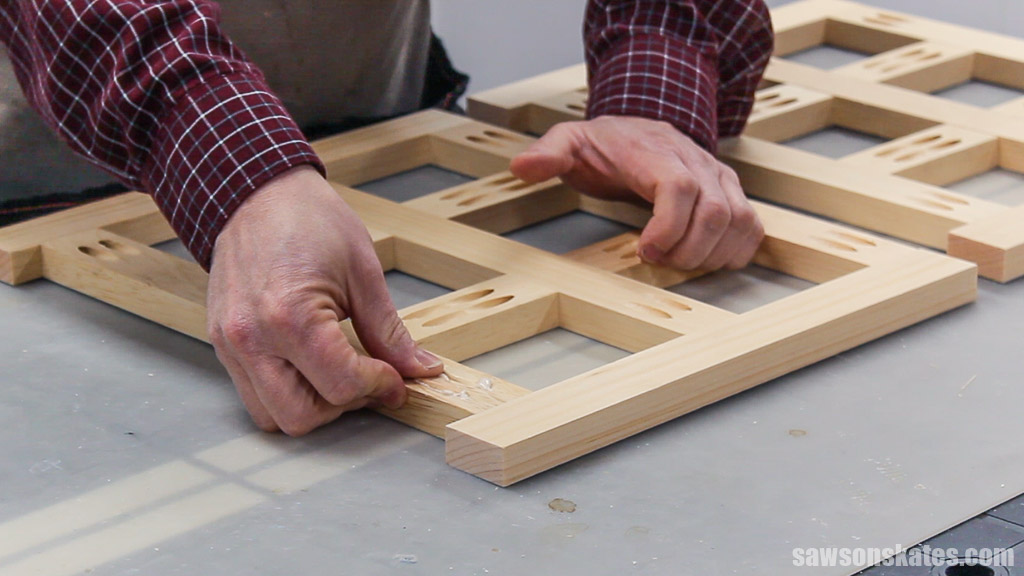
Step 1. Make the Wine Rack Frames
Cut the pieces for the legs and rails. Drill pocket holes, apply glue, and attach with pocket screws.
Related: How to Use a Kreg Jig
I concealed the pocket holes with pocket hole plugs. You can buy store-bought ones or make your own.
Related: How to Make Pocket Hole Plugs (Step-by-Step Guide)
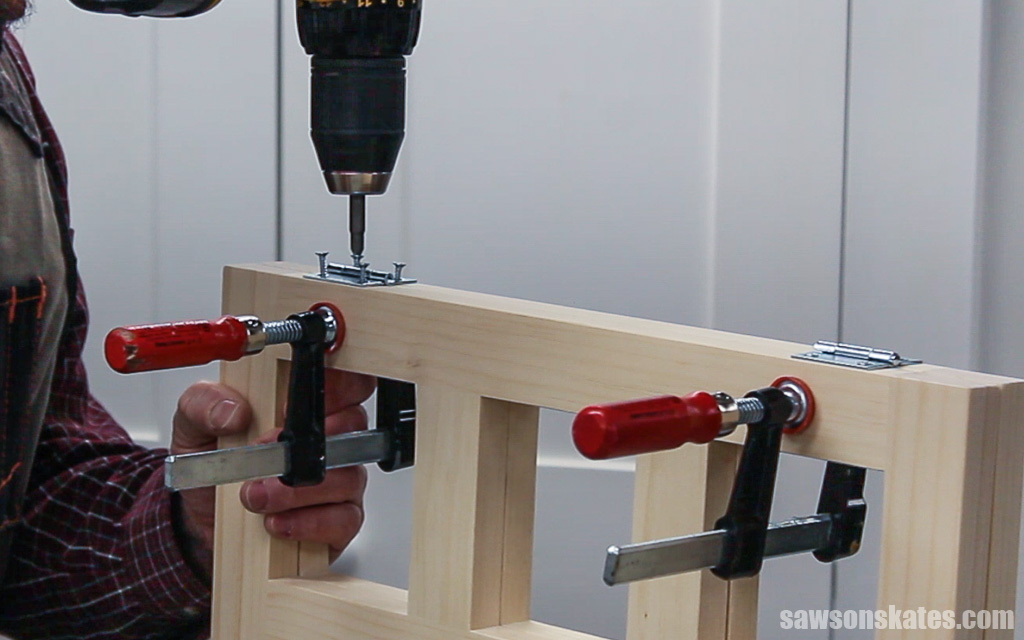
Step 2. Attach the Hinges
Place one frame next to the other. Position the hinges and attach using the screws that came with the hinges.
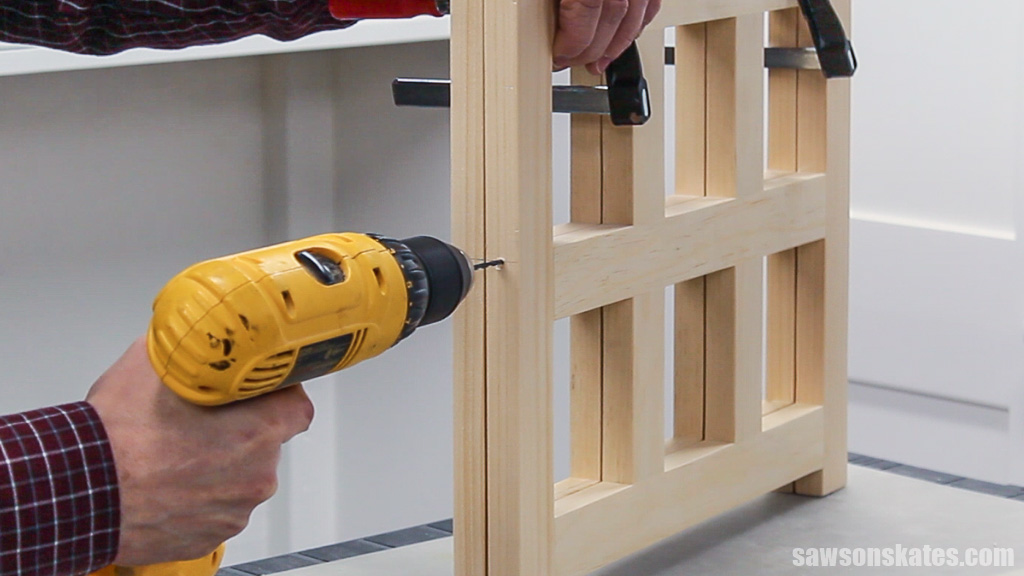
Step 3. Attach the Hook and Eye
Drill pilot holes and screw the hook & eye into each hole.
Related: How to Drill Pilot Holes (Why, When & Correct Size)
Step 4. Finish the Countertop DIY Wine Rack
I sanded the entire piece with 100 grit, 120 grit and finished sanding with 150 grit sandpaper. I applied coats of this chalk-type paint. For the best protection, the chalk-type paint should be sealed. A furniture wax works well with chalk-type paint.
Related: How to Make a DIY Beeswax Wood Finish
Includes:
- List of tools and materials
- Complete measurements (in inches)
- Easy-to-follow instructions
- Step-by-step photos
- Detailed diagrams
Final Thoughts
This wooden rack has a simple modern design, is small enough to fit on a countertop, and is easy to make. Make it for yourself or to give as a gift.
Get the PDF plan (including the detailed instructions and measurements) now!
Thank you for stopping by. If you enjoyed this tutorial, would you please take a moment and pin it to Pinterest? I’d really appreciate it!
Recommended For You
Pin This For Later

Hi there – I’m Scott, a woodworking enthusiast and creator of Saws on Skates, a site I started in 2015 to share easy-to-follow tutorials, space-saving shop tips, and project inspiration for DIYers at any skill level. Learn more about my woodworking journey here.