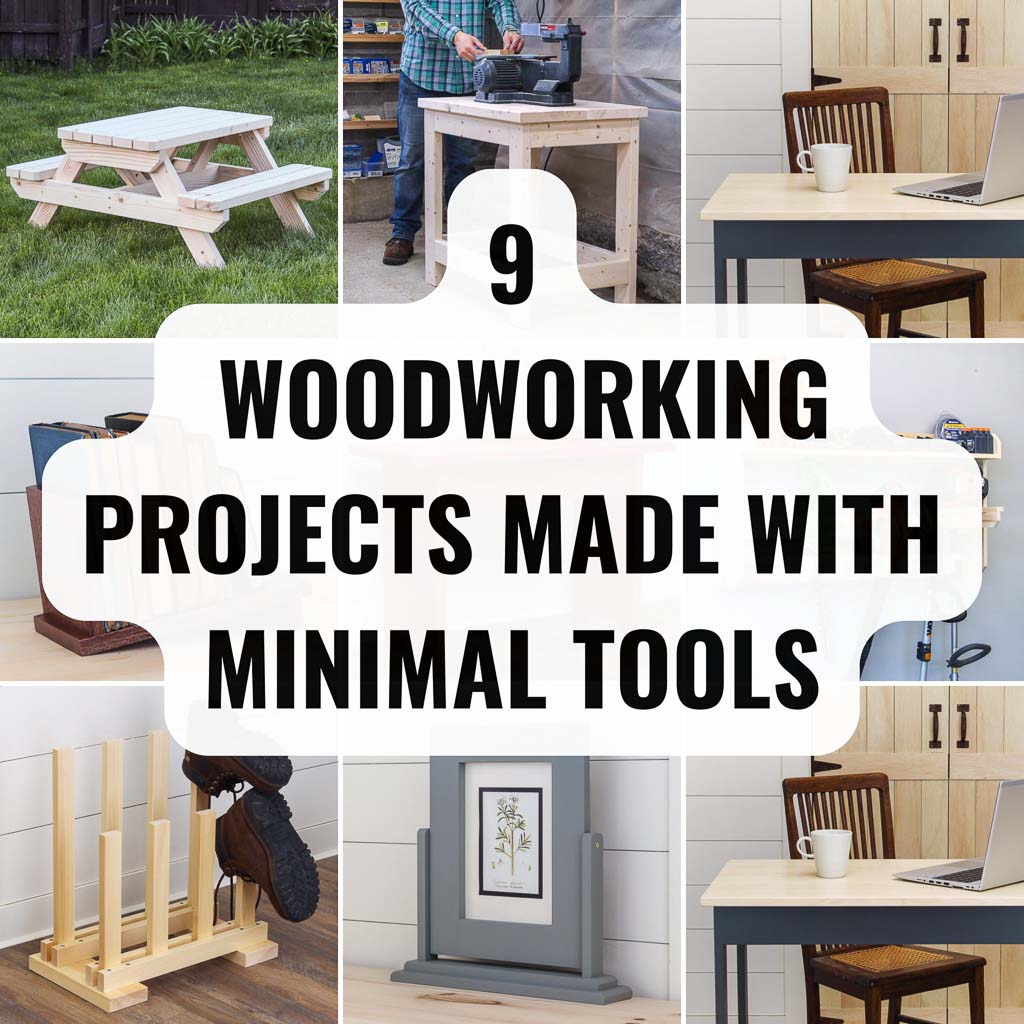
9 Easy Woodworking Projects You Can Make with Minimal Tools
Inspired by a recent comment, I’m debunking the myth that woodworking requires a massive workshop and expensive tools. Whether you’re just starting out or a seasoned do-it-yourselfer looking to simplify, I’m counting down nine of my favorite ideas, from functional workstations to eye-catching decor pieces you can make with a limited toolset.
What Should I Build Next?
That's the question I help answer.
Every week, I send woodworking ideas to 17,000 DIYers who love building things.
You'd fit right in.
This article contains affiliate links. If you purchase from these links, I may earn a small commission at no additional cost to you. Visit my site policies for more information.
DIY Kids Picnic Table
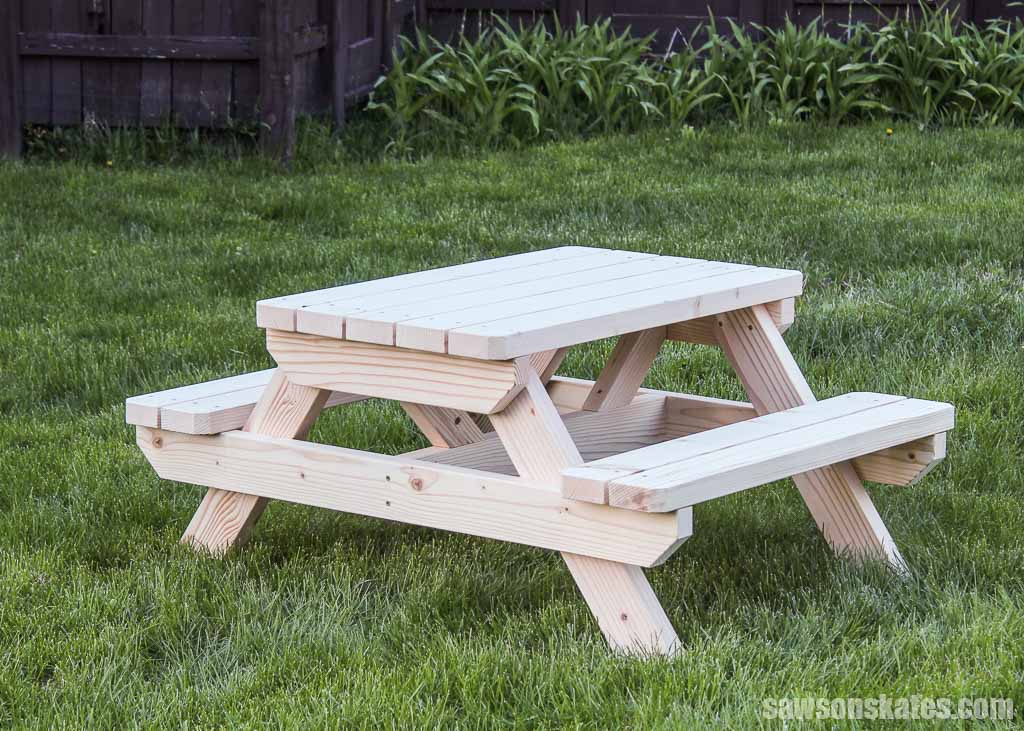
Give your little ones the perfect spot for endless outdoor fun with a charming kid-sized picnic table.
I used a sliding miter saw to cut pine 2×4s to make my picnic table, but you can use a budget-friendly, non-sliding one instead.
Related: Single vs Double Bevel Miter Saw (Which to Buy & Why)
One of the things I love about woodworking is that there are usually several ways to tackle a challenge. The 2×4s have round edges, but the cut edges are square and sharp, which could be a safety hazard for kiddos. To make them safer and give the project a finished look, I rounded them using a router and a roundover bit. You can smooth the edges with sandpaper if you don’t have a router.
Grab the kids picnic table plan here.
DIY Power Tool Stand
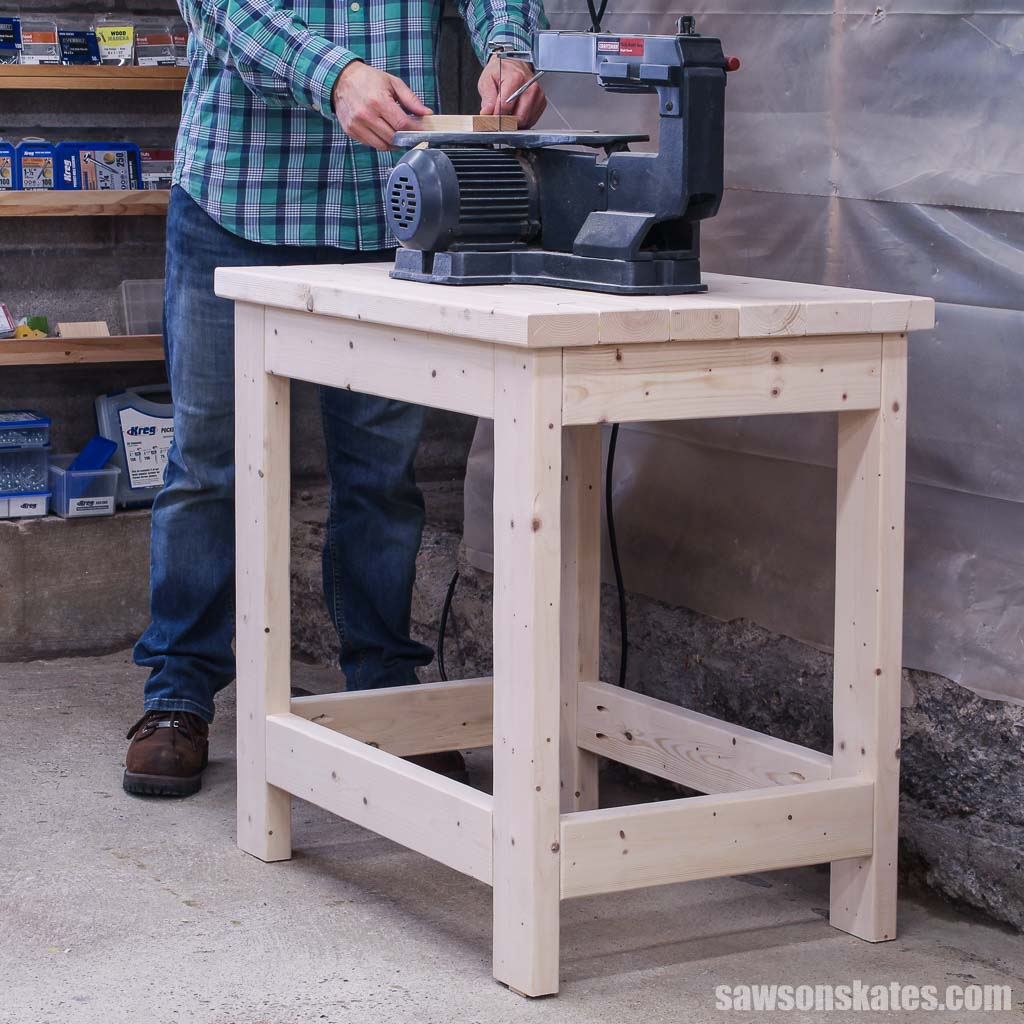
Are your benchtop tools sitting on your workshop’s floor or taking up valuable space on your workbench? Give them a permanent home with an easy-to-make power tool stand.
In a few tutorials, I’ve mentioned volunteering at a local historical society. Several of my plans have been inspired by pieces I’ve seen at the museum or ideas from my fellow volunteers.
This time, I was inspired by an antique saw sharpener in our carriage barn. We were planning to do some restoration work on it, but the base for the sharpener was missing, so it was sitting on two old rickety sawhorses.
We needed a sturdy stand so that we could safely do the restoration work. I looked around for an antique one, but couldn’t find anything that fit. So instead, I decided to make my own tool stand. The small size makes it perfect for a workshop, garage, or shed shop.
While I demonstrated this project with my scroll saw that I got used from the Habitat for Humanity ReStore, you could use it for benchtop tools such as a lathe, drill press, planer, table saw, miter saw, and more. As a bonus, there’s space to add a shelf below for more storage.
Grab the power tool stand plan here.
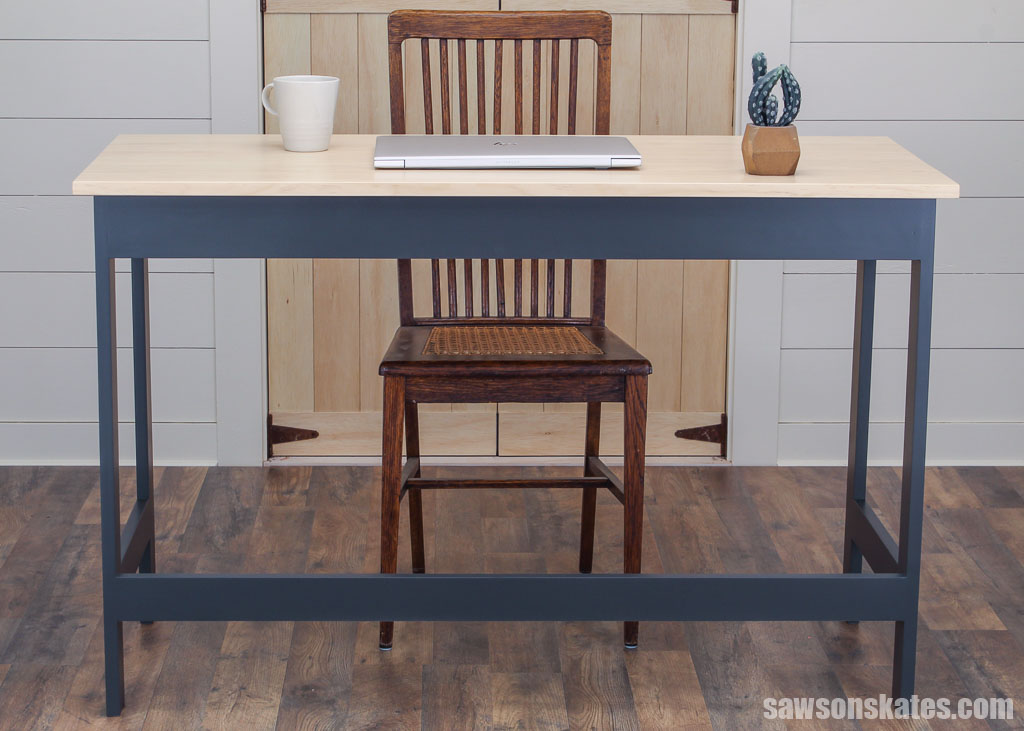
Simple DIY Desk
In 2020, a friend texted me saying he needed a simple piece of furniture that could serve as a desk while he worked from home and a table when he returned to the office. He said it didn’t even need to have drawers.
His description reminded me of a vintage library table, which inspired this simple DIY desk.
This versatile project fits just about anywhere from a home office to kitchens, dining rooms, or entryways. You could even use it as a serving table at parties, for making crafts, or as a makeup vanity.
Plus, it’s simple to build, requiring only a few straight cuts you can make using a miter saw.
I used common pine for the desk’s base and select pine to make the top.
The difference between common and select pine is that common usually has some knots while select is relatively knot-free.
Speaking of the top, it’s important to consider its movement. Wood expands and contracts with changes in humidity and temperature. To prevent damage, the top should be attached in a way that allows it to move with these changes.
Related: How to Attach a Table Top to a Base (The Right Way)
For that reason, I don’t recommend connecting a top to a table’s aprons or legs with pocket holes because it can restrict its movement, potentially causing cracks with seasonal changes.
Instead, I use table top fasteners or expansion brackets that allow the top to move freely with humidity and temperature changes.
Grab the easy desk plan here.
DIY Workshop Utility Cart
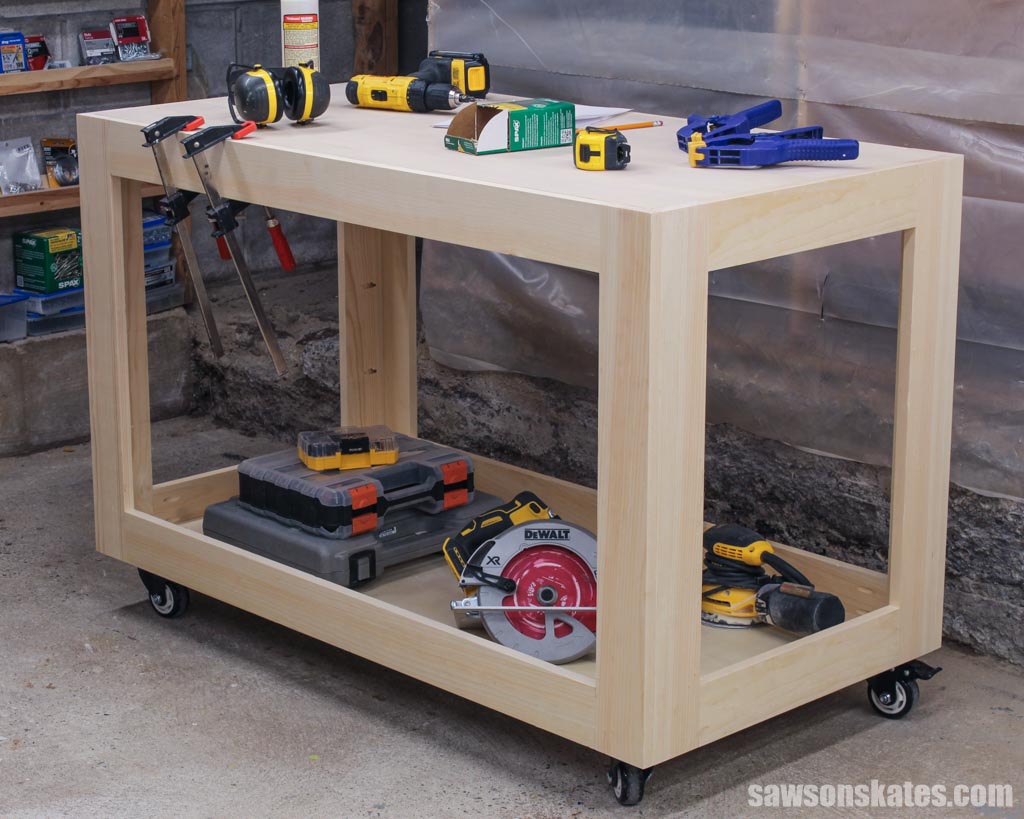
If you’re looking for a project to make your workshop more organized and efficient, look no further than this workshop utility cart. It’s perfect for storing your tools and supplies, making workshop projects a breeze.
It’s excellent as a mobile workbench, assembly table, work table to apply paints and stains, or portable stand for tools such as a miter saw or scroll saw.
Plus, the bottom shelf is a fantastic place to store your small tools and other workshop supplies.
The cart’s design is the perfect balance of speed and simplicity. All that’s required is making four simple frames and then joining them together.
I designed this cart so that you can make it with pine boards and two small sheets of plywood. I opted for these materials because they’re readily available at most home improvement stores, are easy to work with in a small shop, and can be transported in most cars.
I kept mine basic, but you can customize your project to meet your needs. If you plan to move your cart frequently, you might want to consider adding handles.
One thing I would have done differently is to add a middle shelf, which would divide the storage area into two sections, giving me more flexibility when organizing my tools.
Grab the workshop utility cart plan here.
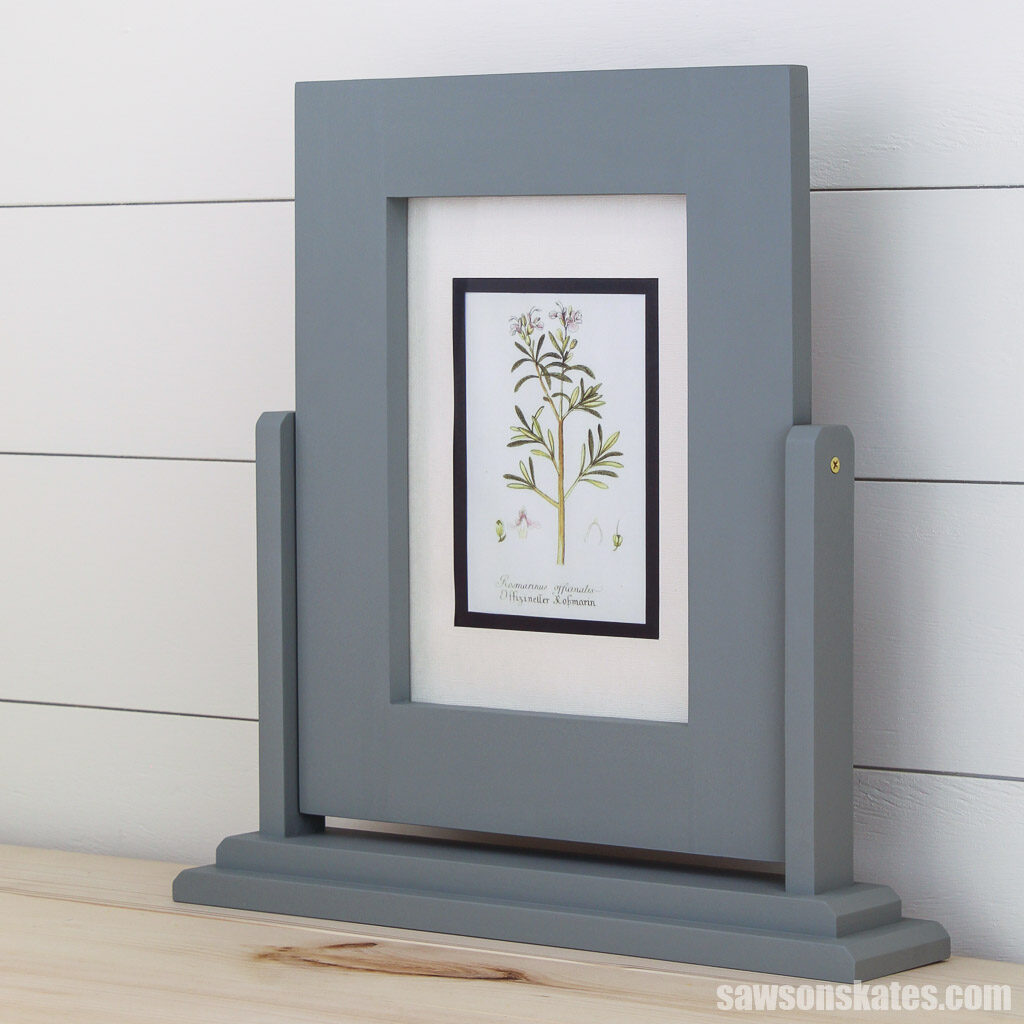
DIY Tabletop Picture Frame
Tired of ordinary picture frames?
Glam up your home decor with this unique tabletop photo holder inspired by tilting Art Deco-style frames of the 1920s and 1930s. This adjustable frame swivels for easy viewing from different angles.
With just a few pieces of wood and simple cuts made with a miter saw, you can create a beautiful and functional frame for your favorite photos.
I had some leftover pieces of cherrywood in my scrap wood pile, so I decided to use them for this project.
Related: How to Make a DIY Lumber Cart
I planned to apply a clear finish; however, a friend fell in love with the frame but not the wood’s color.
It broke my heart, but I painted over that beautiful wood.
Grab the tabletop picture frame plan here.
DIY Boot Rack
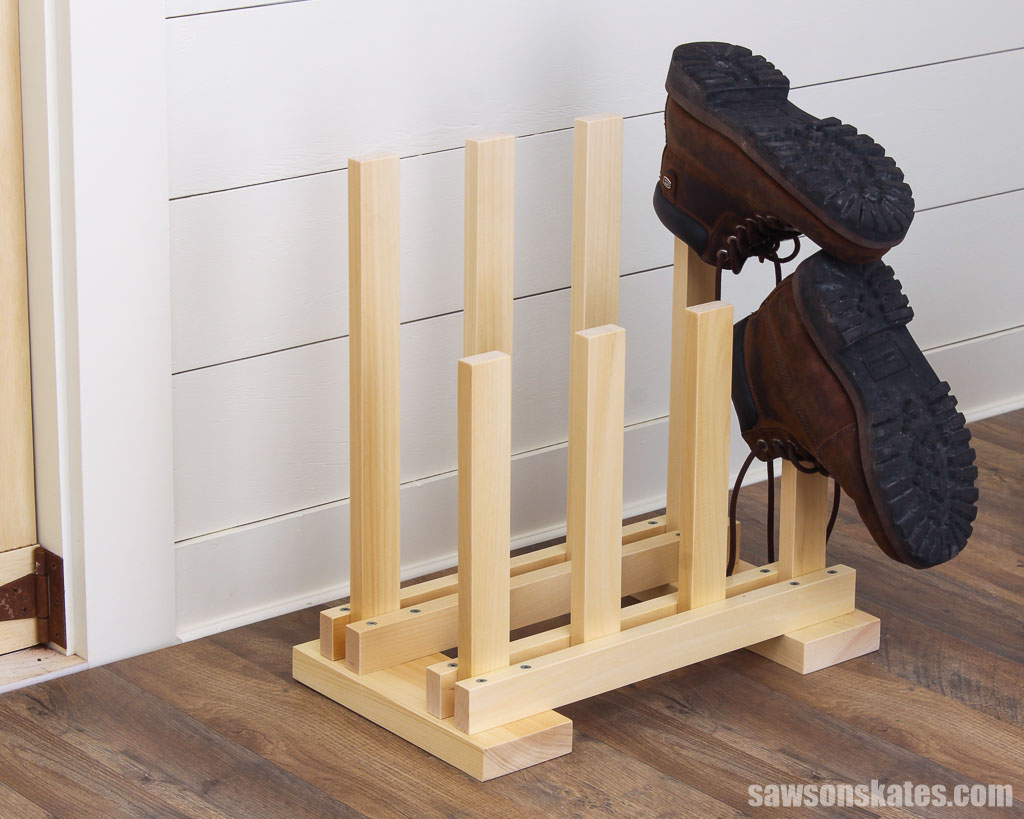
In a few tutorials, I mentioned that a buddy of mine owns several vacation rentals in a ski town. He swears by DIY solutions to help keep his properties organized and stay on budget.
So when he wanted somewhere for guests to store their boots, I put pencil to paper and started sketching. Well, I actually used my computer, but you get the idea.
What I came up with was a simple, functional storage solution with space for four pairs of boots.
The best part is it’s super easy to build with a miter saw and a drill.
If you have a router, you could add some decorative details to create rounded edges on the boards.
Grab the boot rack plan here.
DIY Farmhouse Bench
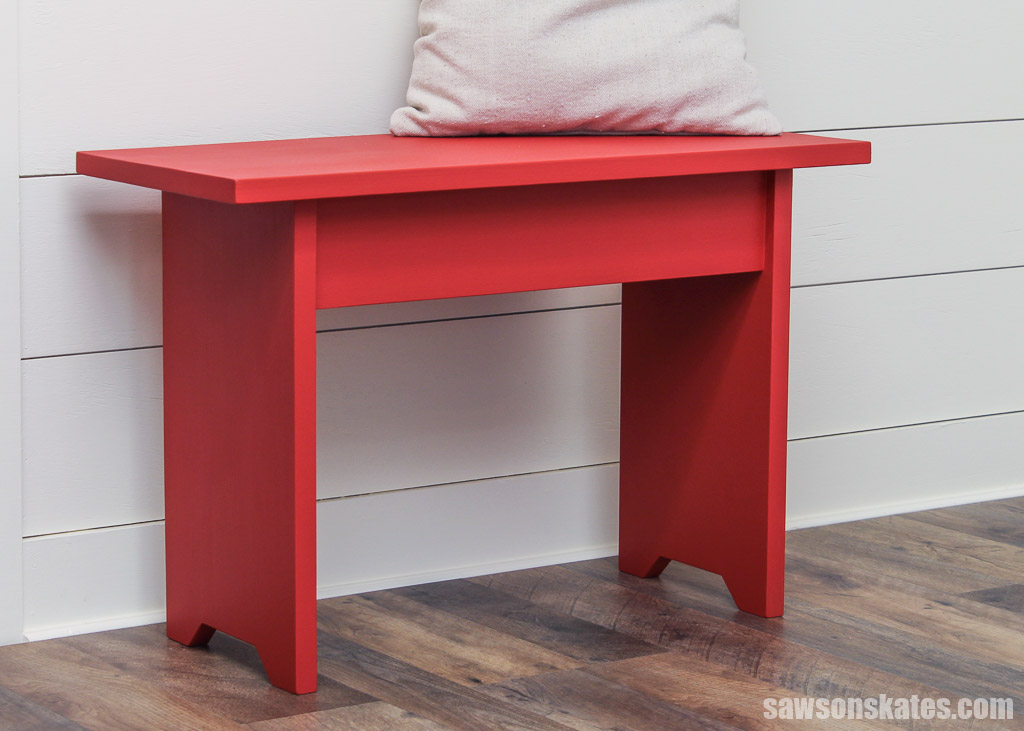
Need a spot in your entryway to remove your shoes? A bench is a perfect solution, and this simple version is easy to make with a miter saw, a pocket hole jig, and a drill.
While it’s the perfect place to lace up your boots, it also works indoors or outdoors as a plant stand or small coffee table on a deck, patio, or porch.
I used pine to build mine, but you could change the look using a hardwood like oak or cherry.
I originally planned to paint the legs an antique green color and stain the top, but those plans changed when I fell in love with this color called “Cherry Red.”
Grab the bench plan here.
DIY Tabletop Book Rack
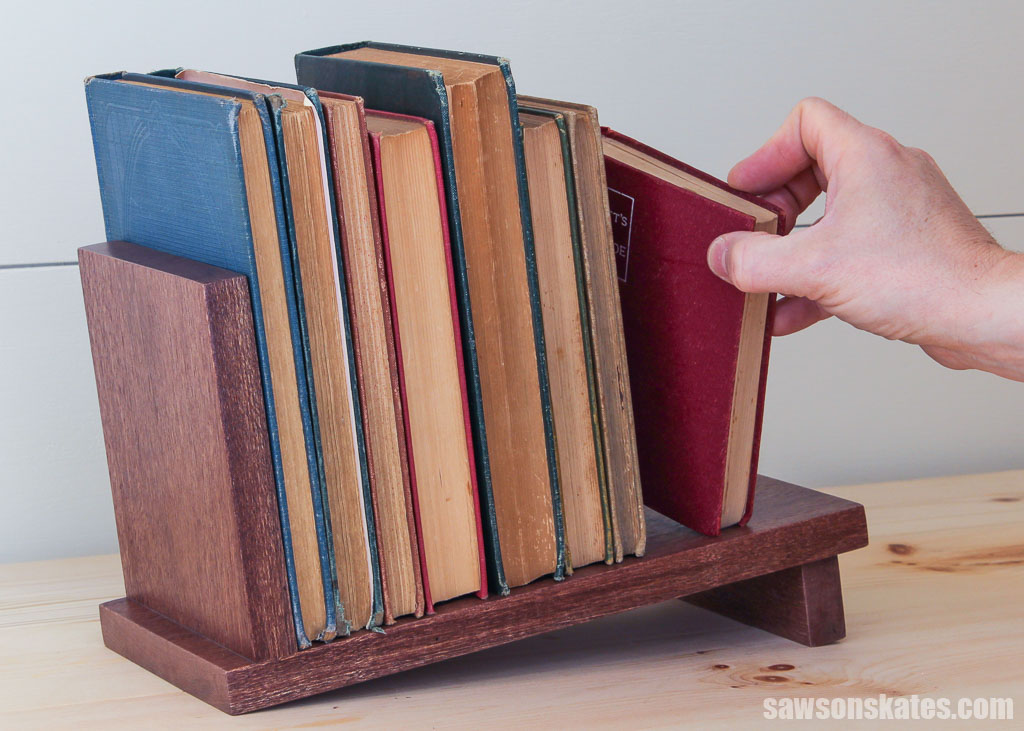
This wooden bookholder is another project inspired by my volunteer work at the Historical Society. I stumbled upon a simple book holder while setting up their annual yard sale, and it sparked the idea for this easy-to-build organizer.
Its compact size makes it ideal for desks or any space where you need to keep books at your fingertips.
Several readers have mentioned this holder reminded them of a similar project they made in high school shop class, making it an excellent choice for beginners.
Grab the book rack plan here.
DIY Yard Tool Rack
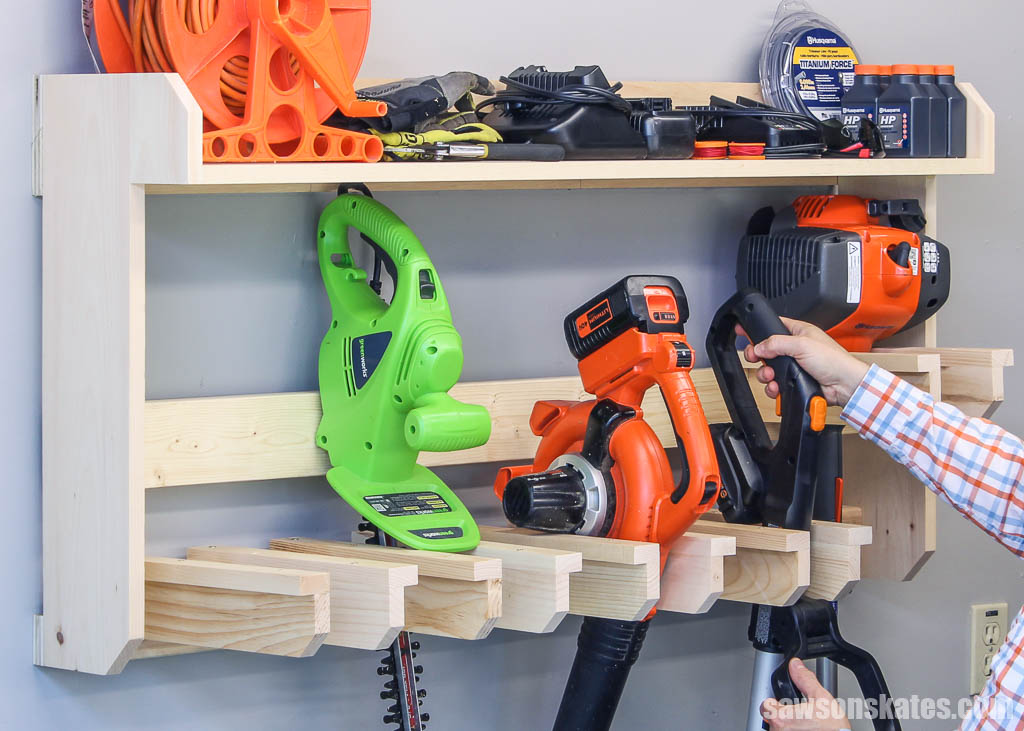
Are your lawn tools scattered across your garage or shed?
Mine were a disorganized mess. There was a string trimmer propped up in a corner over there. I just tripped over the leaf blower for the third time. And who knows where the extra weed whacker string is?
I was tired of my garage being a disaster zone, so I designed this wall-mounted yard tool organizer.
Now I have a large storage shelf to organize my battery chargers and batteries, extra weed whacker string, extension cords, garden gloves, and more.
Below are five customizable hangers to fit my lawn tools, like a weed whacker, leaf blower, hedge trimmer, and more.
The best part is that I made it with a miter saw, drill, and pocket hole jig.
Grab the yard tool rack plan here.
Video
Watch now, and I’ll show you how I made these projects.
Final Thoughts
Don’t let the lack of a fully-equipped workshop hold you back. These projects prove you can achieve impressive results with a few trusty tools.
Thank you for stopping by. If you enjoyed this tutorial, would you please take a moment and pin it to Pinterest? I’d really appreciate it!
Recommended For You

Pin This For Later

Hi there – I’m Scott, a woodworking enthusiast and creator of Saws on Skates, a site I started in 2015 to share easy-to-follow tutorials, space-saving shop tips, and project inspiration for DIYers at any skill level. Learn more about my woodworking journey here.