Best DIY Tips and Tricks Every DIYer Should Know
From why you should wax your table saw to pocket hole mistakes you don’t want to make these are 11 of the best DIY tips and tricks every DIYer should know.
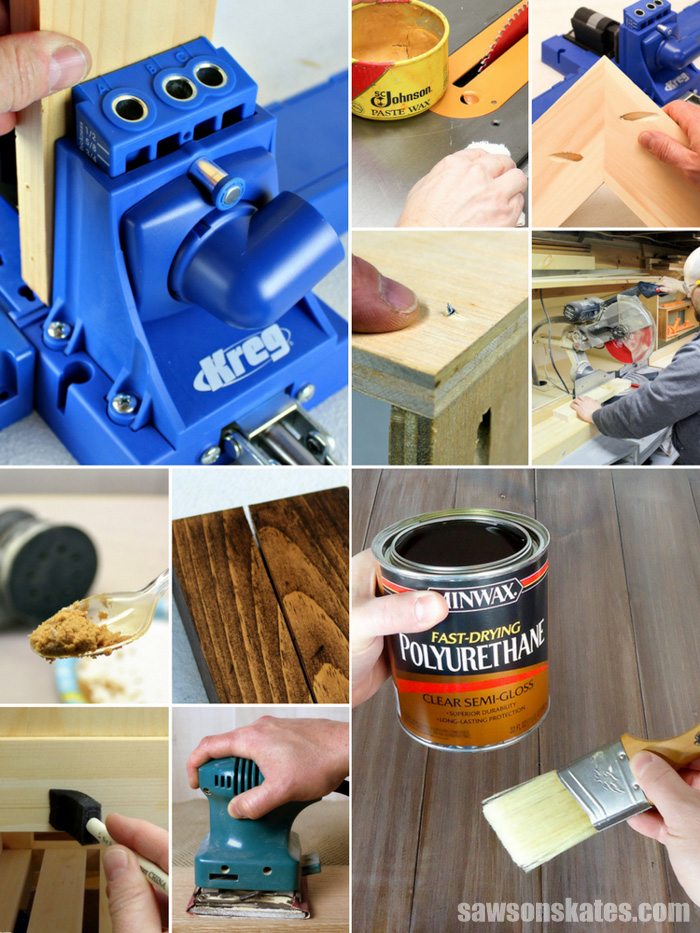
Looking for the best DIY tips? You’ve come to the right place! How to drill pocket holes on miter joints, the best miter saw tricks, the best way to prep your furniture project for stain plus more tips and tricks that will make your next project easier.
For your convenience, this post contains affiliate links to supplies or tools I used to complete this project. Purchases made using these links help support the Saws on Skates website and allow me to share more DIY projects. and DIY tips with you. There is no cost to you for using these links. Click here to visit my site policies.
Best DIY Tips and Tricks Every DIYer Should Know
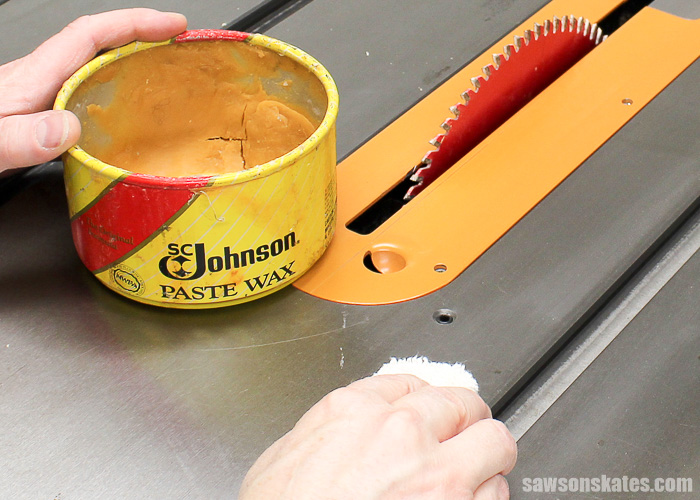
11. Best Way to Improve Table Saw Performance
You need to wax your table saw. I know, waxing your table saw sounds crazy, right? When I first heard about waxing workshop tools I thought “WHAT???!!!”
Why should you wax your table saw? There’s more to waxing than just making your table saw look pretty. You should wax your table because it will be easier to clean, reduce the chances of oxidation, and perhaps most importantly it reduces friction.
Skate over to Wax Your Table Saw to Reduce Friction and Maximize Performance to see which wax to use and how to apply the wax.
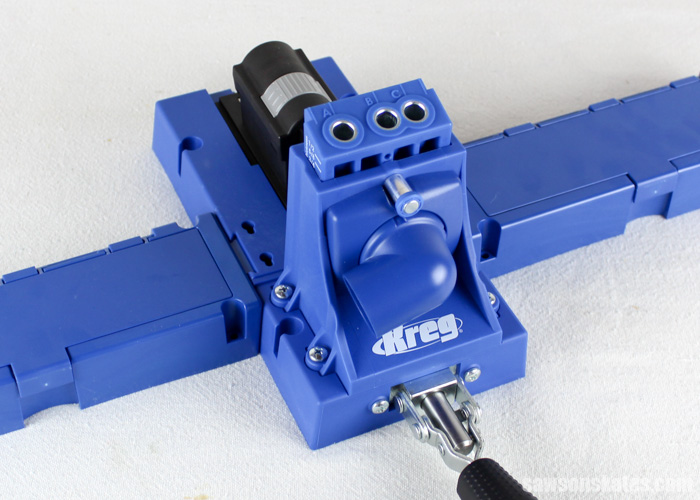
10. Best Pocket Hole Jig for Building DIY Furniture
If you’re a DIY furniture builder chances are you’re using a Kreg Jig to assemble your furniture projects. There’s a handful of options when choosing a Kreg Jig. There’s the Kreg Jig Mini, Kreg Jig R3, Kreg Jig K4 and Kreg Jig K5.
I started building DIY furniture projects with the Kreg Jig K3. I first saw the Kreg Jig at a woodworking show and bought one immediately. This year I switched to Kreg Jig K5 and it totally changed the way I make pocket holes.
The ratcheting clamp, the quick release guide block pin, the stop collar setting block, the workpiece stop, and the storage wings are some of the features I love about the K5. Skate over to 5 Reasons Why the Kreg Jig K5 Will Change the Way You Make Pocket Holes to see why these features are so important and how to use them.
BONUS: Skate over to see the best tool for hard-to-reach pocket holes.
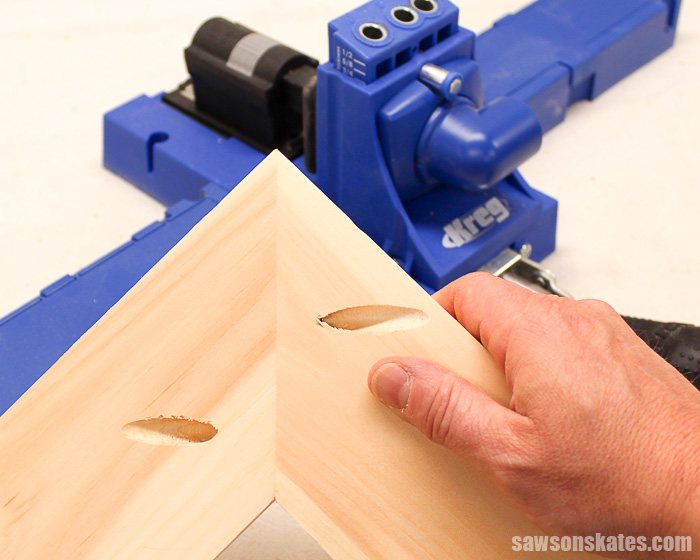
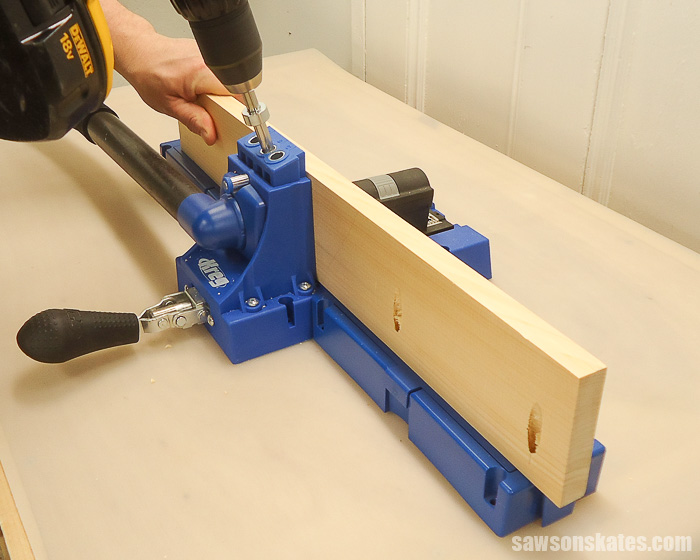
9. Best Ways to Drill Pocket Holes on Miter Joints
Mitered corners can add a decorative element to picture frames, door frames, and DIY furniture projects. Drilling pocket holes on butt joints and edge joints is easy, but drilling pocket holes on miter joints takes a little extra thought.
With a little planning drilling, pocket holes on mitered corners can be just as easy as drilling pocket holes on any other joints. Skate over to Drilling Pocket Holes on Miter Joints Requires Careful Planning where we’ll explore three easy options for drilling pocket holes on mitered corners.
8. Best Way to Prep DIY Furniture for Stain
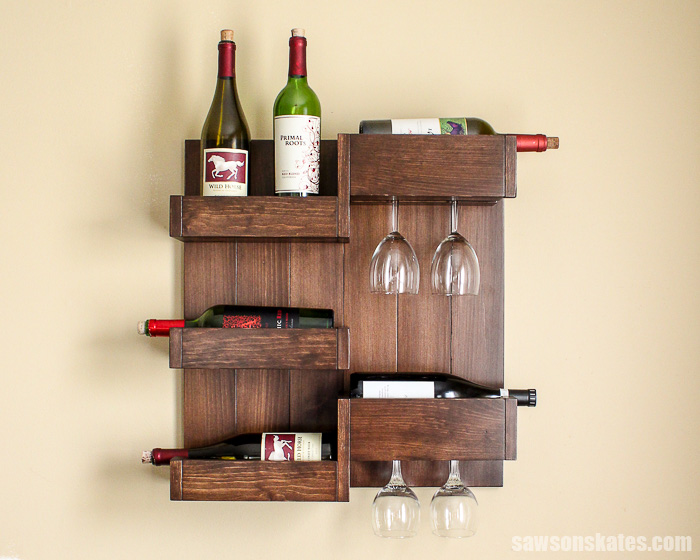
People think I’m crazy when I say I apply tea to my DIY furniture. Well, people think I’m crazy for other reasons too, but I’ll save that for another time! But seriously, I apply tea to my furniture projects that I plan to stain and you should too. I applied tea to the retro nightstand, the bathroom vanity, and this wall-mounted wine bar.
Why do I apply tea? Applying tea prevents blotchiness, evens out the wood tone and wood treated with a tea stain will actually stain darker than wood that hasn’t been treated with tea. Skate over to 3 Reasons Why I Always Apply a Tea Stain to my DIY Furniture to see how I prepare the tea and how I apply it to my DIY furniture projects.
7. Best Way to Avoid a DIY Furniture Fail
We’ve all had a DIY furniture fail. We’ve accidentally driven a pocket screw through the edge of a board or ripped a piece too narrow on our table saw. These mistakes are a waste of time, a waste of money and cause us major frustration. The other thing is these mistakes aren’t accidents at all. Most can be avoided by creating samples or test pieces. Skate over to Avoid a DIY Furniture Fail to see how and when to create test pieces.
6. Best DIY Wood Filler Recipe
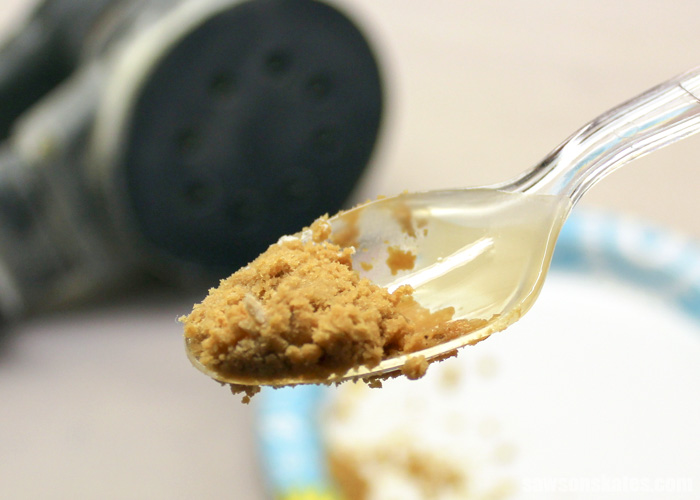
Store bought wood filler doesn’t look too bad next to raw wood, but it sticks out like a sore thumb when it’s stained. The wood stains dark, but the wood filler doesn’t take the stain as well and is always much lighter. Store bought wood filler just never seems to match.
Instead of buying store-bought wood fillers that don’t match your project start DIYing your own wood filler. This DIY wood filler is easy to make, easy to sand and only requires two ingredients. The most important ingredient is sawdust from your project so that means it will compliment your furniture project. Skate over to the DIY wood filler recipe here.
5. Best Way to Sand DIY Furniture
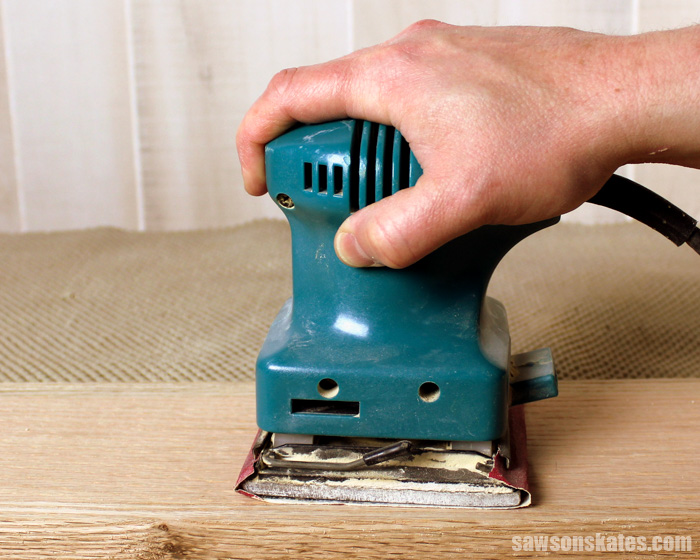
I’ll admit it. I don’t like palm sanders. My bitterness towards palm sanders hit a nerve with palm sander fans. In fact, my post about why you should never use a palm sander has probably generated the most feedback out of all of the tips on this list.
In this post, I said a palm sander vibrates like a jackhammer that “wreaks havoc on the tendonitis in my wrist”, the sound of cutting sandpaper “makes me want to heave” and the most troubling thing is it leaves figure 8s on the projects I’m sanding.
Feedback included that I must be consuming too much alcohol while sanding, that I must be an amateur woodworker, that I must not be using a high enough grit to sand, that palm sanders don’t actually sand figure 8s and that I suggested a palm sander was the cause of my tendonitis. Like I said, I think I struck a nerve.
BONUS: Skate over to the How to Sand Your DIY Project for a Flawless Finish for the best sanding tips and tricks.
4. Best Way to Prevent DIY Furniture from Cracking
We build our DIY furniture projects with wood, but do we really understand how wood works? If we build without taking into consideration the seasonal movement of wood our projects will crack and split. If we build using proper techniques our projects will become family heirlooms. Skate over to Mistakes with Wood Can Cause Your DIY Furniture to Crack for tips to prevent your wood furniture from cracking and ensure your projects will last a lifetime.
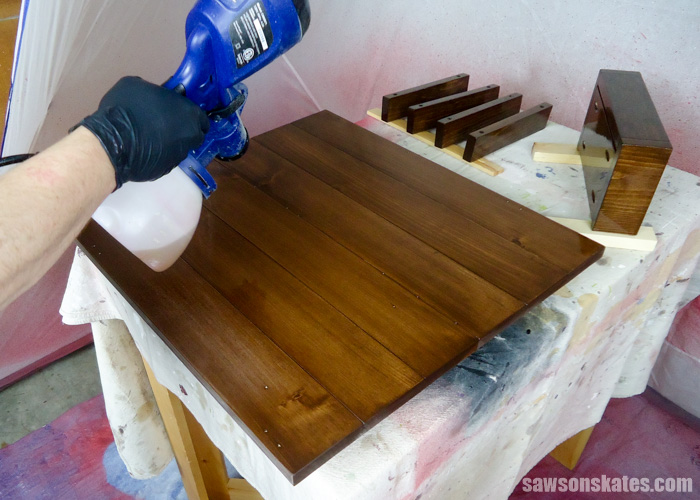
3. Best Way to Apply Polyurethane
For me polyurethane is a finicky finish, the application with a brush is difficult and it doesn’t give me the look I want for my DIY furniture projects. In 3 Reasons Why I Don’t Use Polyurethane, I said rather than finishing my projects with polyurethane that I use a DIY finish instead.
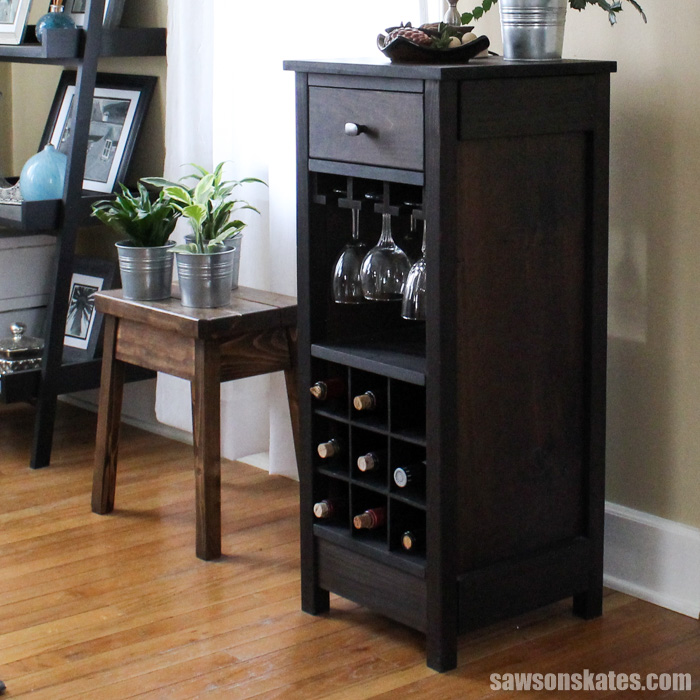
The DIY finish is easy to make and an easy to apply finish that gives furniture a “hand rubbed” look. I’ve used this finish on many of my furniture projects like the bar cart, vintage industrial shadowbox, chalkboard shelf, electric fireplace mantel, wine cabinet and even my craft beer growler carrier.
Late last year I bought a HomeRight Super Finish Max paint sprayer and while reading the instructions I noticed it could be used to spray polyurethane. Really? I never thought of spraying poly. Could this be the way to solve the poly pitfalls I mentioned earlier?
I tested it out on the wall-mounted wine bar and the results are in. I’m totally convinced… I will NEVER apply poly with a brush EVER again! The finish on the wall-mounted wine bar is amazing. The poly was quick to apply and the piece looks like it came from a factory. There was no need to worry about bubbles, the application was sooo easy and because the sprayer applies thin coats the finish didn’t look like plastic. If I’m going to apply poly I’m going to do it with a sprayer! Learn how easy it is to spray polyurethane here.
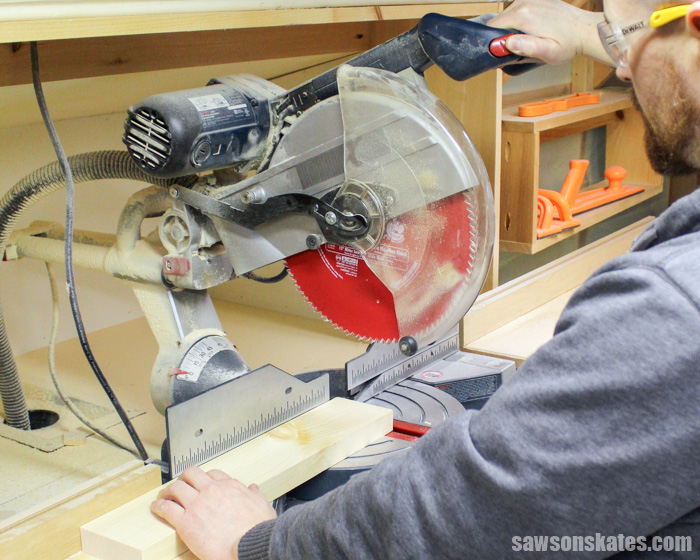
2. Best Miter Saw Tricks
If you’re like me, the miter saw is one of the tools I use the most to build my DIY furniture projects. In the 7 Miter Saw Tricks Every DIYer Should Know post we’ll review why you should leave the line, allow the saw to come to a full stop plus more tips and tricks to get the most out of your miter saw.
BONUS: Skate over to How to Adjust a Miter Saw to get the best performance from your miter saw and skate over to 6 DIY Space-Saving Miter Saw Stand Plans that are perfect for a small workshop.
1. Best Way to Avoid Pocket Hole Mistakes
If you have been following Saws on Skates for a bit you know I use my Kreg Jig for nearly every DIY furniture project I build. Over the years I’ve had a lot of pocket hole successes, but I’ve also made a few pocket hole mistakes along the way.
Skate over to the Pocket Hole Mistakes You Don’t Want to Make post where we’ll review the Kreg Jig setup procedure and nine tips and tricks to avoid making common pocket hole mistakes.
Conclusion
Thank you for stopping by to check out the best DIY tips that will help you build better. If you found this information helpful, would you please pin it to Pinterest? Other DIYers would appreciate it and I would too! Thank you – Scott
PIN THIS!

Hi there – I’m Scott, a woodworking enthusiast and creator of Saws on Skates, a site I started in 2015 to share easy-to-follow tutorials, space-saving shop tips, and project inspiration for DIYers at any skill level. Learn more about my woodworking journey here.
This is a great list! Will definitely be back for more tips.